In addition to the classic dispatch of press releases, you can of course also send invitations, surveys or newsletters via the myconvento.
Workflow
Create dispatch order
- Select the “Dispatch” module on the start page (alternatively
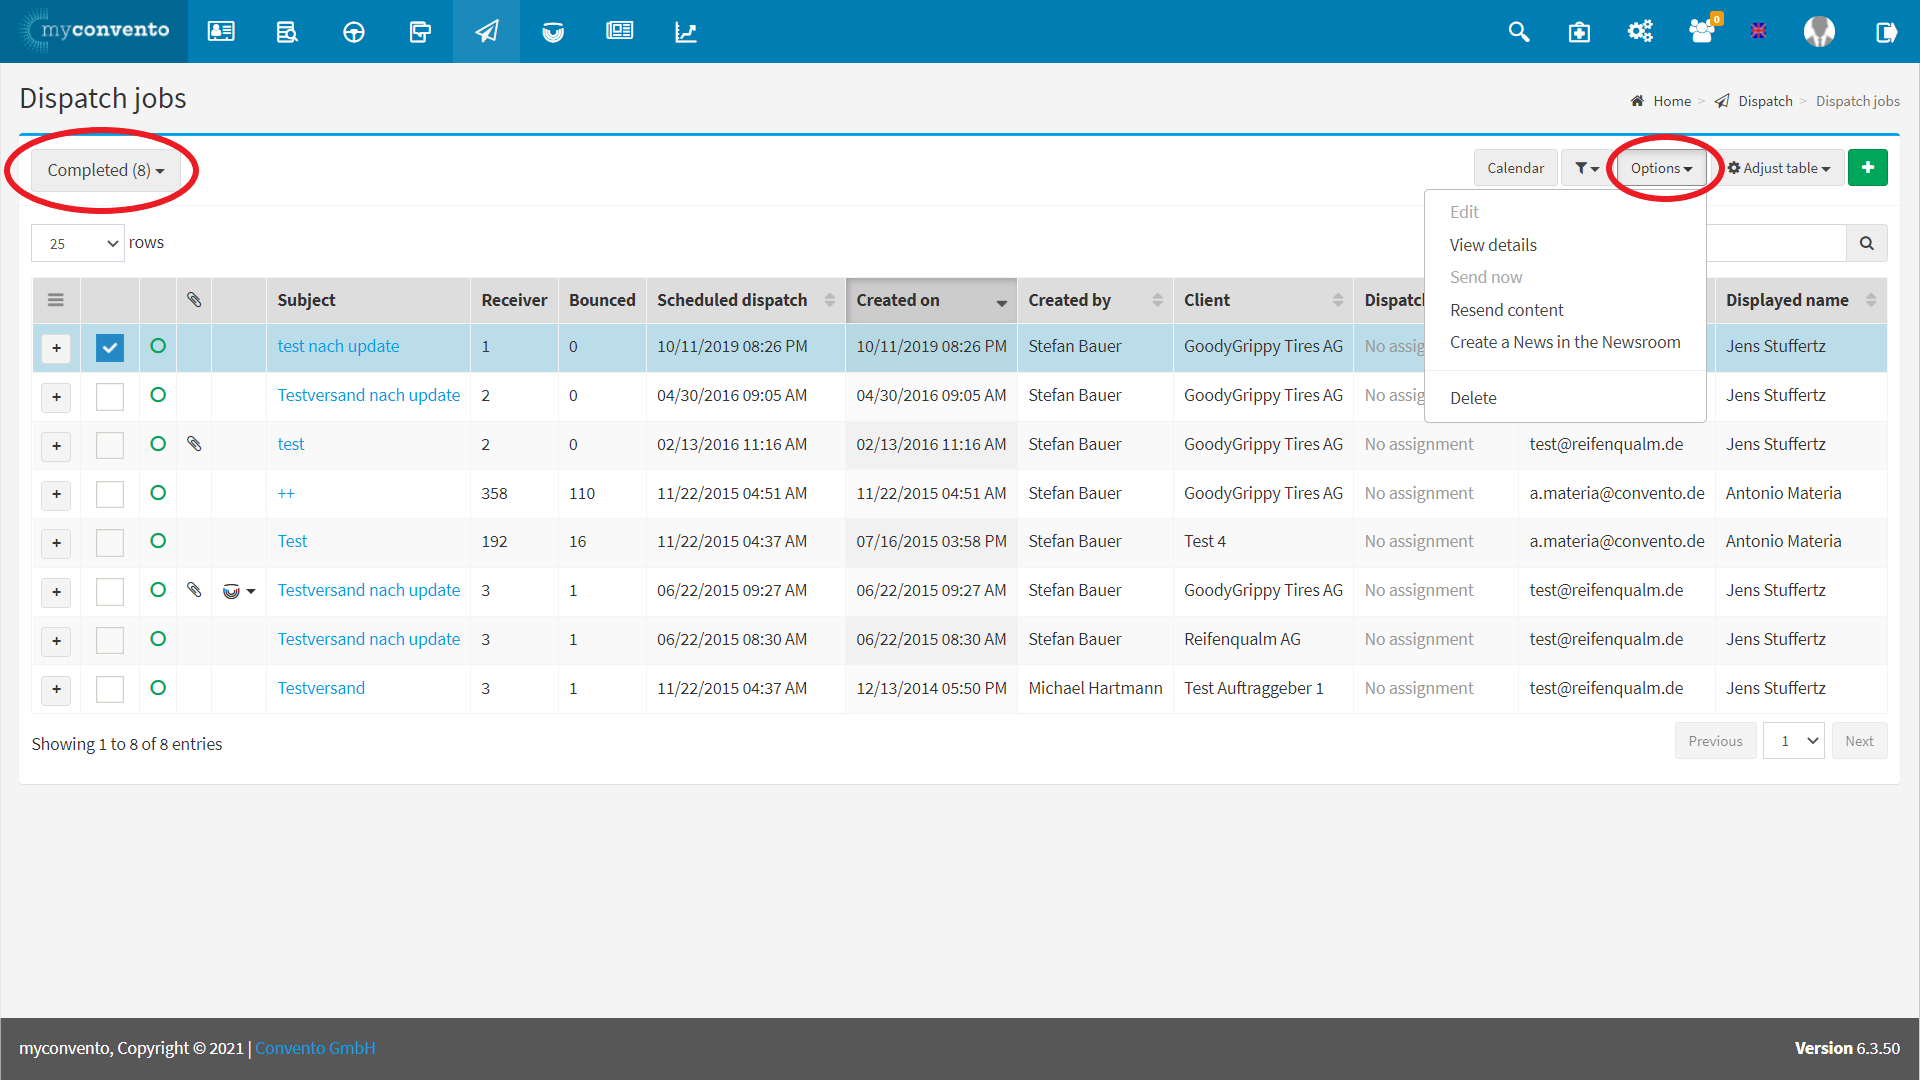
-symbol in the quick navigation bar). You will first be taken to the overview of your already completed disptaches. (Dispatches with a different status can be reached via “Search“).
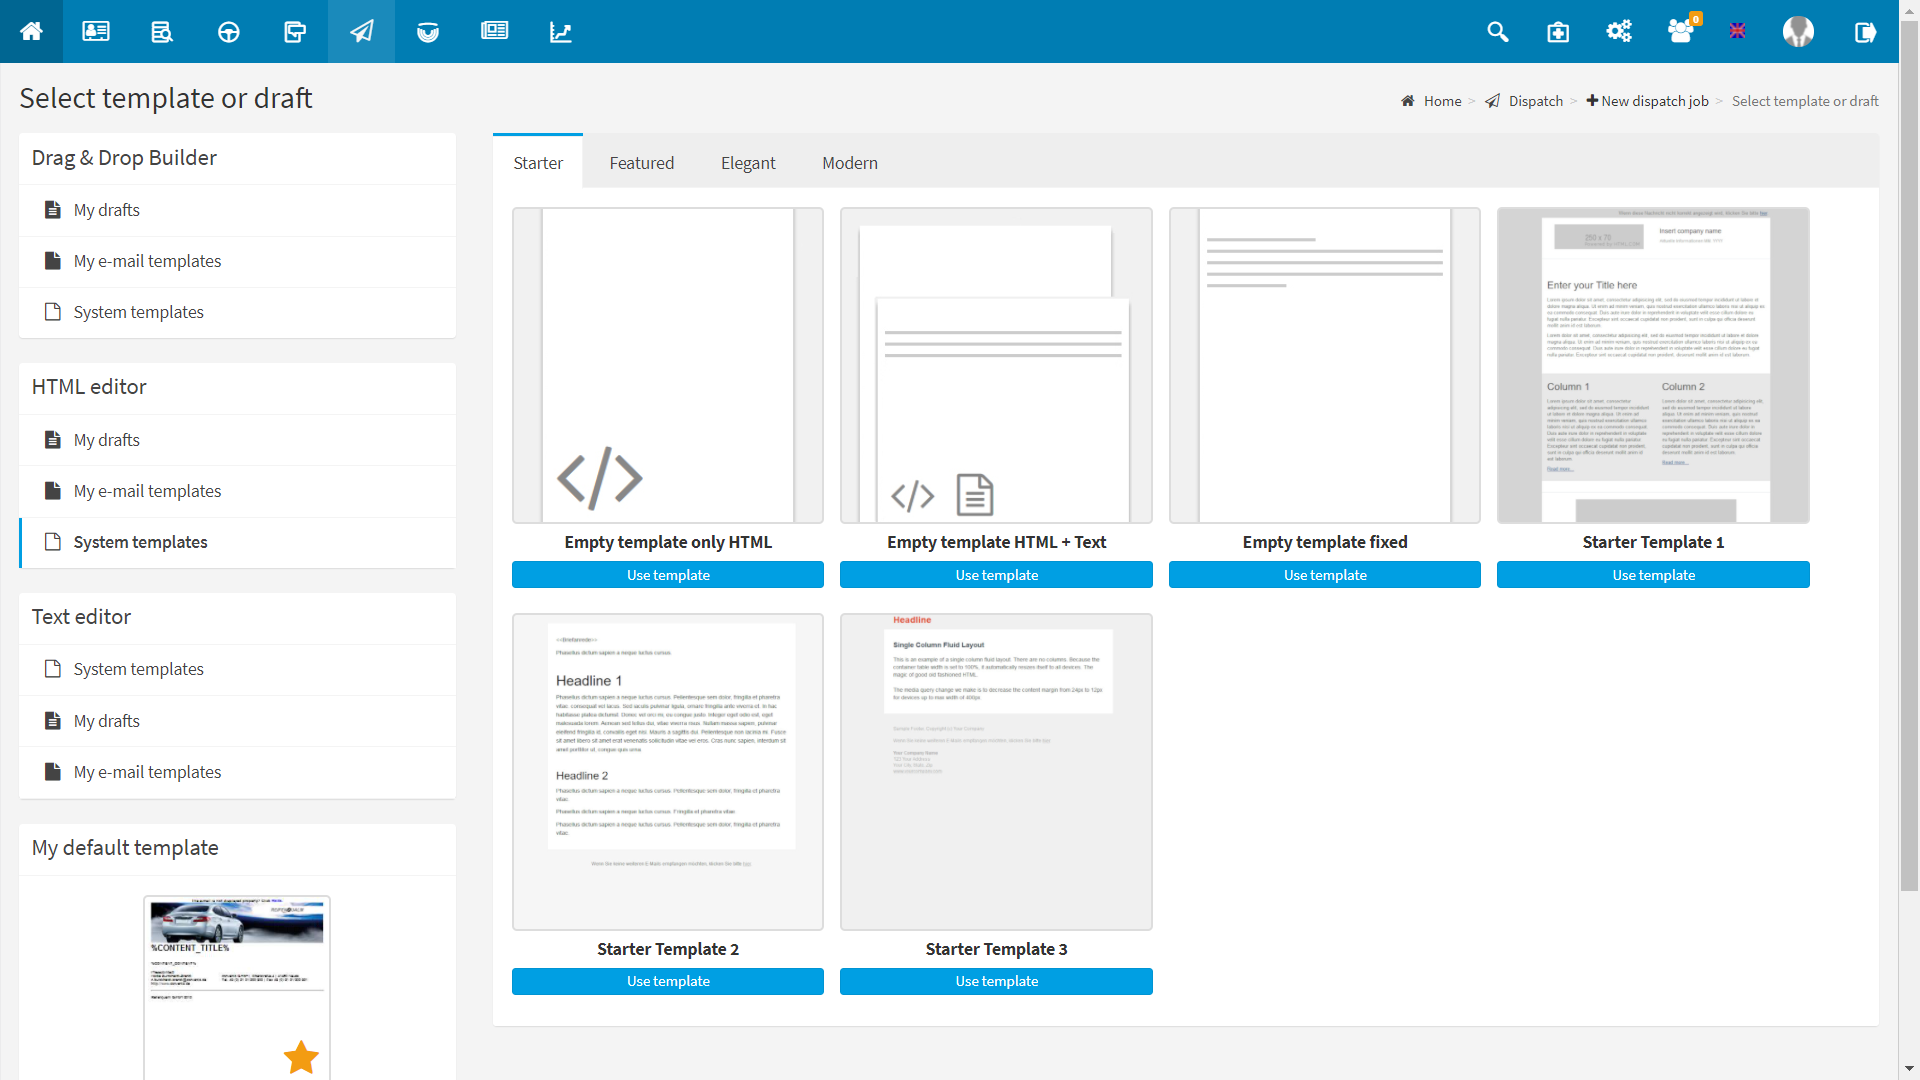
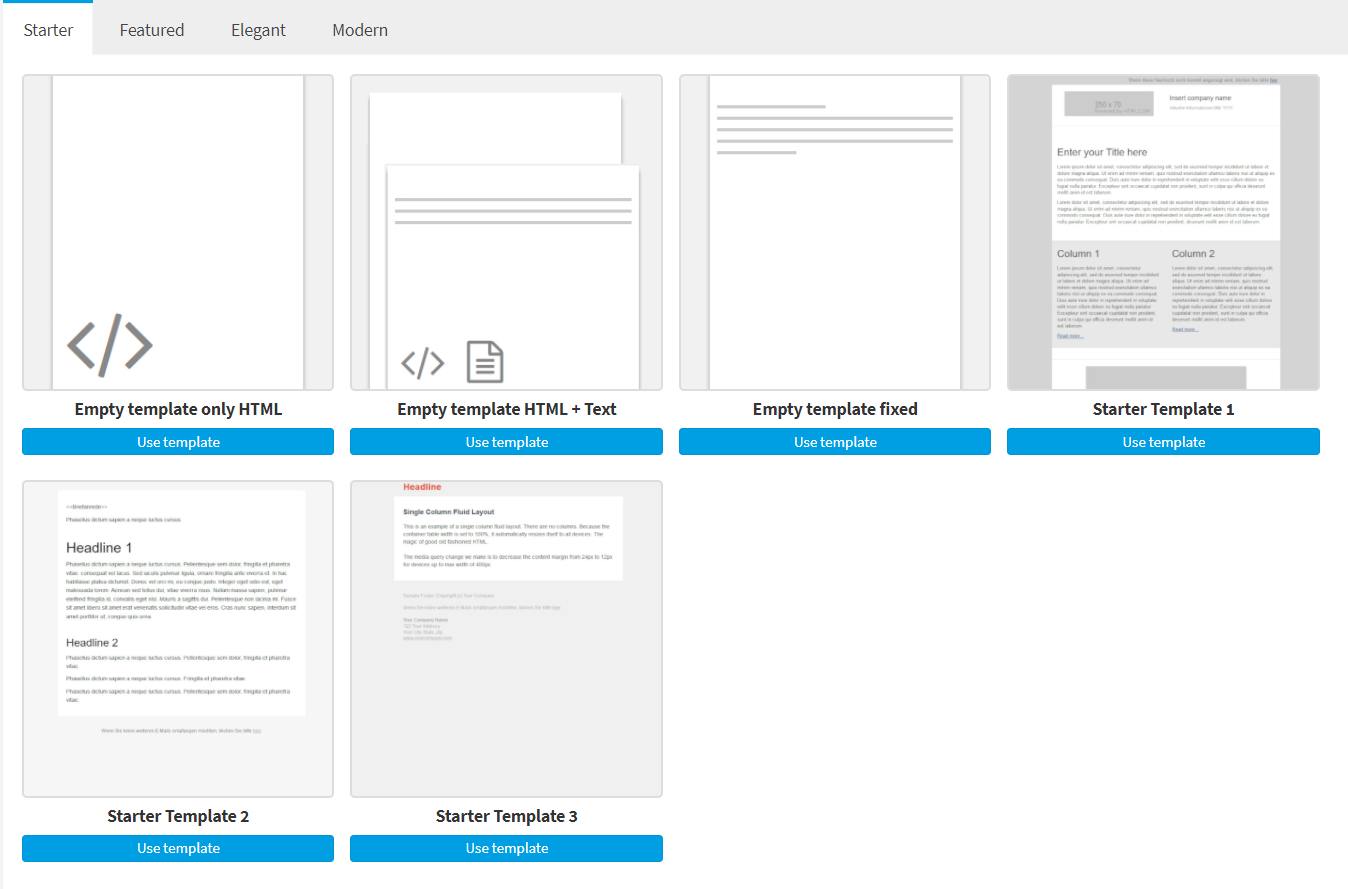
- Now click on the green plus sign or select “New dispatch” in the quick navigation. The “Select template or design” area allows you to choose from empty templates of various formats (HTML only, Text only, HTML+Text, Fixed), sample templates or your own layouts/templates. After your selection of the basic framework, the actual creation process begins in 4 steps:
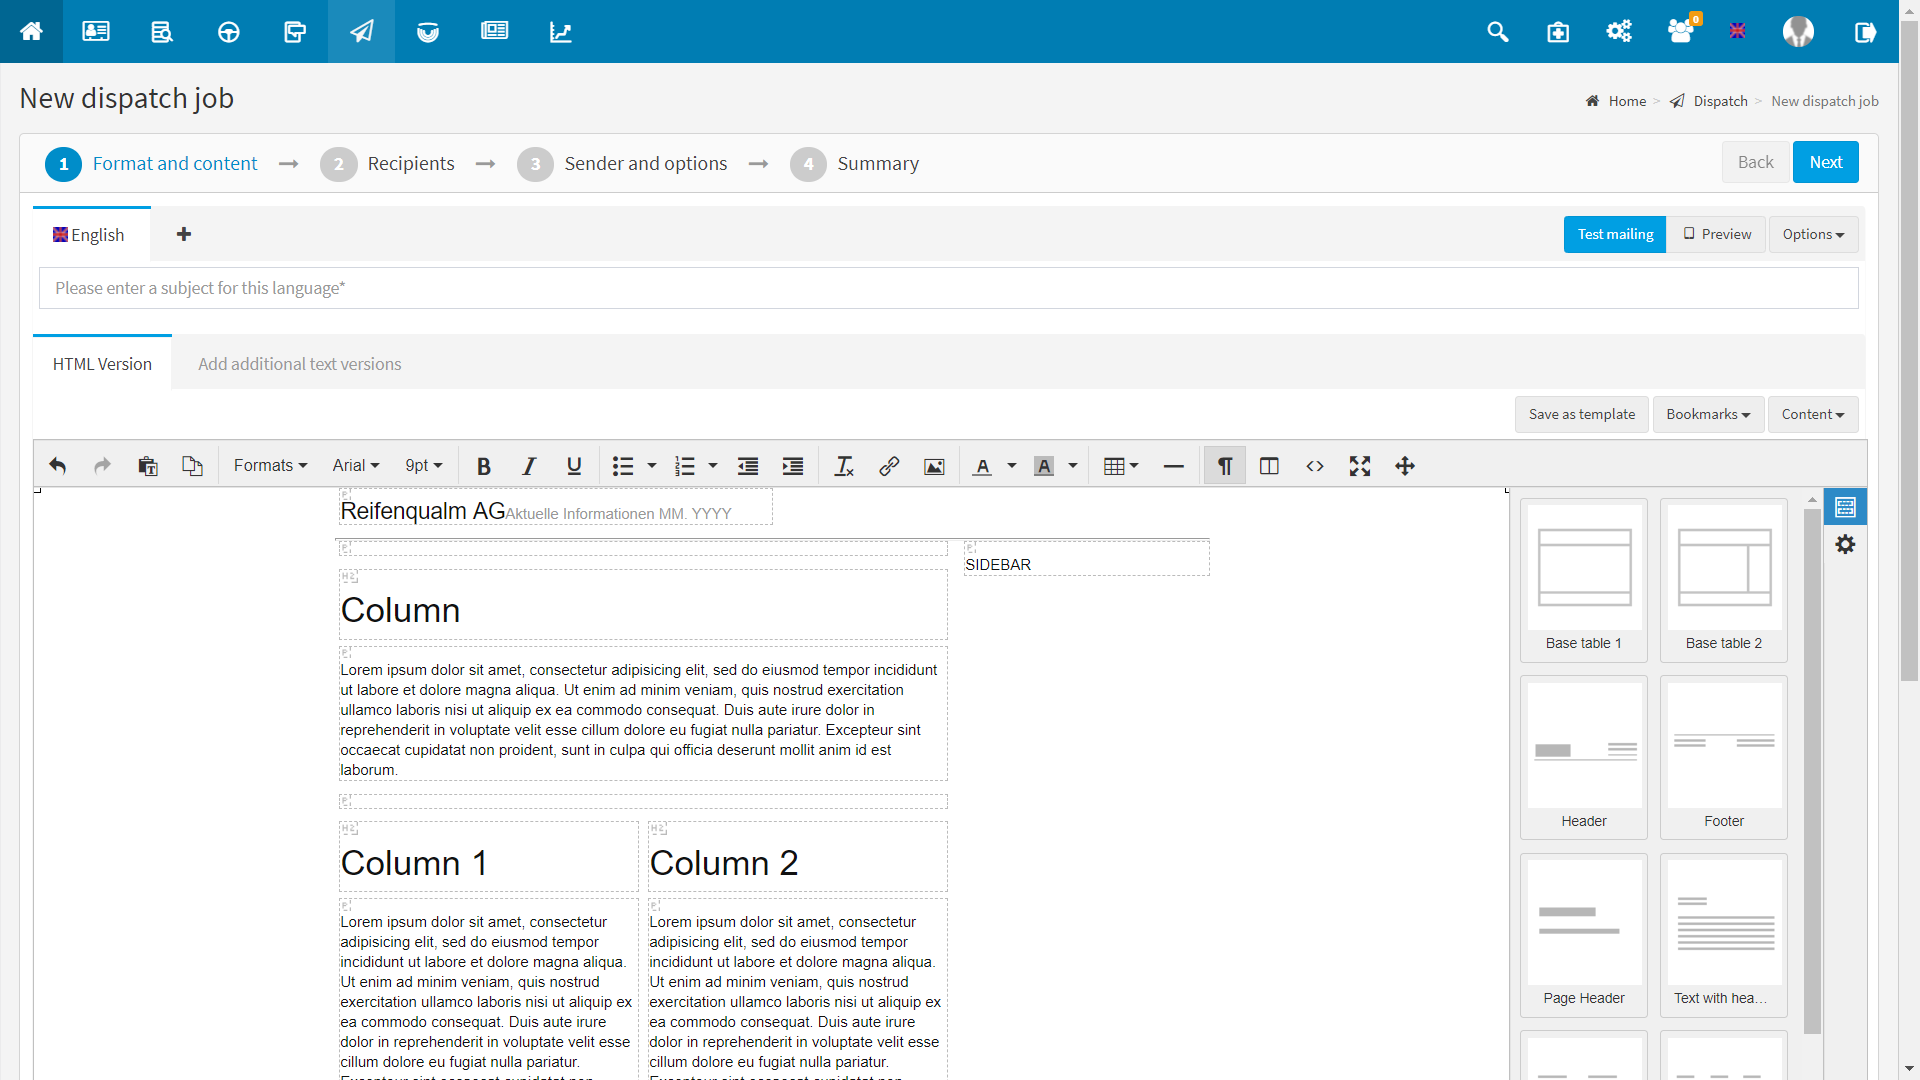
– Format and content: here you specify language versions of the dispatch order, the respective subject and the content of the email.
The selected template determines the framework and possibilities when it comes to the design: For example, if you have selected “Blank template text only”, then you automatically dispense with formatting and images in your email and pass on pure text information to your recipients. “Blank template HTML only” offers you the full design possibilities. Here, intention and personal preference determine. In general, be sure to use the test send option to be able to check how the mail would be received by your recipients.
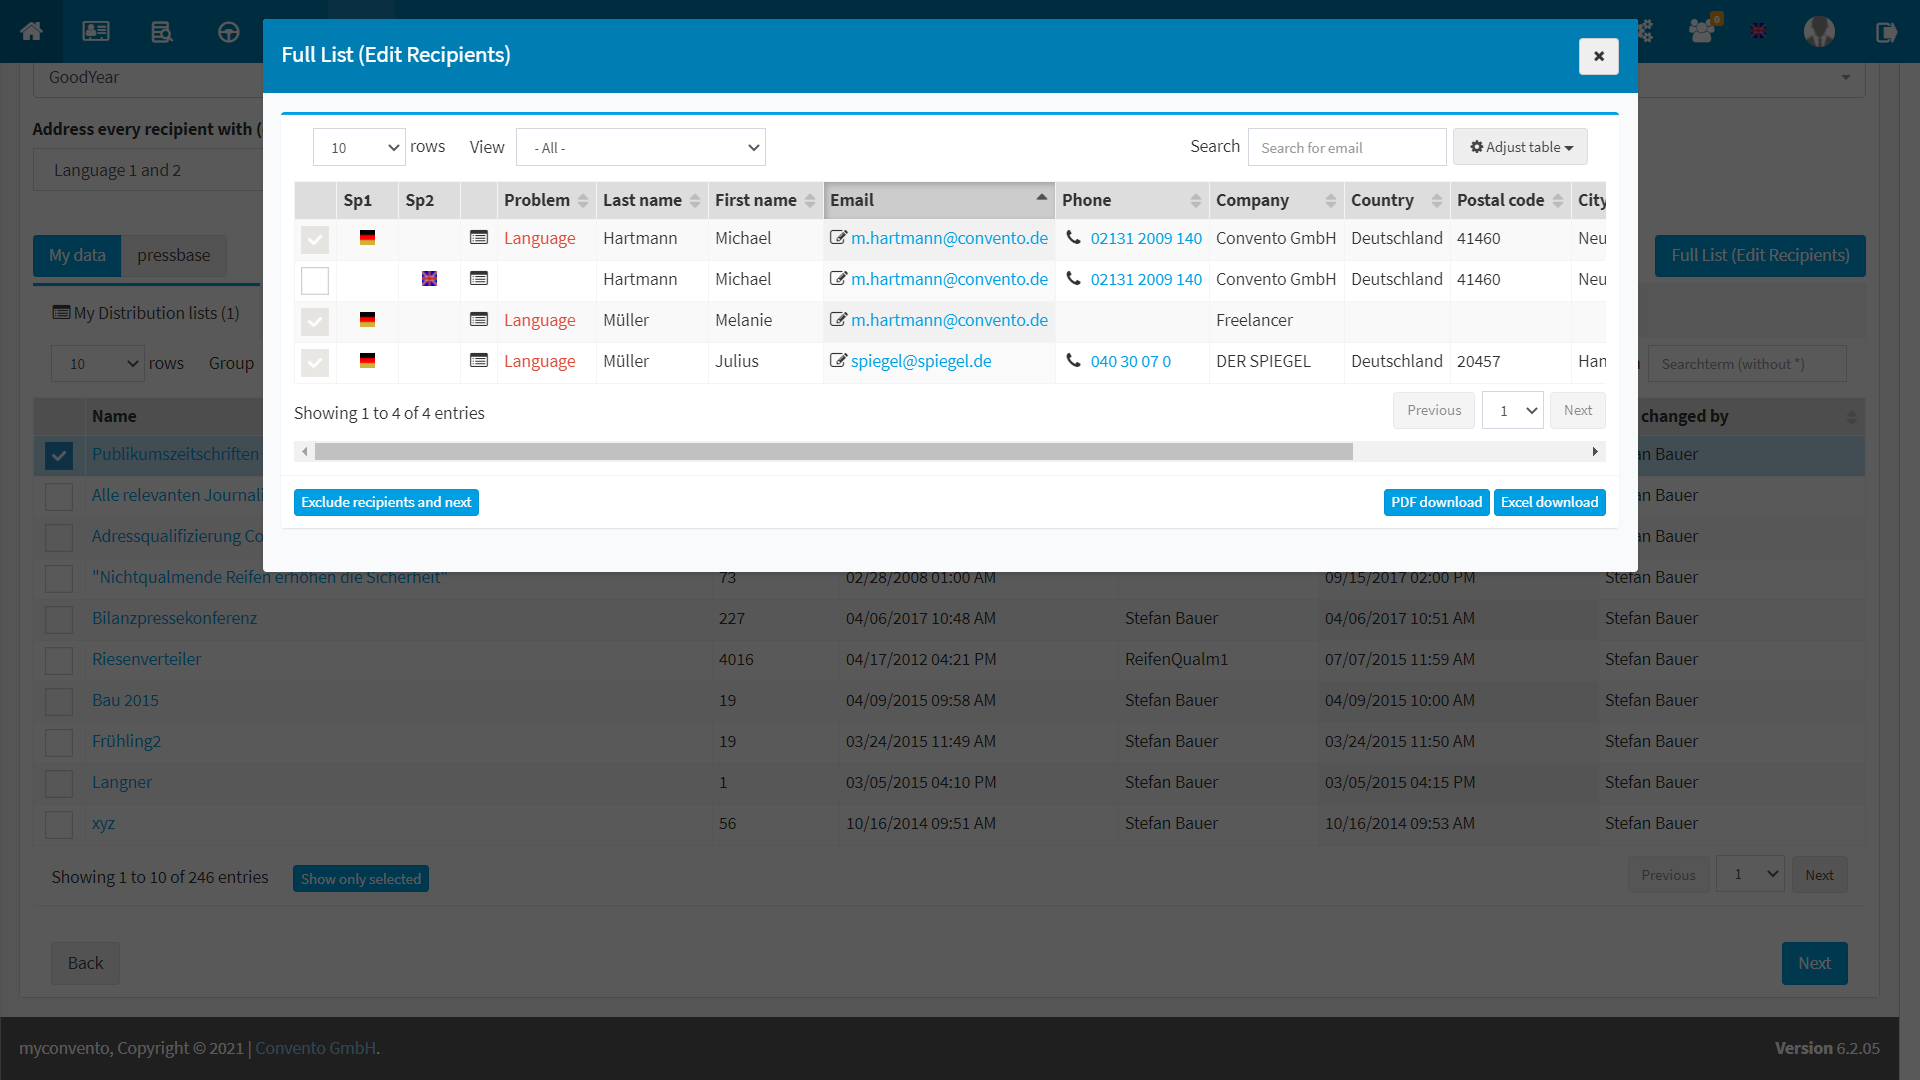
– Recipient data: Once you have designed your mail, in this step you can select recipient lists from “My data” (My distribution lists, searches, smart lists) and the “Pressbase” (distribution lists, searches), which will then be merged into an overall list. Click on “Overall list (Edit recipients)” to view the recipients of the merged lists. You will also see the mailing system’s automatic checking mechanism in action, which will automatically exclude from mailing any recipients marked as “problematic”. This includes blacklisted contacts, contacts with incompatible language, and contacts where the same email address is listed multiple times (email duplicates).
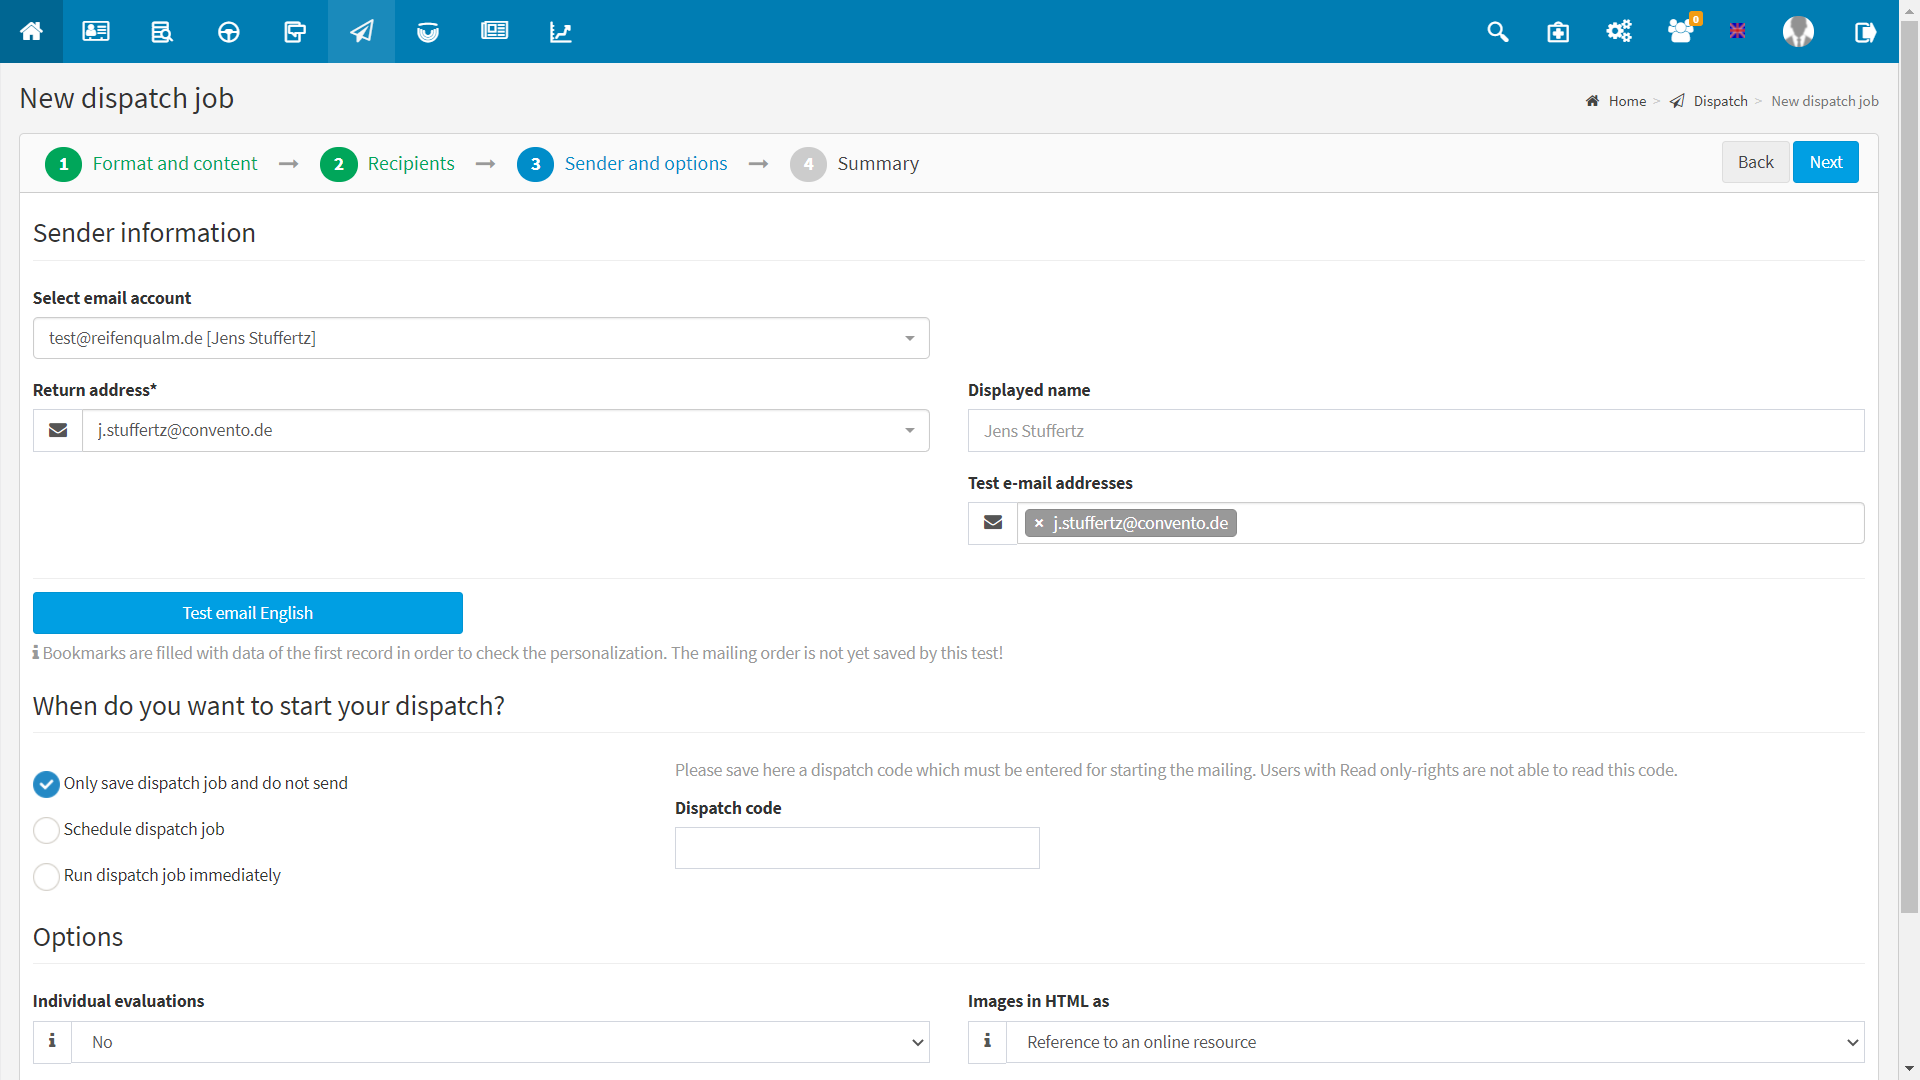
– Senders and options: Choose from your assigned shipping accounts and determine when you want your shipping to start.
You can choose to save the shipping job initially only (to apply changes and continue working on it at a later time), schedule it (shipping will start automatically at the selected time), or ship it immediately. These selected options take effect after finishing the last step “Summary”.
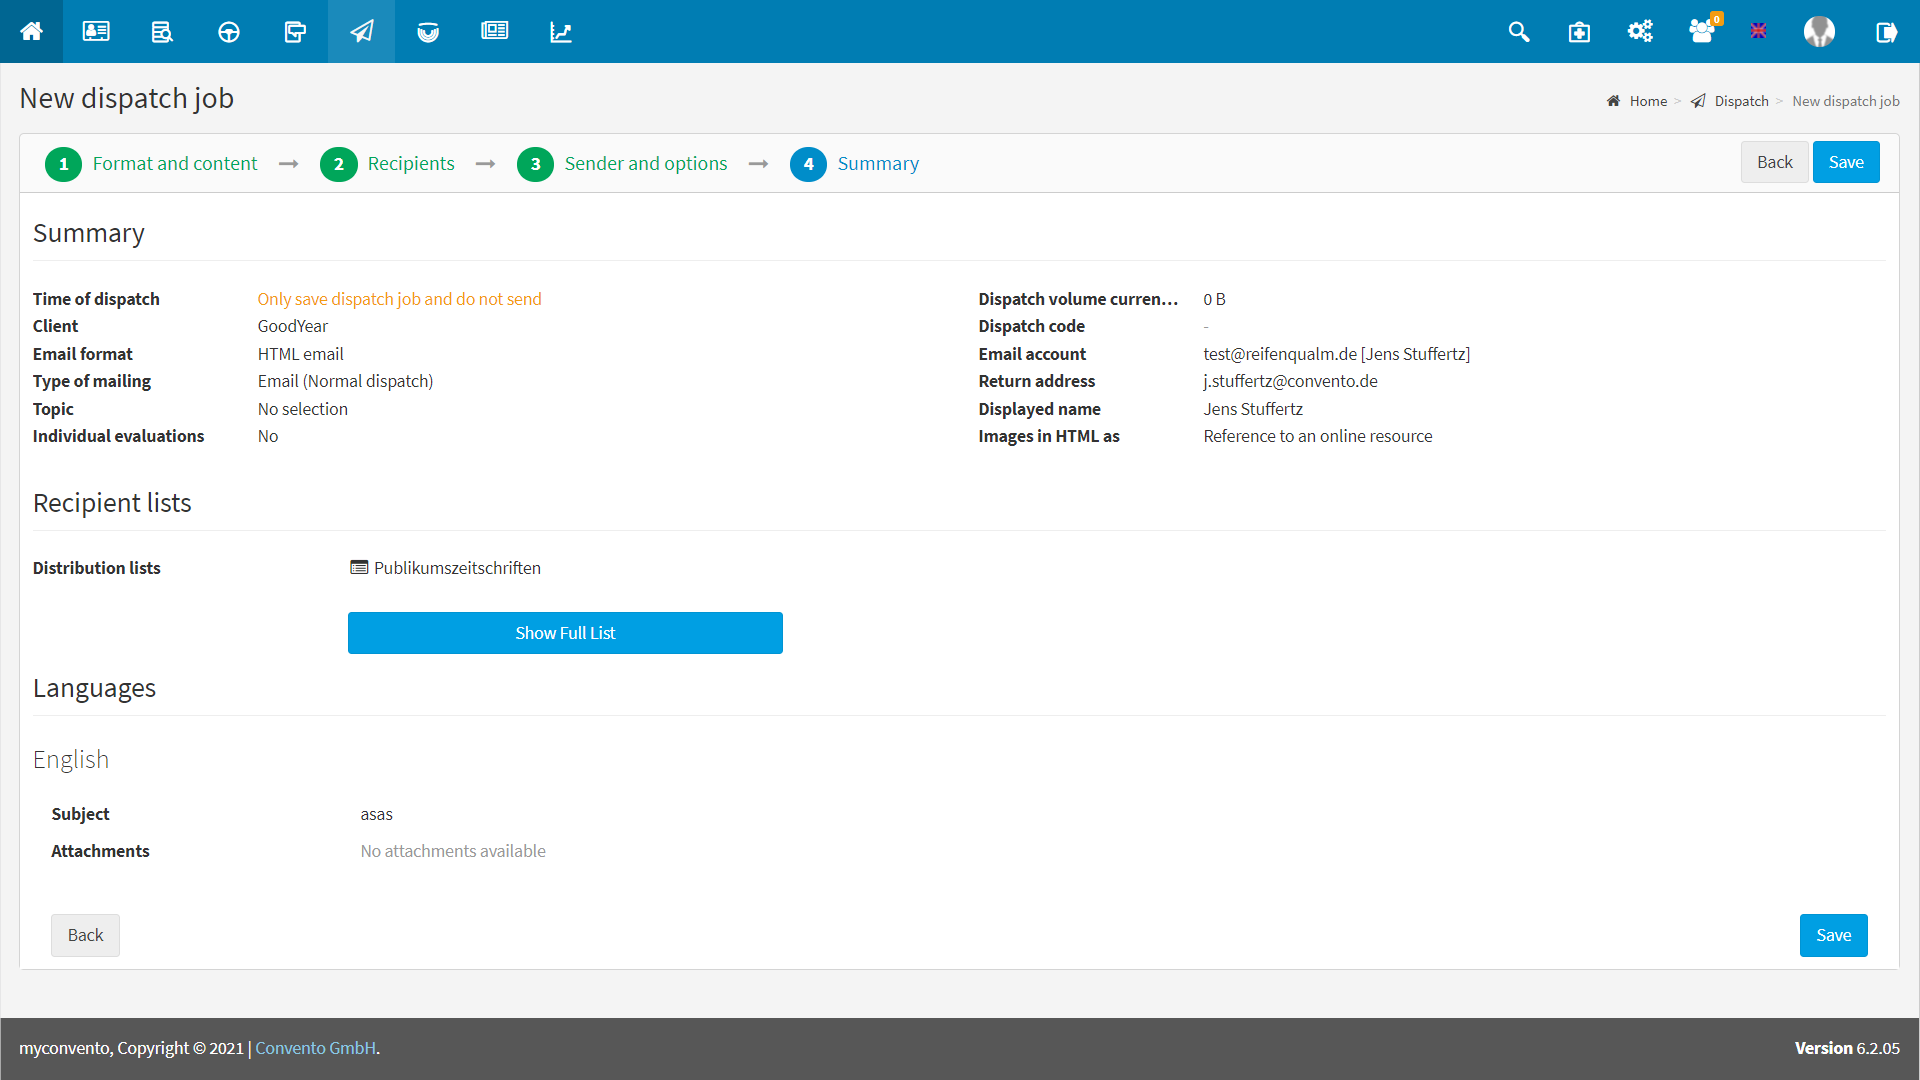
– Summary: Here myconvento shows you all framework data of your dispatch, the selected dispatch account, recipient lists (including cleaned final total list), languages and attachments. Finish the creation of the shipping order with “Save” or start the shipping via the “Send” button.
Edit dispatch
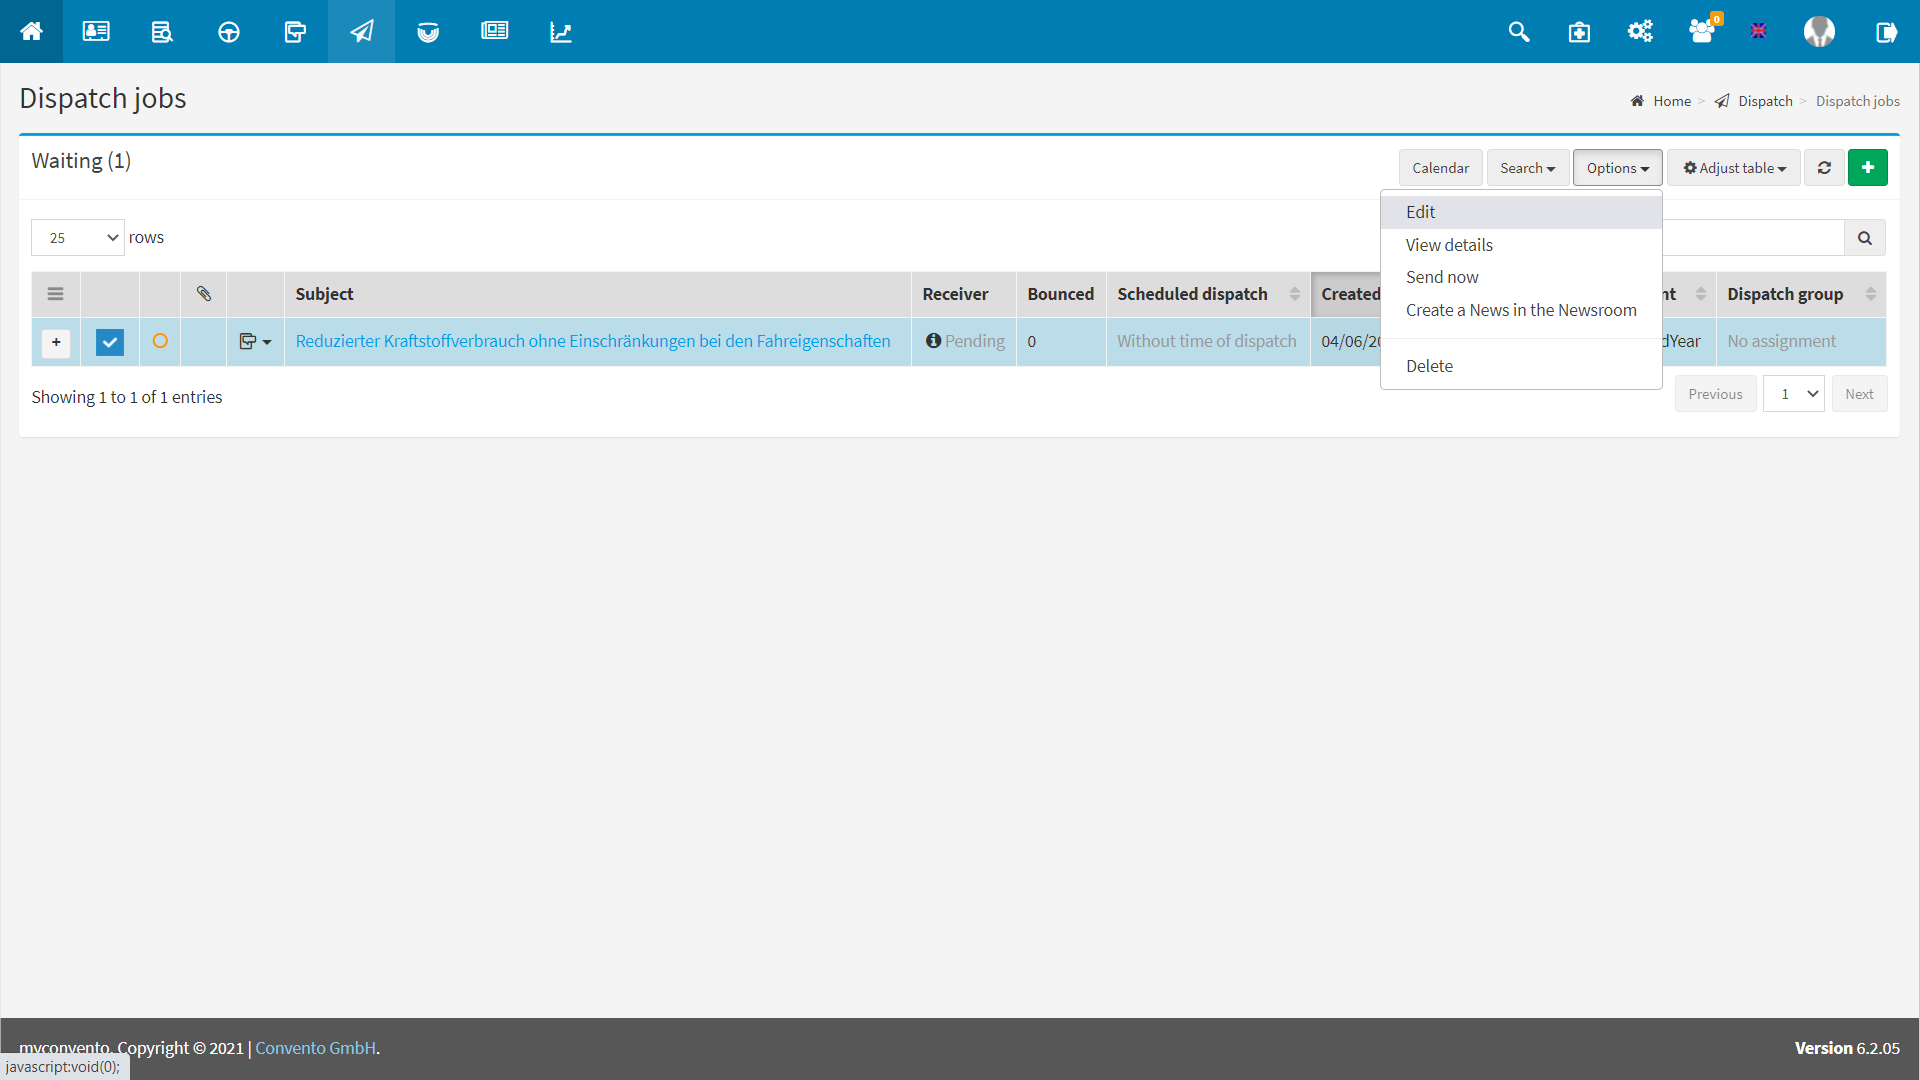
Created shipping orders can be edited by calling them up in the “Shipping” – “Shipping orders” area and selecting the “Waiting” options under “Search”. Mark a shipping order with a check mark and select “Edit” via Options. Then go through all 4 steps of the creation process again and you can make the desired changes.
Example
Create dispatch order
To create a new dispatch, click on the letter symbol at the top of the quick navigation bar and select “New dispatch job”.
Now select the template type that suits you best. More information about the template types under “Worth knowing”.
In the first step “Format and content” a base table has now been inserted and filled in here (icon above the gear on the right, Base Table 1), which in its original form has a division into HEADER, MAIN CONTENT and FOOTER. Use the test dispatch to check the email under real conditions. Under “Worth knowing” you will find further information.
In the second step “Recipients” distributors etc. can be selected, which are then merged to a total list. Here in the picture you can see the total list, which contains 4 contacts.
In the thrid step “Sender and options”, select the desired email account (must be assigned to the user), perform a test disptach again if necessary, and then select whether to save, schedule, or send immediately. In the example, “Only save dispatch job and do not send” is selected.
In the last step “Summary” you get an overview of the dispatch time, the selected formats, the recipient lists, the selected languages and attachments. The “Save” button (in this example) can be used to save the dispatch after confirming it again.
Edit dispatch
Once the dispatch is saved, it is assigned to the “Waiting” category, as it is now waiting for further processing. This category can be called up via “Search”. If you tick a waiting dispatch, it can be edited via “Options”. For this, the 4 steps known from the creation process are then run through again
Worth knowing
Note: Since every change in the template has an immediate effect on the HTML source code, it can occasionally be advantageous to have a certain basic understanding of HTML. This not only allows you to better adapt the styles to your needs, but also to identify display errors more quickly.
Vorlagenformate:
system-templates:
- Empty template only HTML: Choose this format to create an HTML email about the full width from the beginning. If contacts cannot receive HTML, they will receive a text mail containing a link to the browser version.
- Empty template HTML + Text: Combine HTML and text to send both a crafted email and a plain text email.
- Empty template fixed: Use this format to create a mail with 600 pixels width. This allows you to work in the width that can be optimally displayed on all devices (responsive display).
- Starter Templates 1-3: These starter templates serve as examples and can of course be used for your work.
Featured template formats:
Featured template formats are programmed to be particularly suitable for responsive output. Choose this format to create an HTML email over a maximum width of 600 pixels, but which adjusts in width – depending on the output device and screen. If contacts are unable to receive HTML, they will receive a text email that includes a link to the browser version.
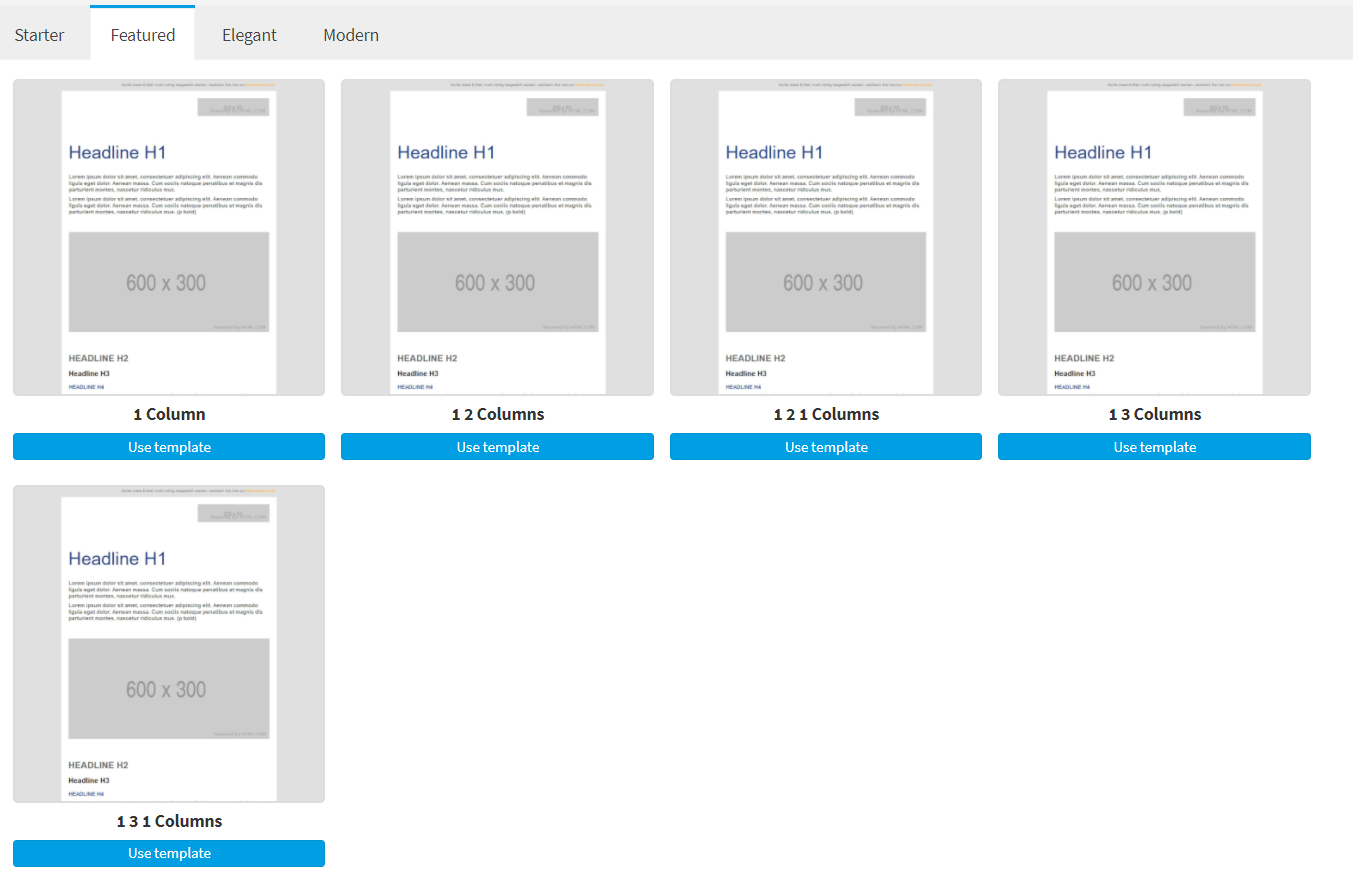
1 column: The content is displayed completely in 1 column
1 2 columns: The content is displayed in 1 column in the header area, and 2 columns in the lower area .
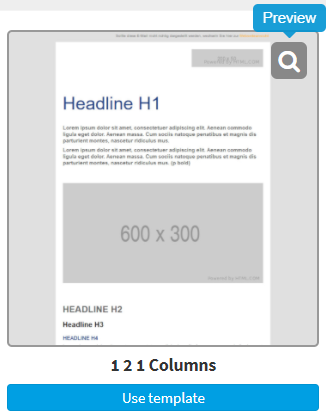
1 2 1 columns: … enables an initial 1-column, then 2-column and in the lower area again 1-column display.
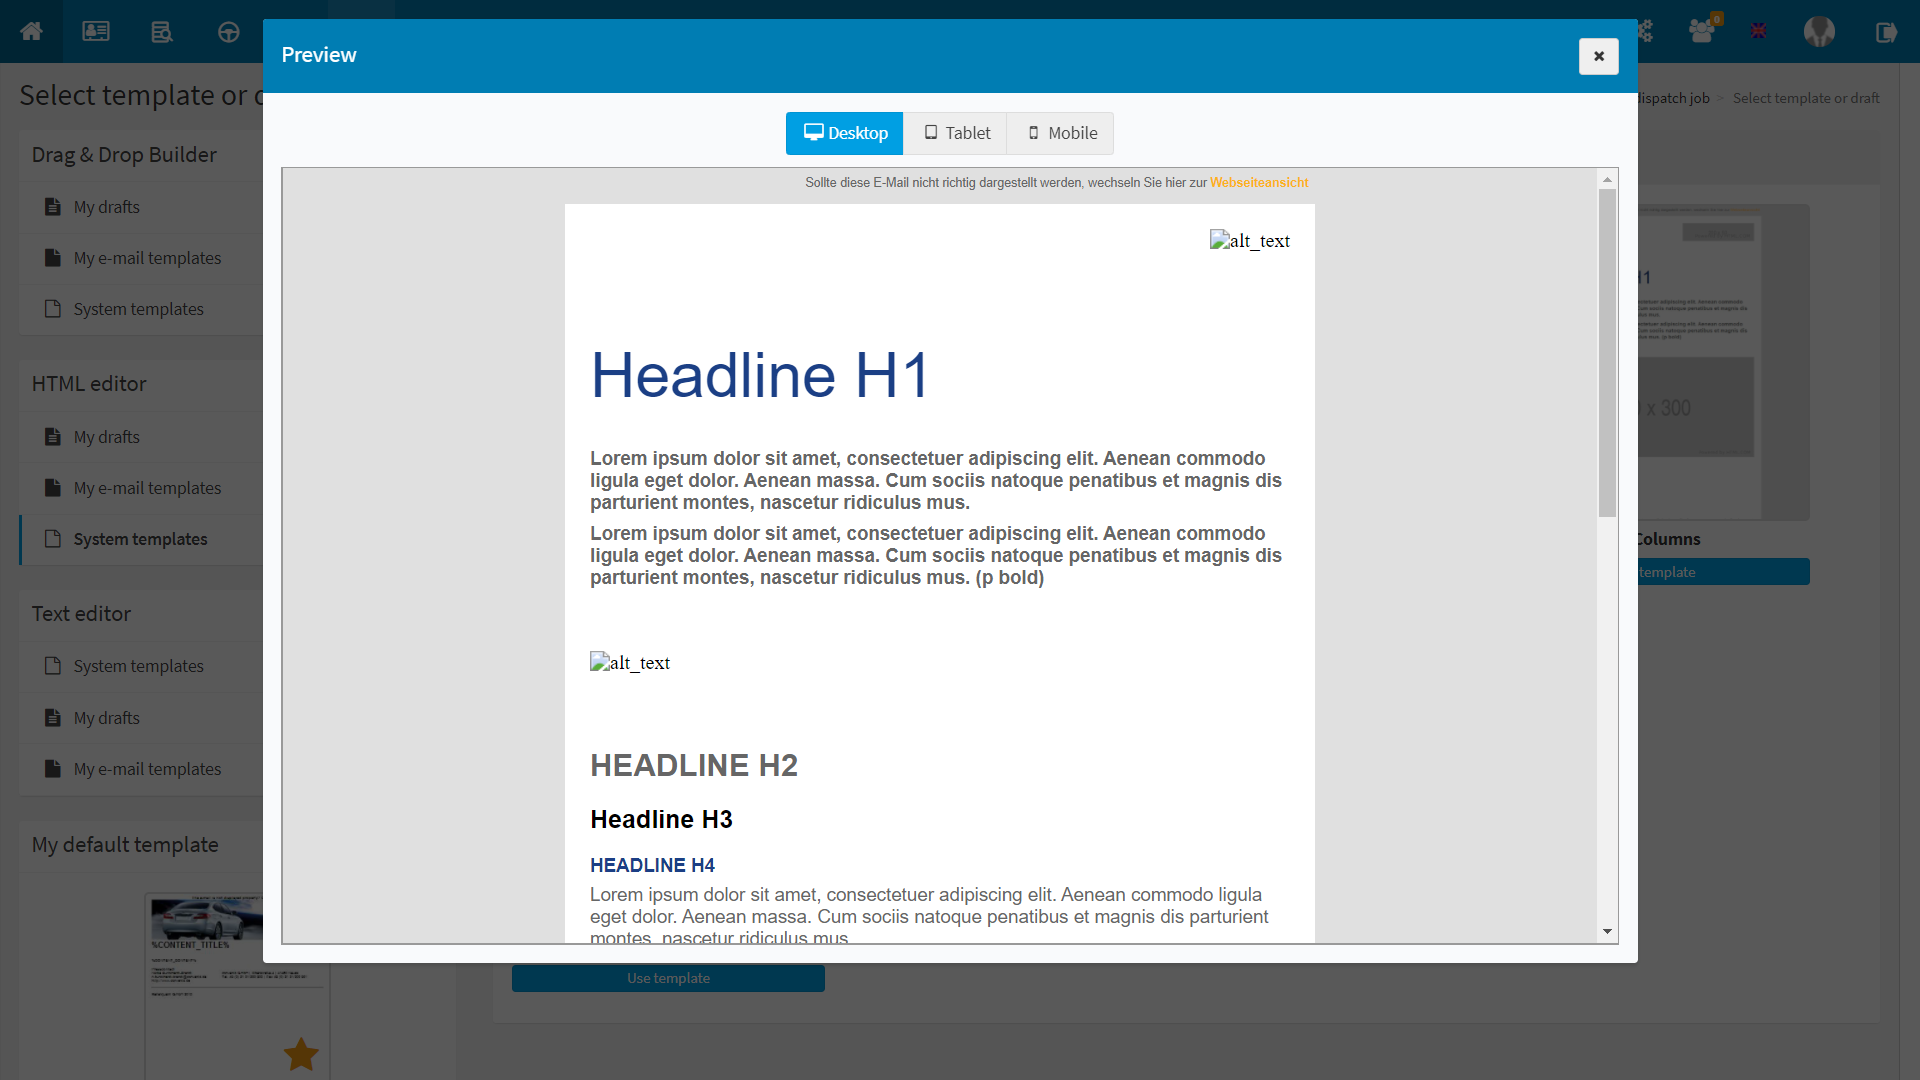
Use the “Preview” function to select the template that suits you best. Here you can also simulate the display on different output devices.
Create email:
Be sure to include both the Browser View link and the Unsubscribe link in your emails.
The Browser View link allows the message to be viewed even if the email cannot be displayed correctly for unknown reasons.
The unsubscribe link allows the recipient of your message to add themselves to your blacklist with just a few clicks. This way you not only act GDPR compliant, but you don’t have to remove the respective contacts from the distribution lists individually.
