In this chapter, you will learn how to create and edit clippings manually or from Media Intelligence. You can also add print clippings, for example, from your media observer, or directly via a print medium. Please observe the copyright when creating or processing electronic versions.
The “Worth-knowing” section also provides additional information and tips, including how to archive clippings, bookmark or filter them to find specific clippings.
Workflow
Creating Clippings manually
- Click on the Clipmanager on the Home-Screen.
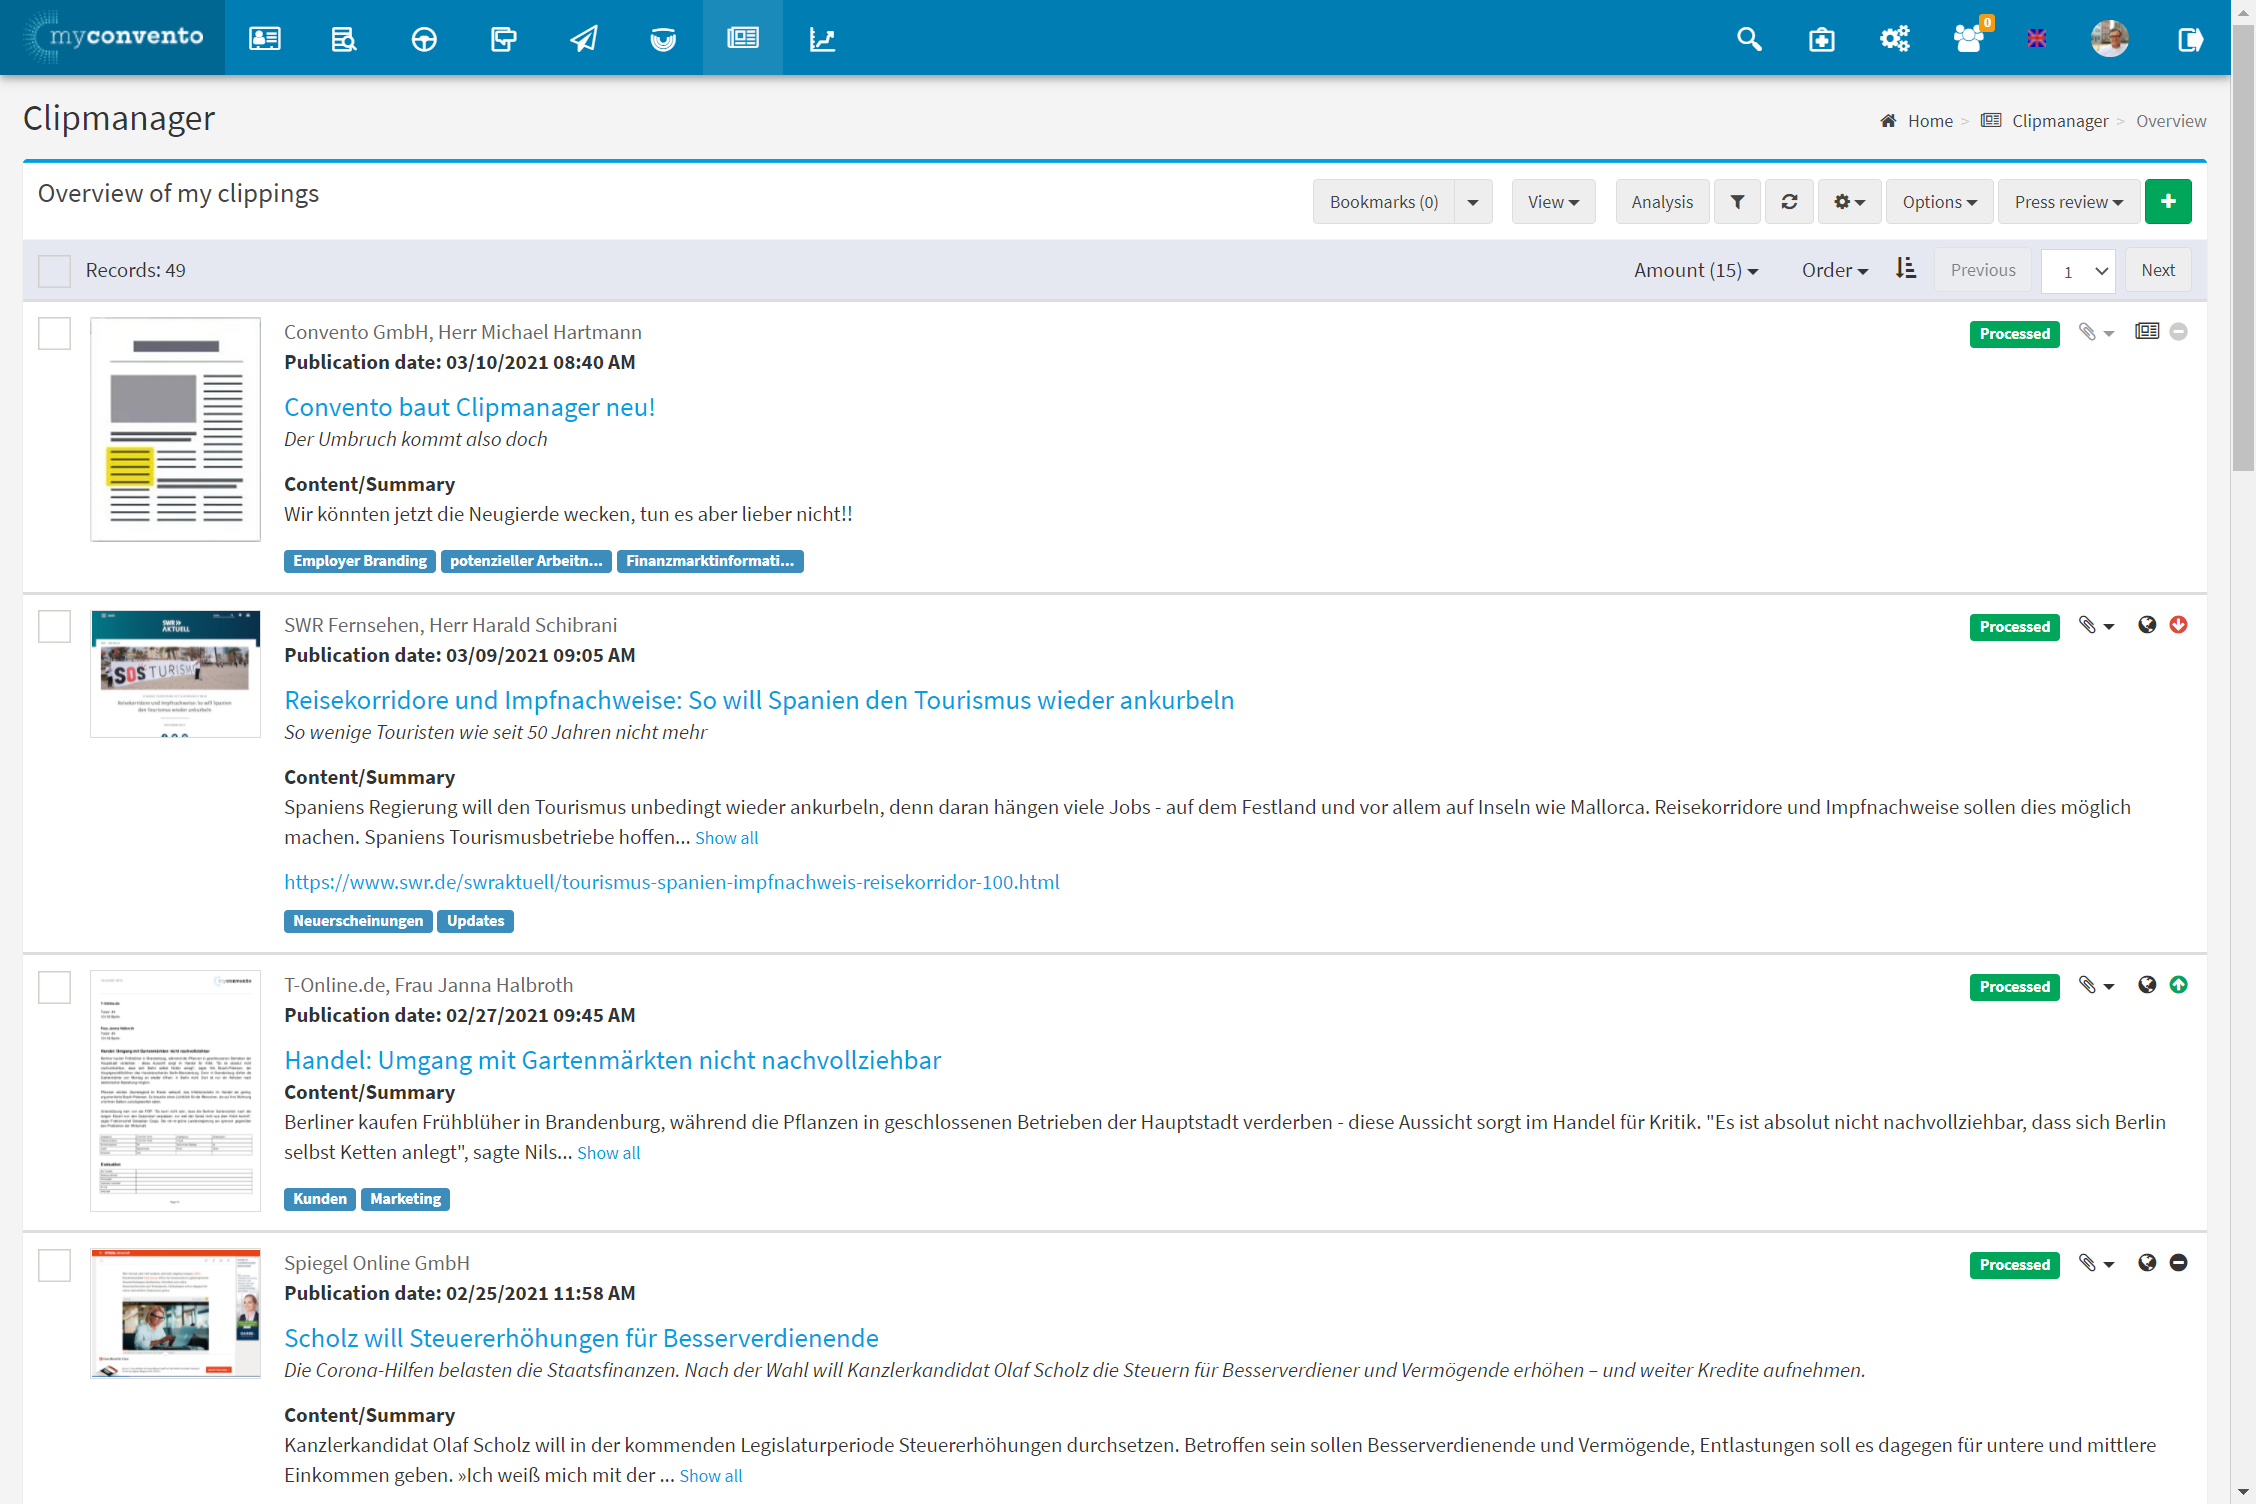
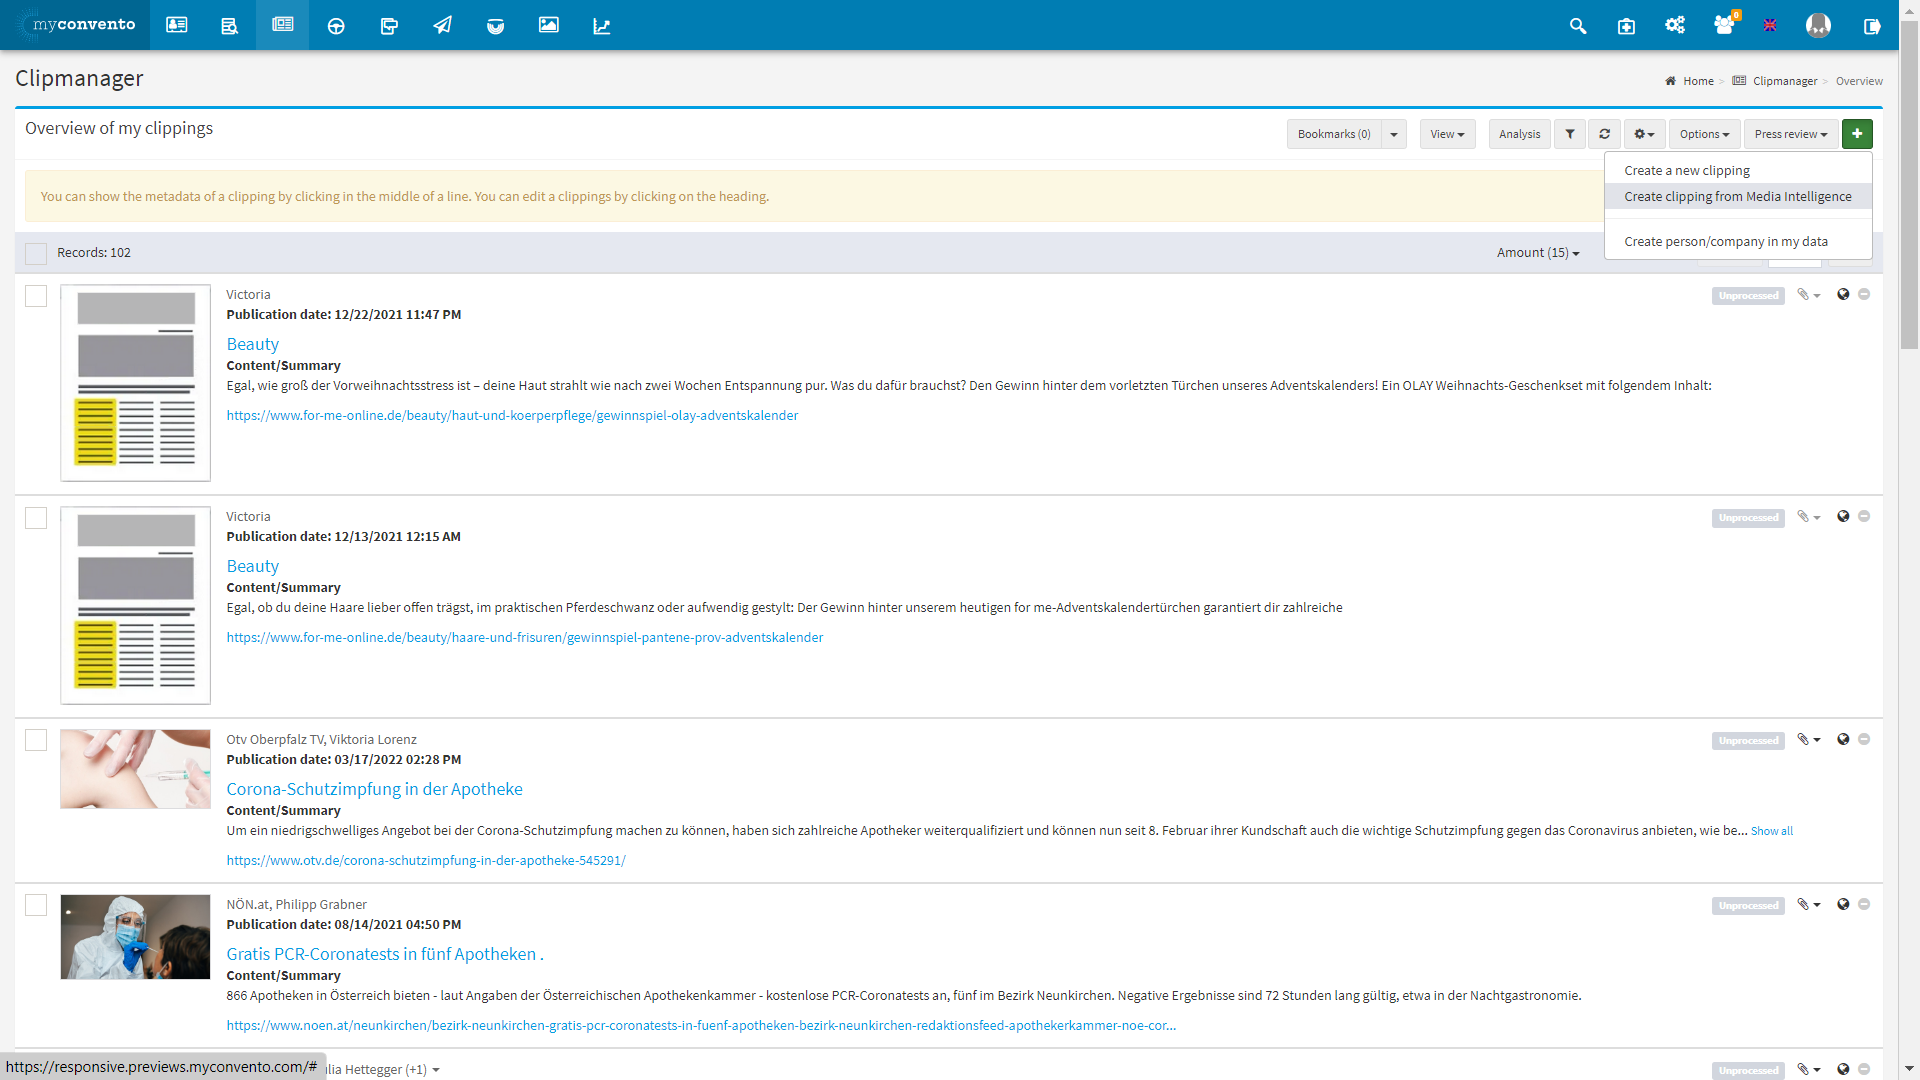
- In the Clipmanager you can ,,Create a new Clipping” by clicking on the green plus-symbol.
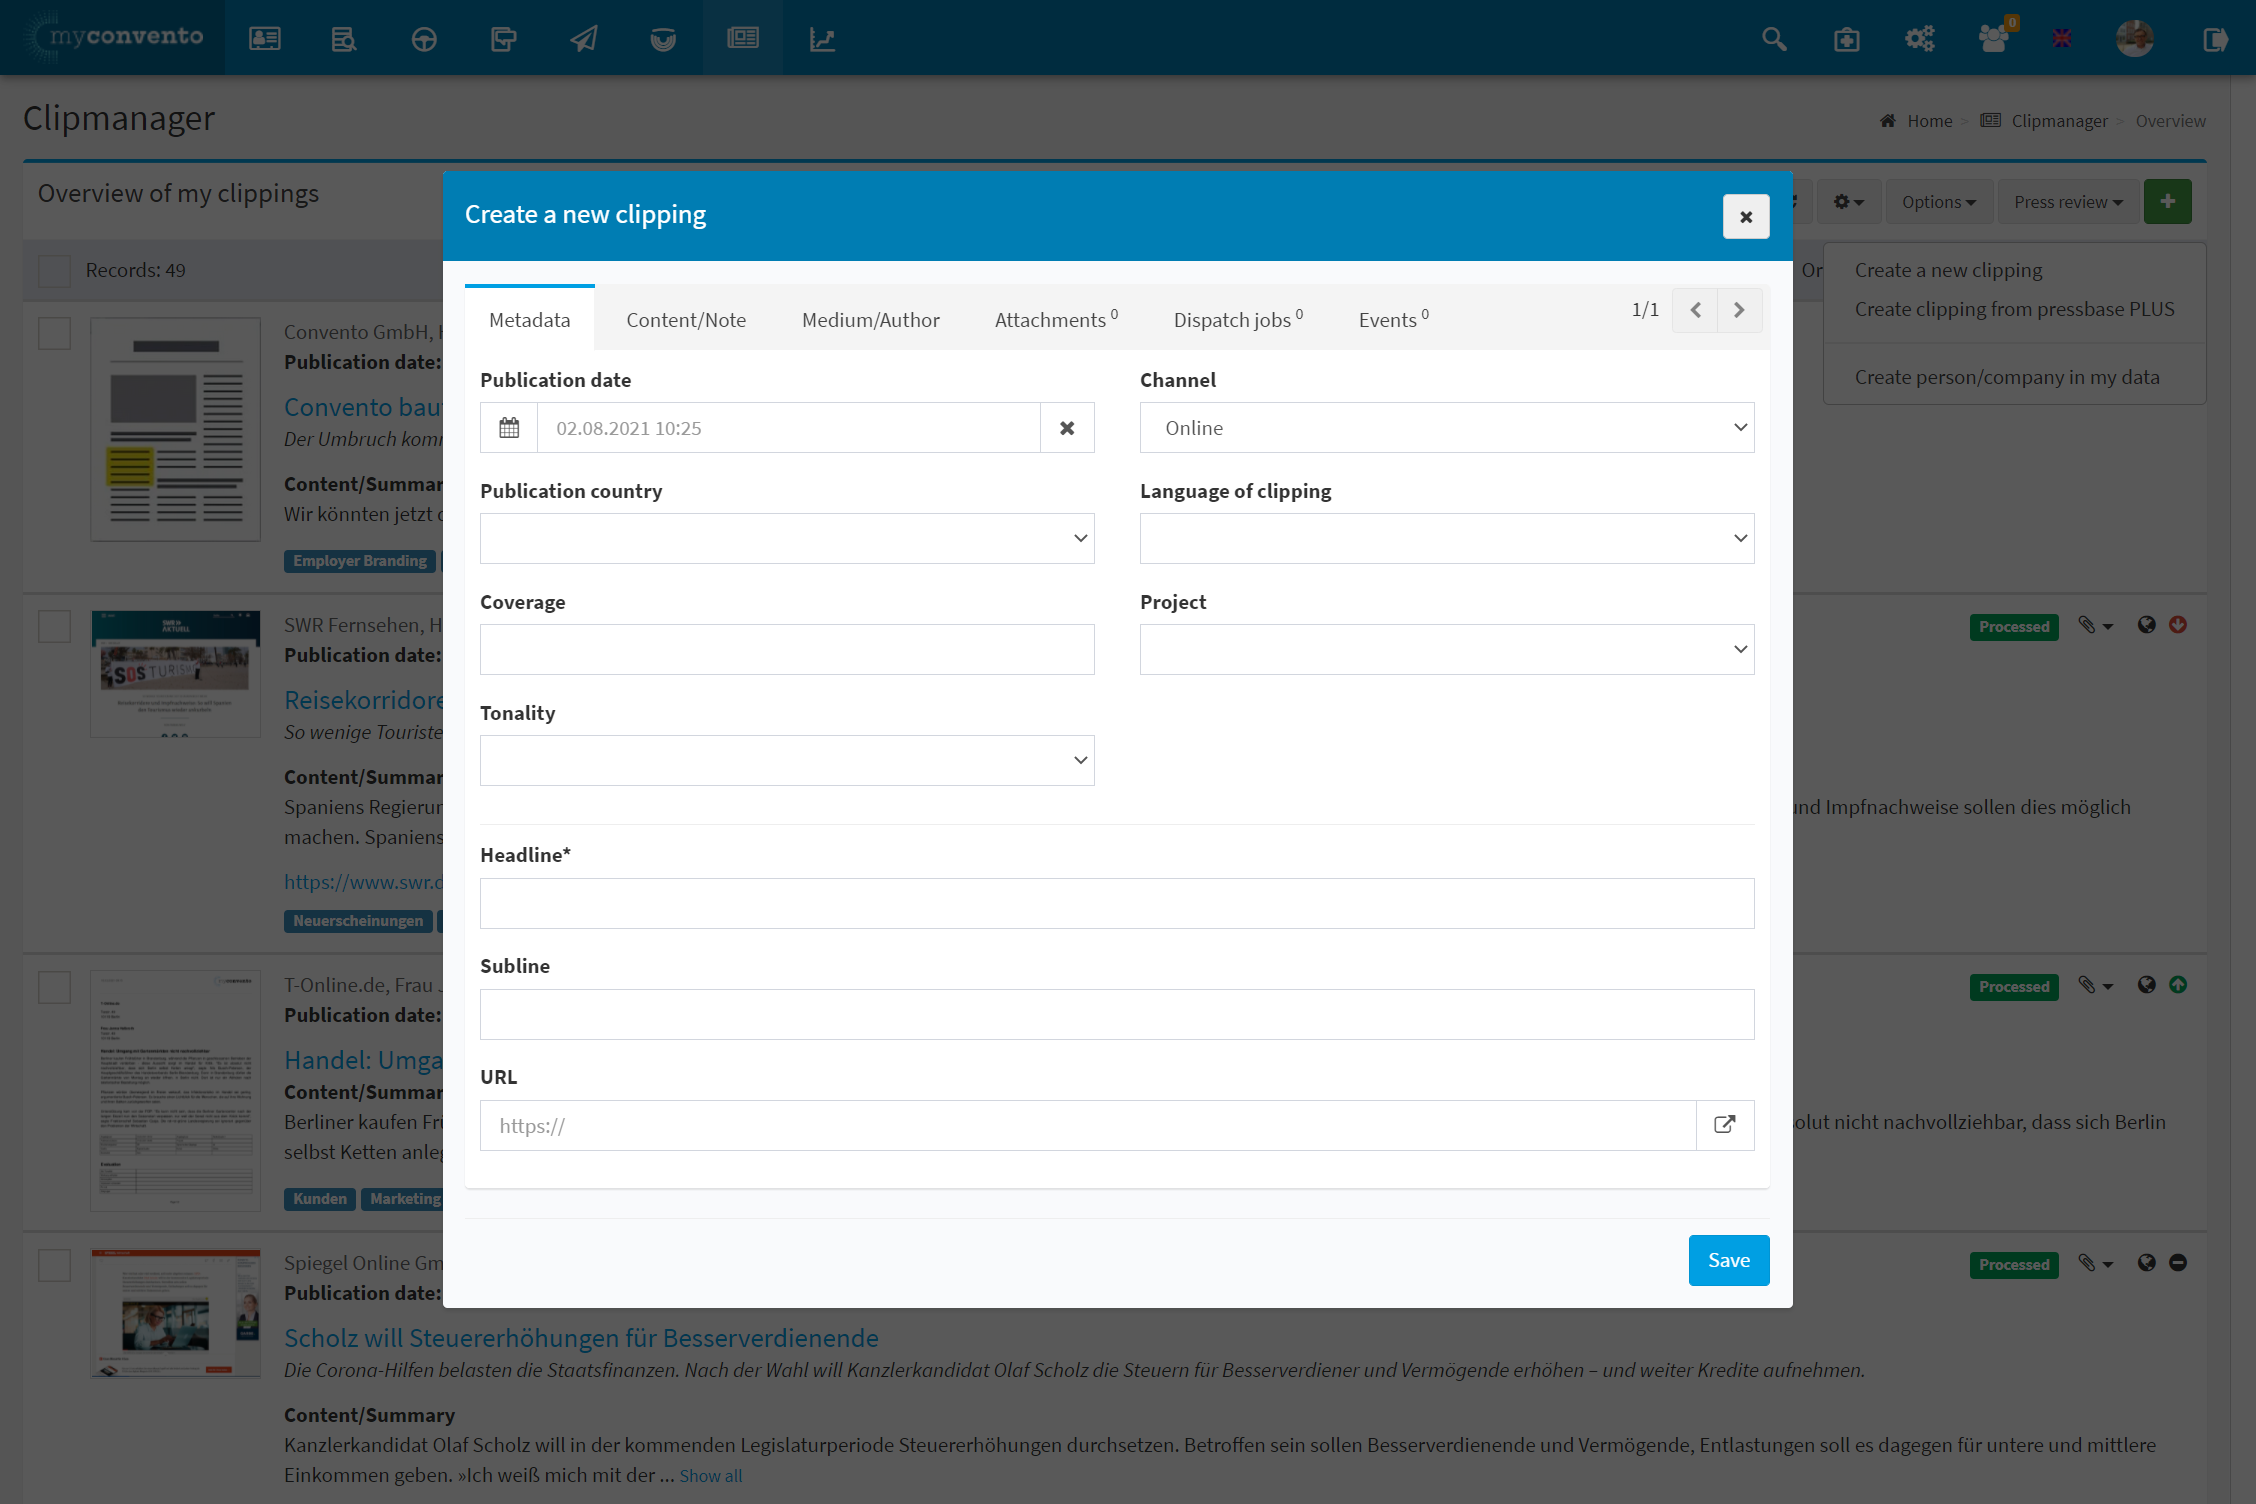
- The ,,Headline” under ,,Metadata” is obligatory to create a new Clipping.
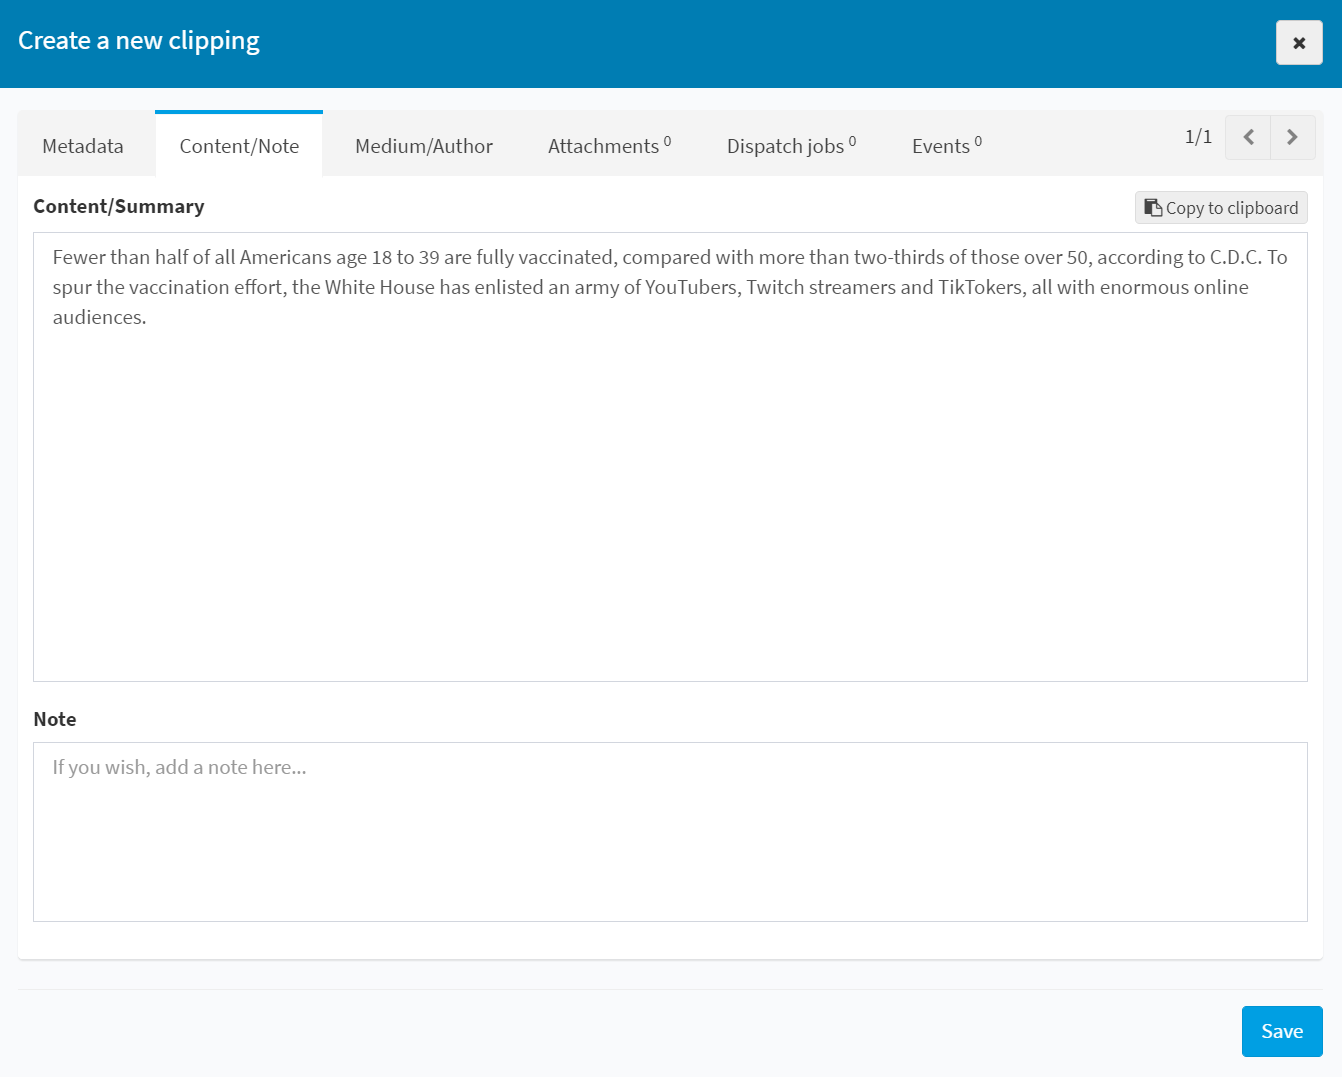
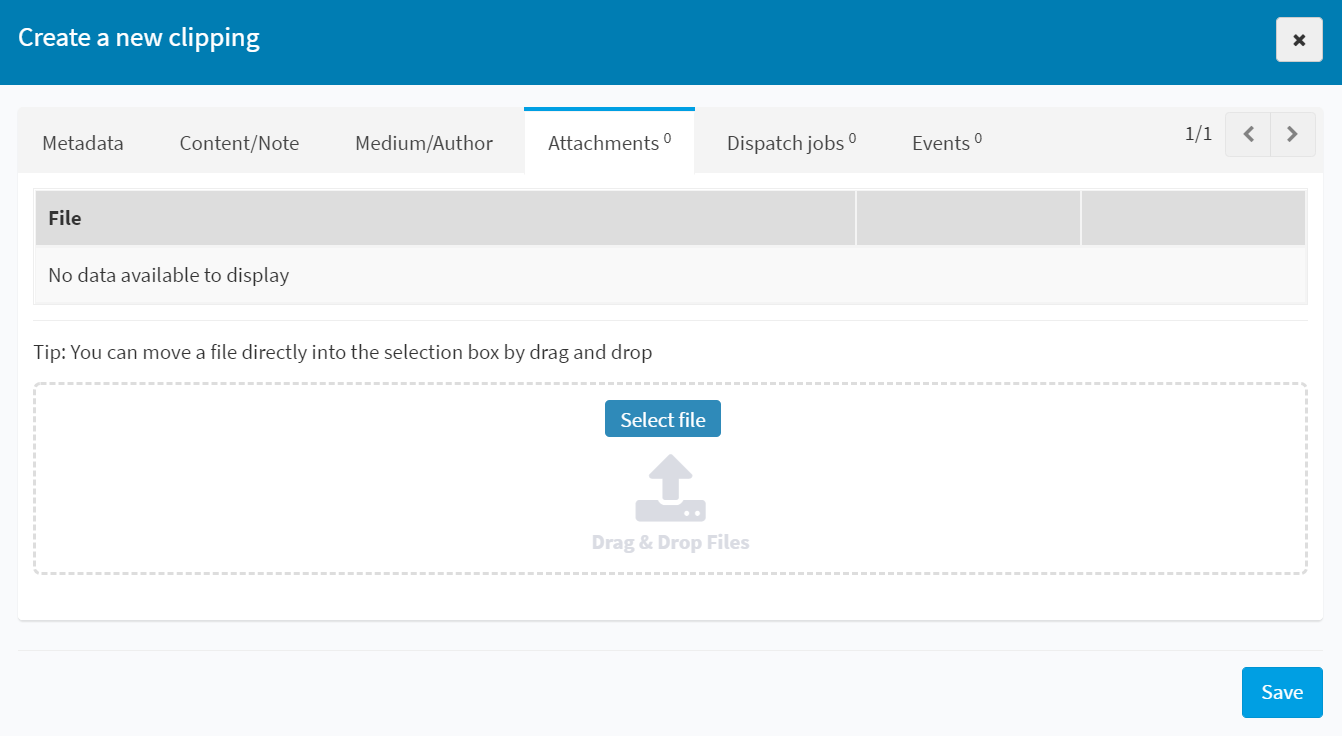
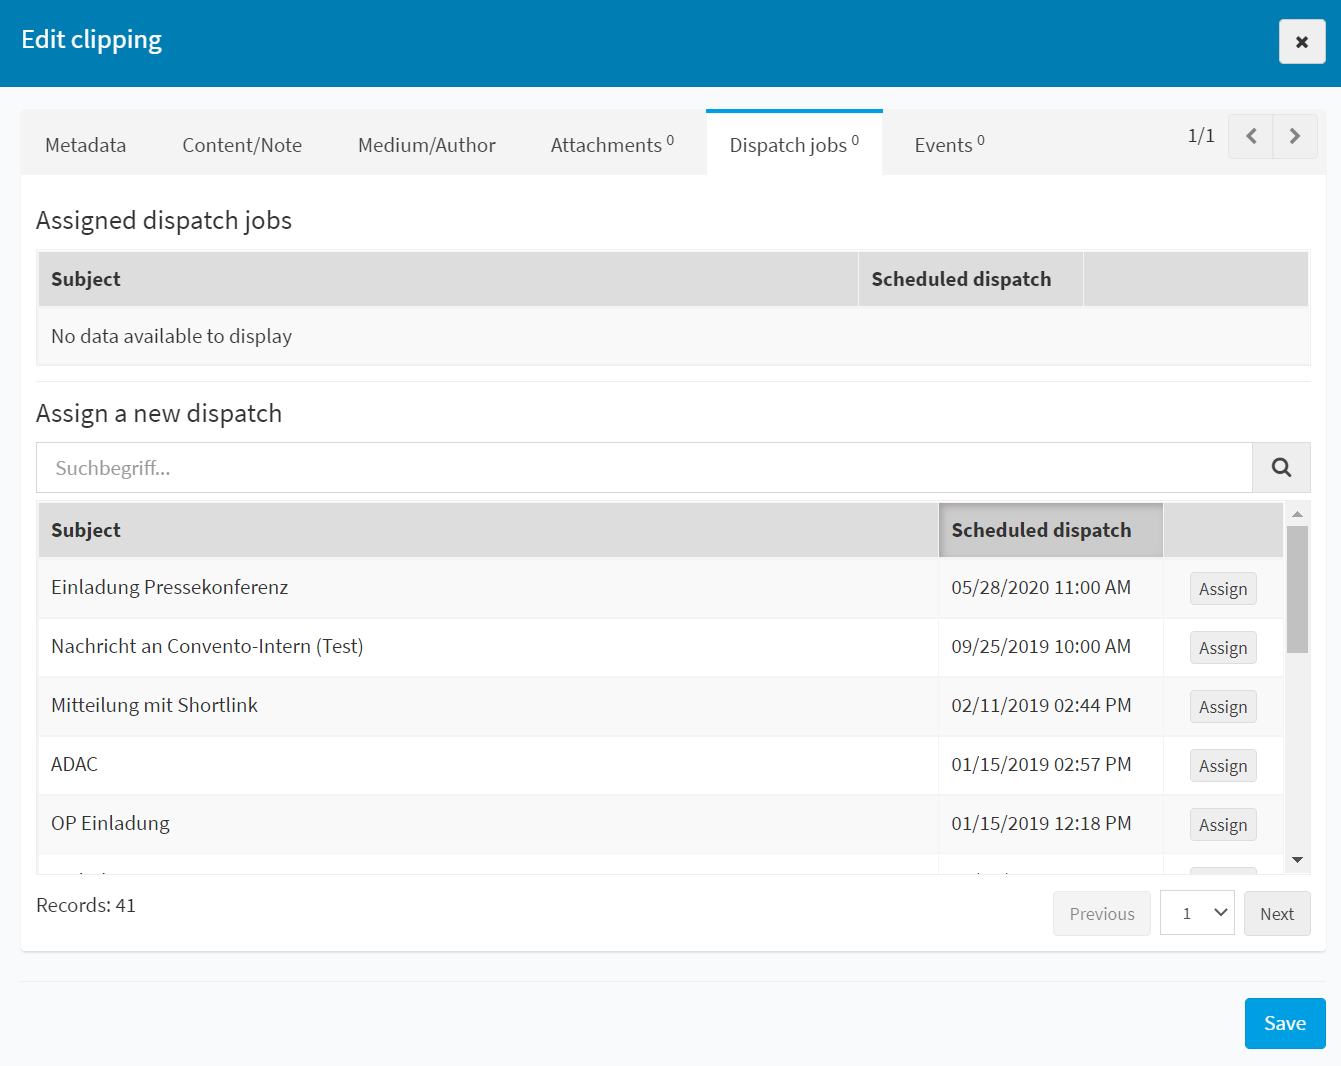
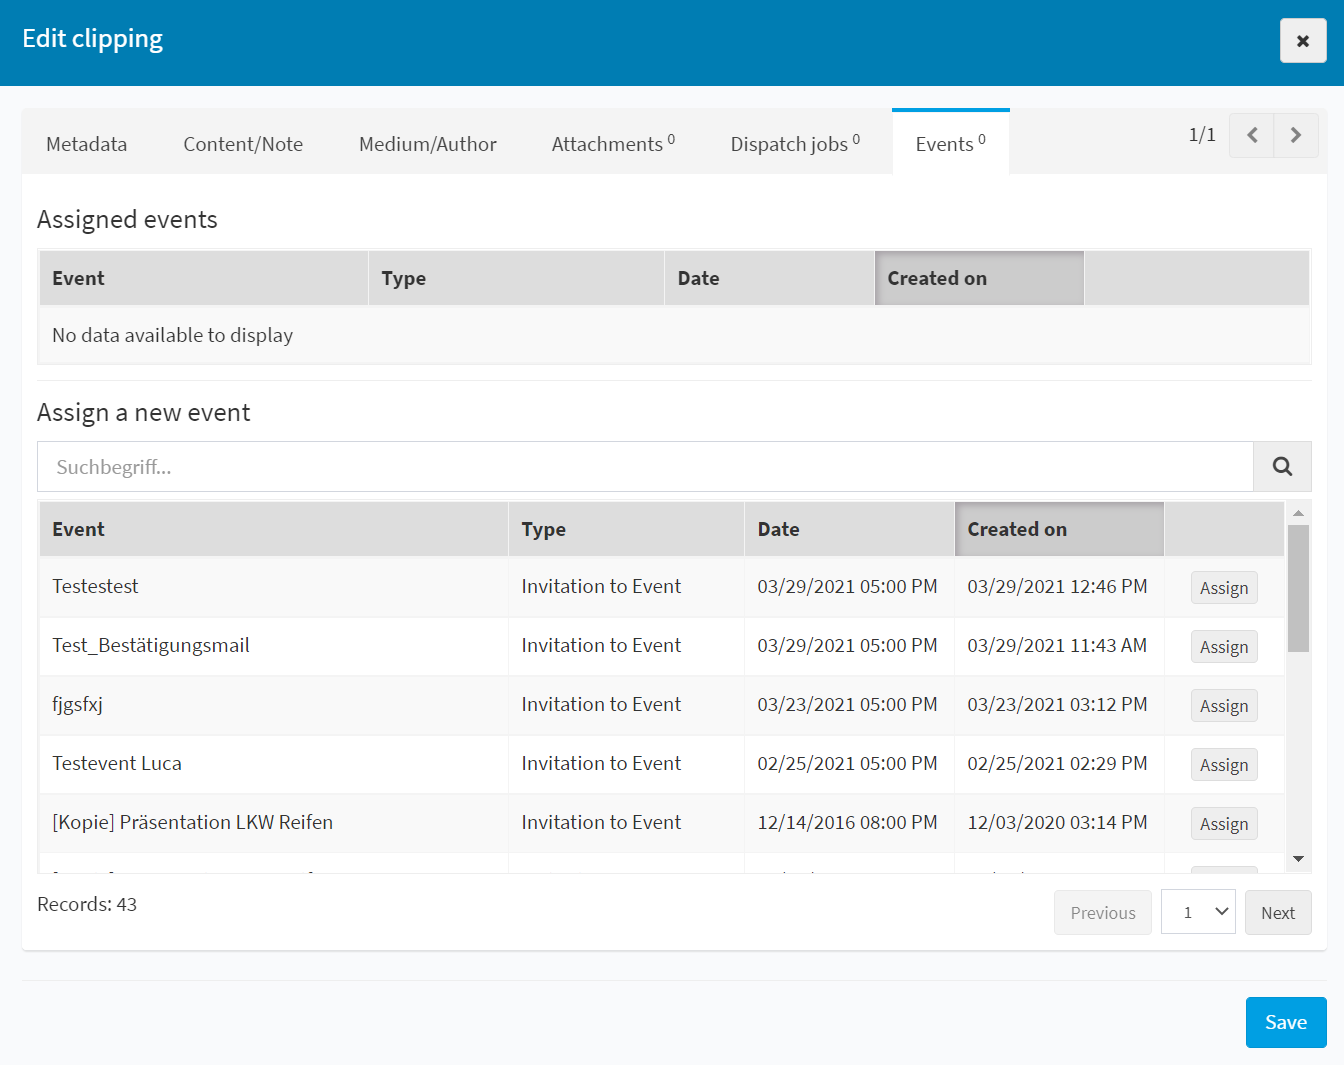
- Add the remaining information under ,,Content/Note”, ,,Medium/Author”, ,,Attachments”, ,,Dispatch Jobs” and ,,Events”.
- Finally, you can ,,save” your Clipping.
Create Clippings from Media Intelligence
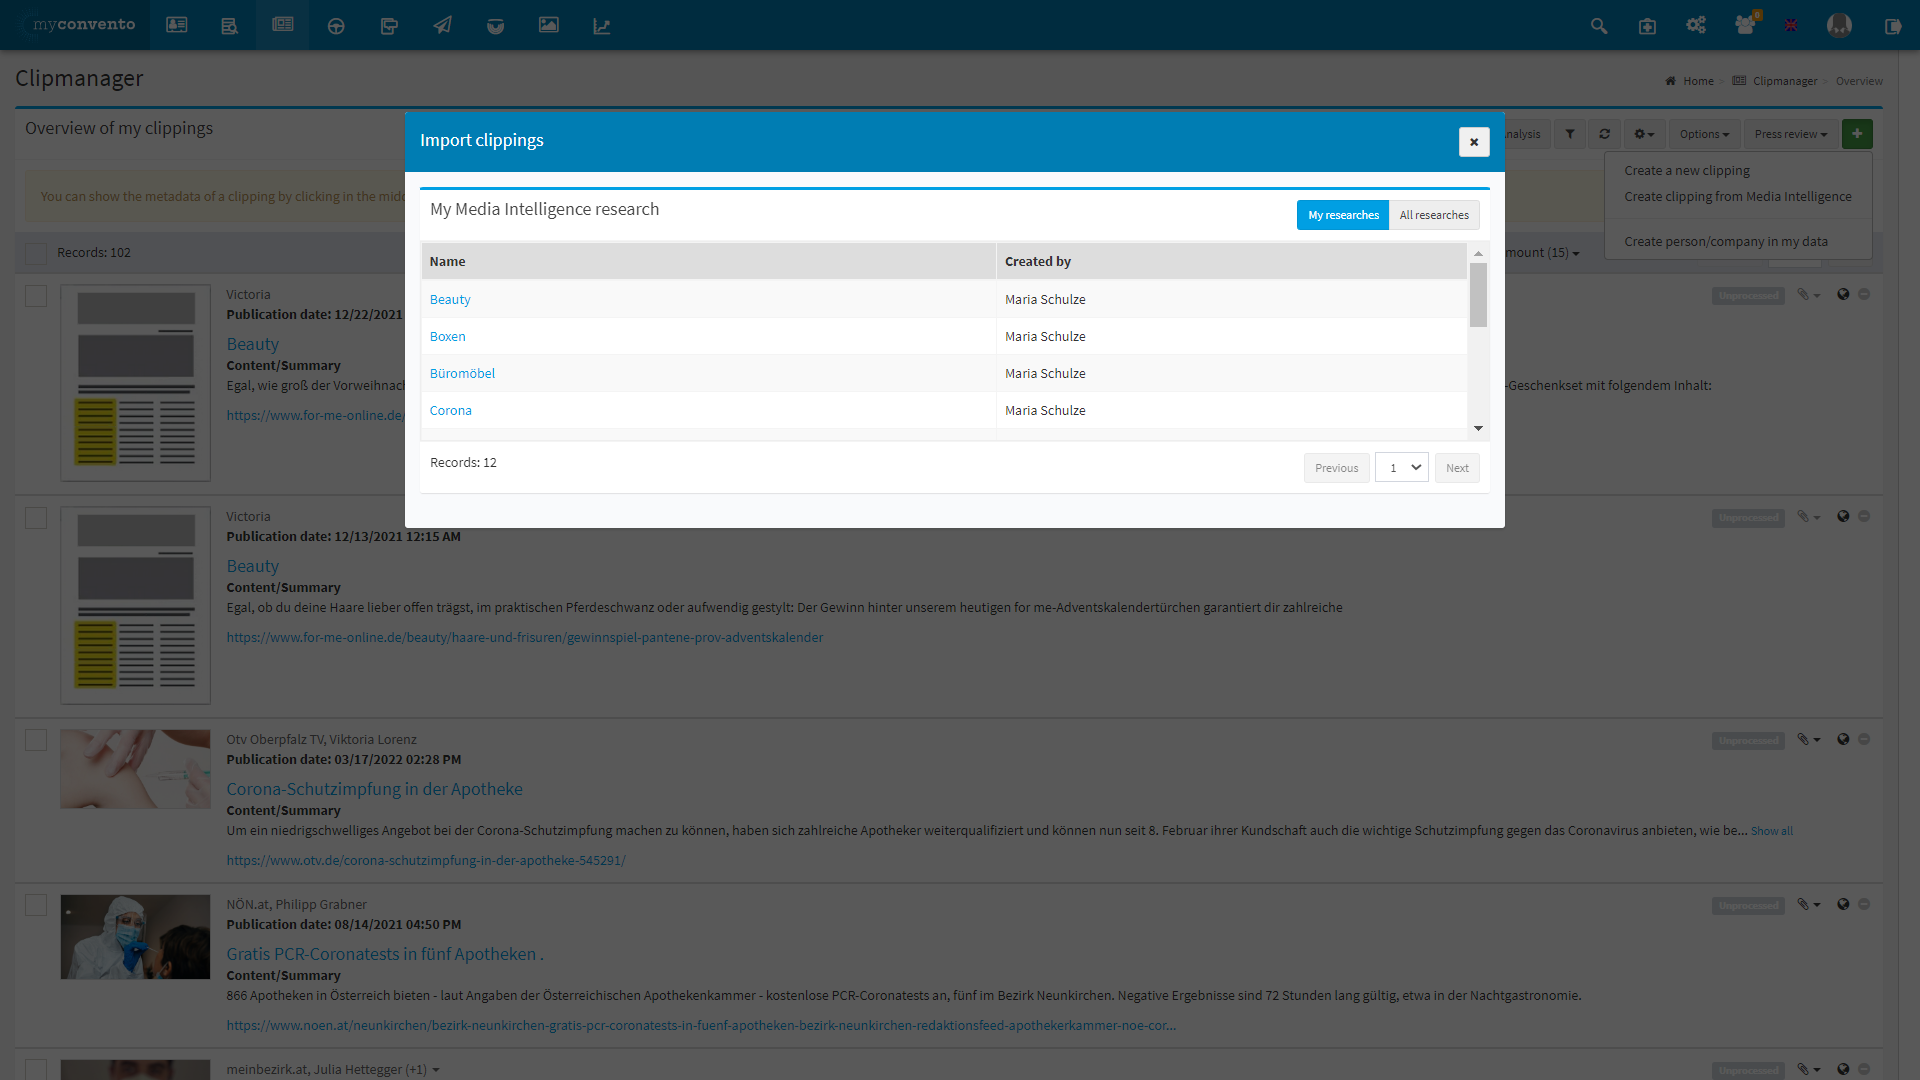
- By clicking on the green plus, you can also ,,Create a Clipping from Media Intelligence”.
- In the pop-up window that opens, you will see your Media Intelligence researches.
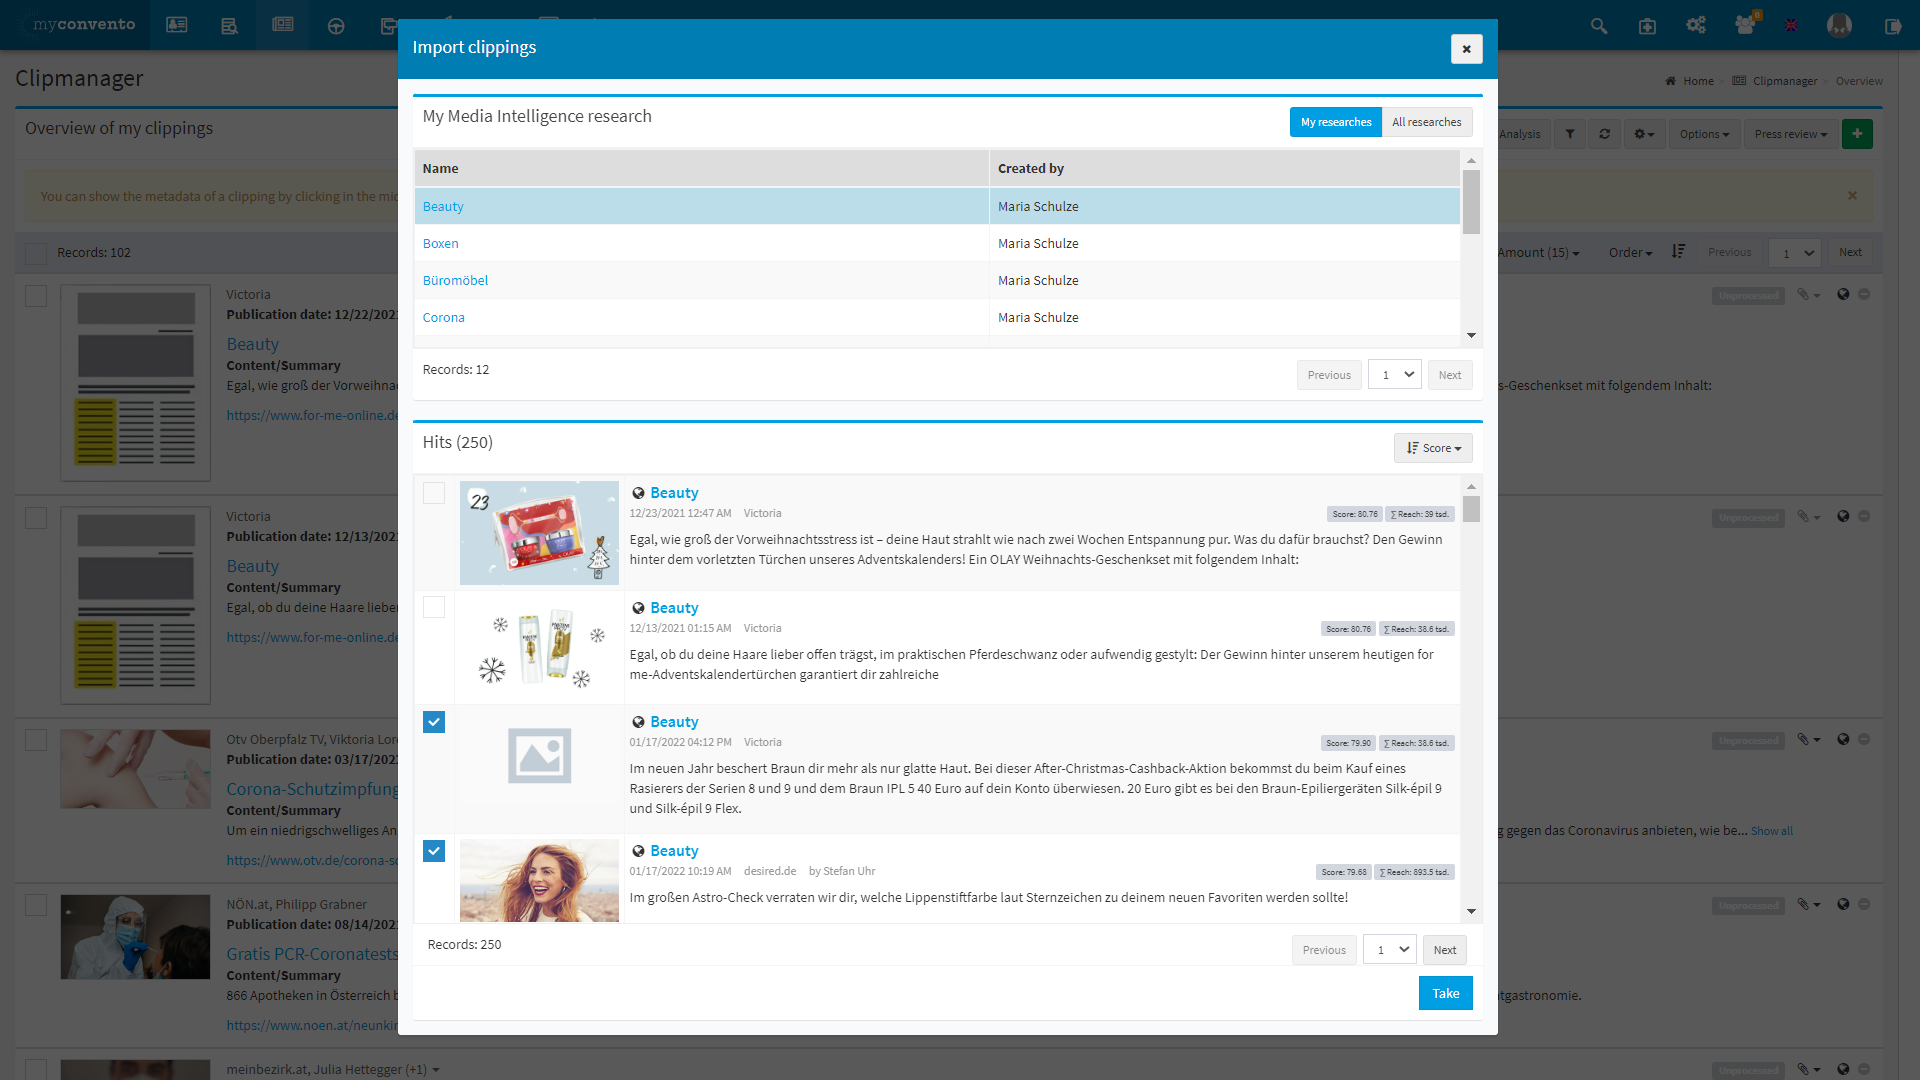
- By selecting a saved research, aricles found for it will be displayed.
- You can then mark the displayed hits and “take” them as clipping.
Example
Create Clippings manually
,,Create a new Clipping” by clicking on the green plus in the Clipmanager. Clippings could also originate from your media observer.
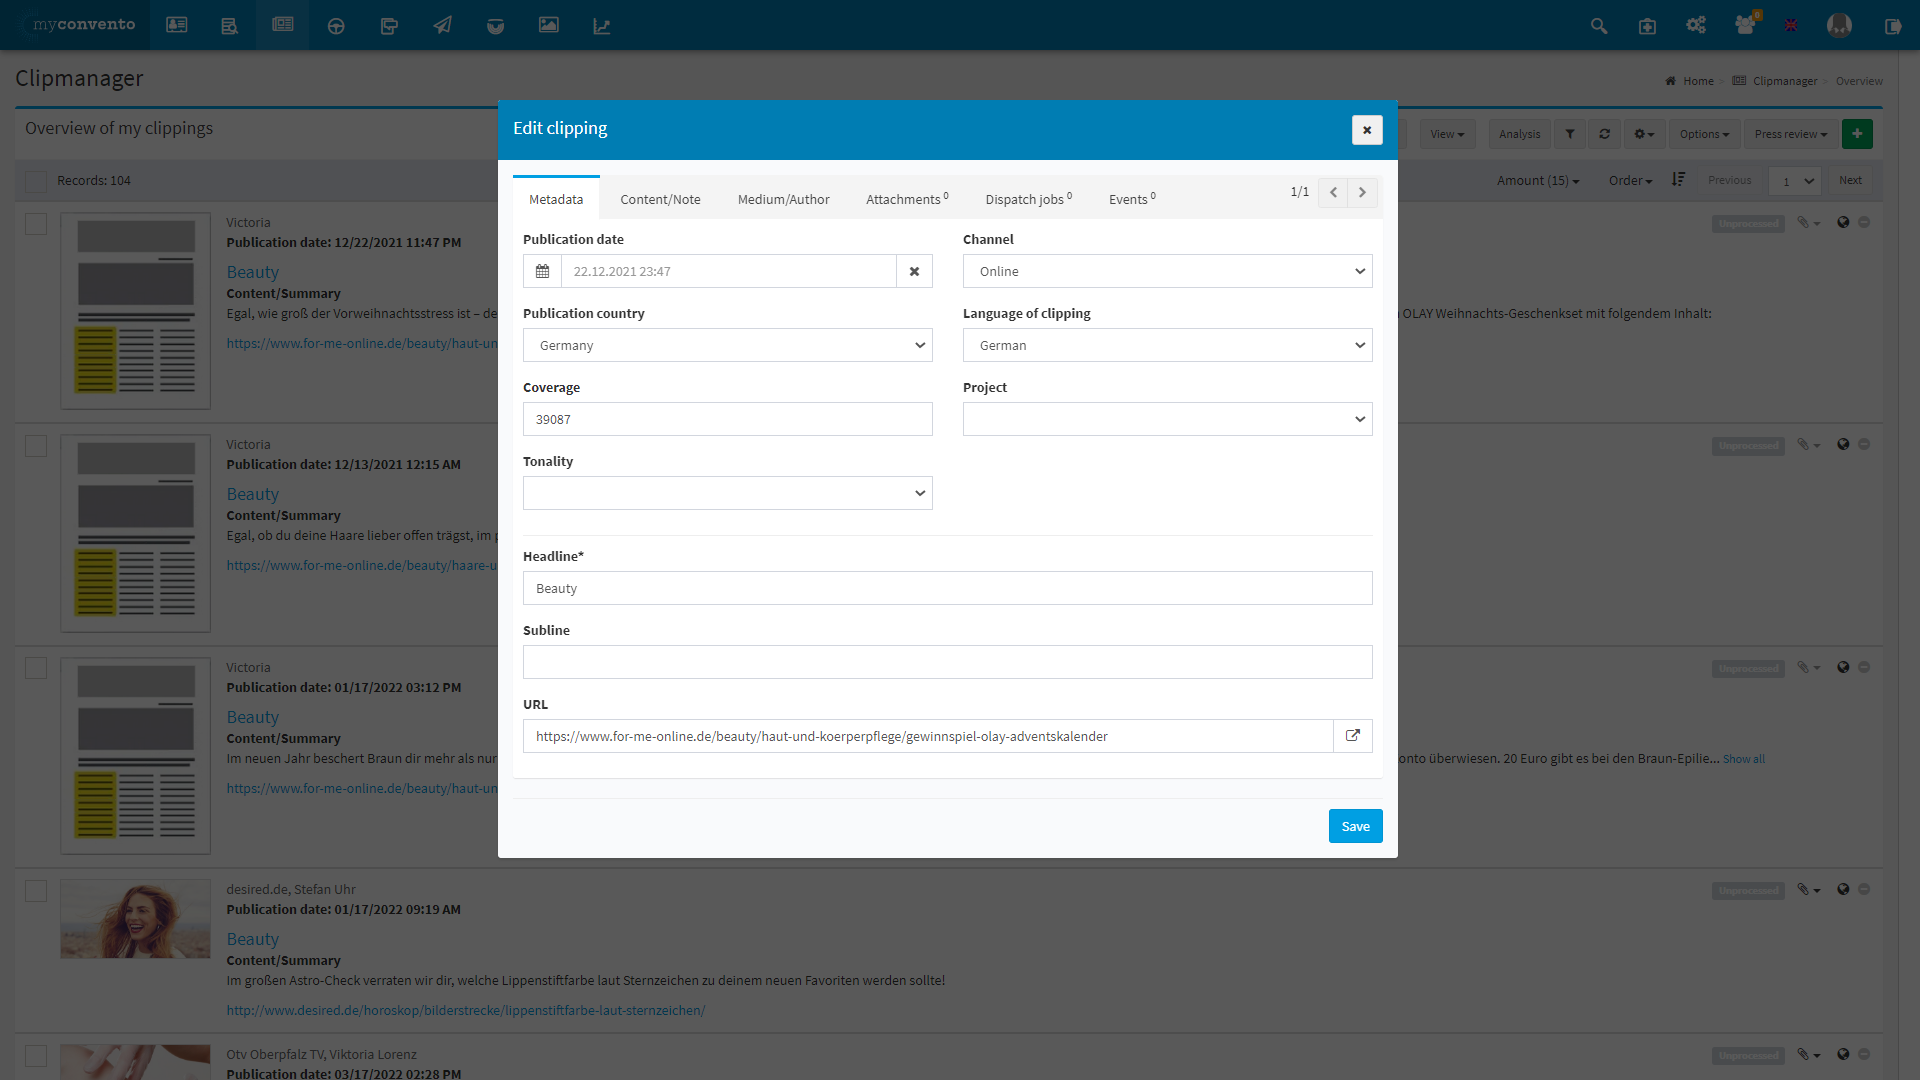
Choose ,,Create a new clipping”, so a Pop-Up window appears. Here you can add the ,,Headline” under ,,Metadata” and can add further information under ,,Content/Note”, ,,Medium/Author”, ,,Attachments”, ,,Dispatch Jobs” and ,,Events”.
Under ,,Metadata” you can add the ,,Publication date”, ,,Channel”, ,,Publication country”, ,,Language of clipping” and the ,,Coverage” for example. The ,,Headline” is obligatory and needed to save the Clipping later on.
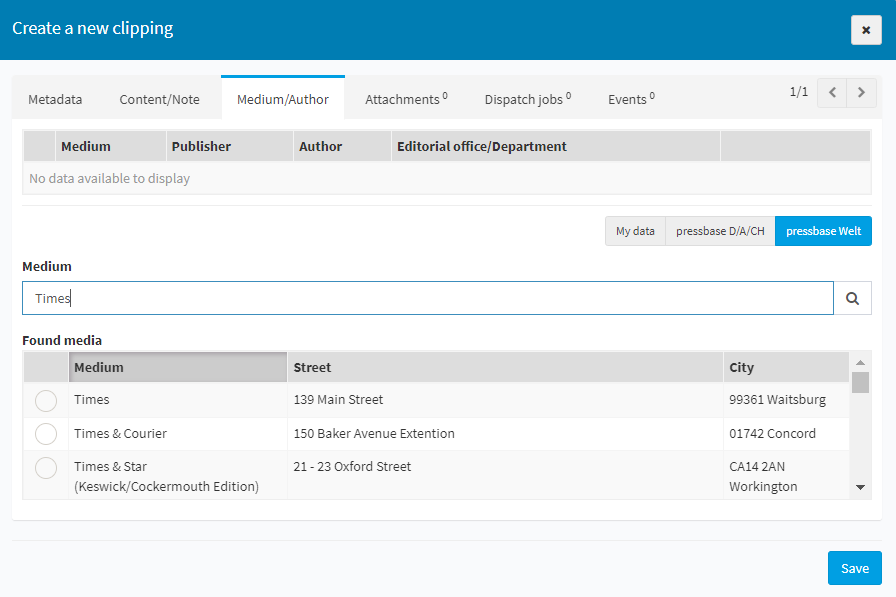
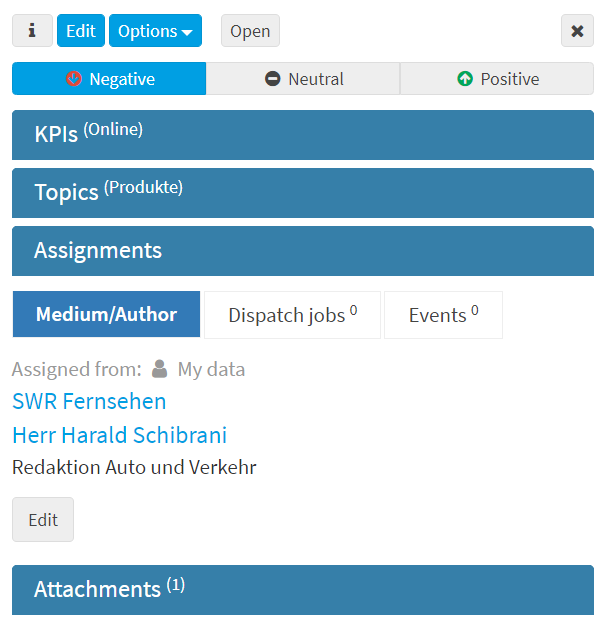
Under ,,Medium/Author” you can search for a medium in ,,My Data” or in ,,pressbase D/A/CH”. Select one company under the ,,Found media” and a list of ,,Found roles”, if existing, will appear.
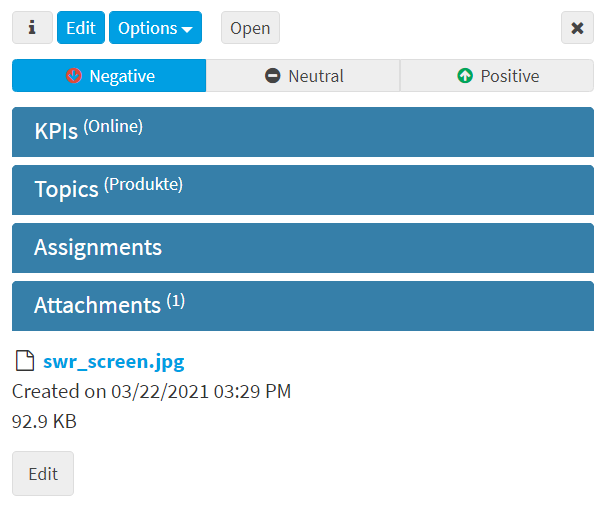
Via ,,Drag&Drop” you can add documents or pictures under ,,Attachments”. If a picture is added, that picture will be shown next to your Clipping in your overview.
Create Clippings from Media Intelligence
By clicking on the green plus in the Clipmanager, you can also ,,Create a clipping from Media Intelligence”.
In the pop-up window that opens, you will first see your own Media Intelligence researches and can also display ,,All Researches”.
If you select a Media Intelligence research, you will receive a hit list with the articles found. You can filter these by “score”, “topicality” or “reach”. Then select the desired articles and “Take” them.
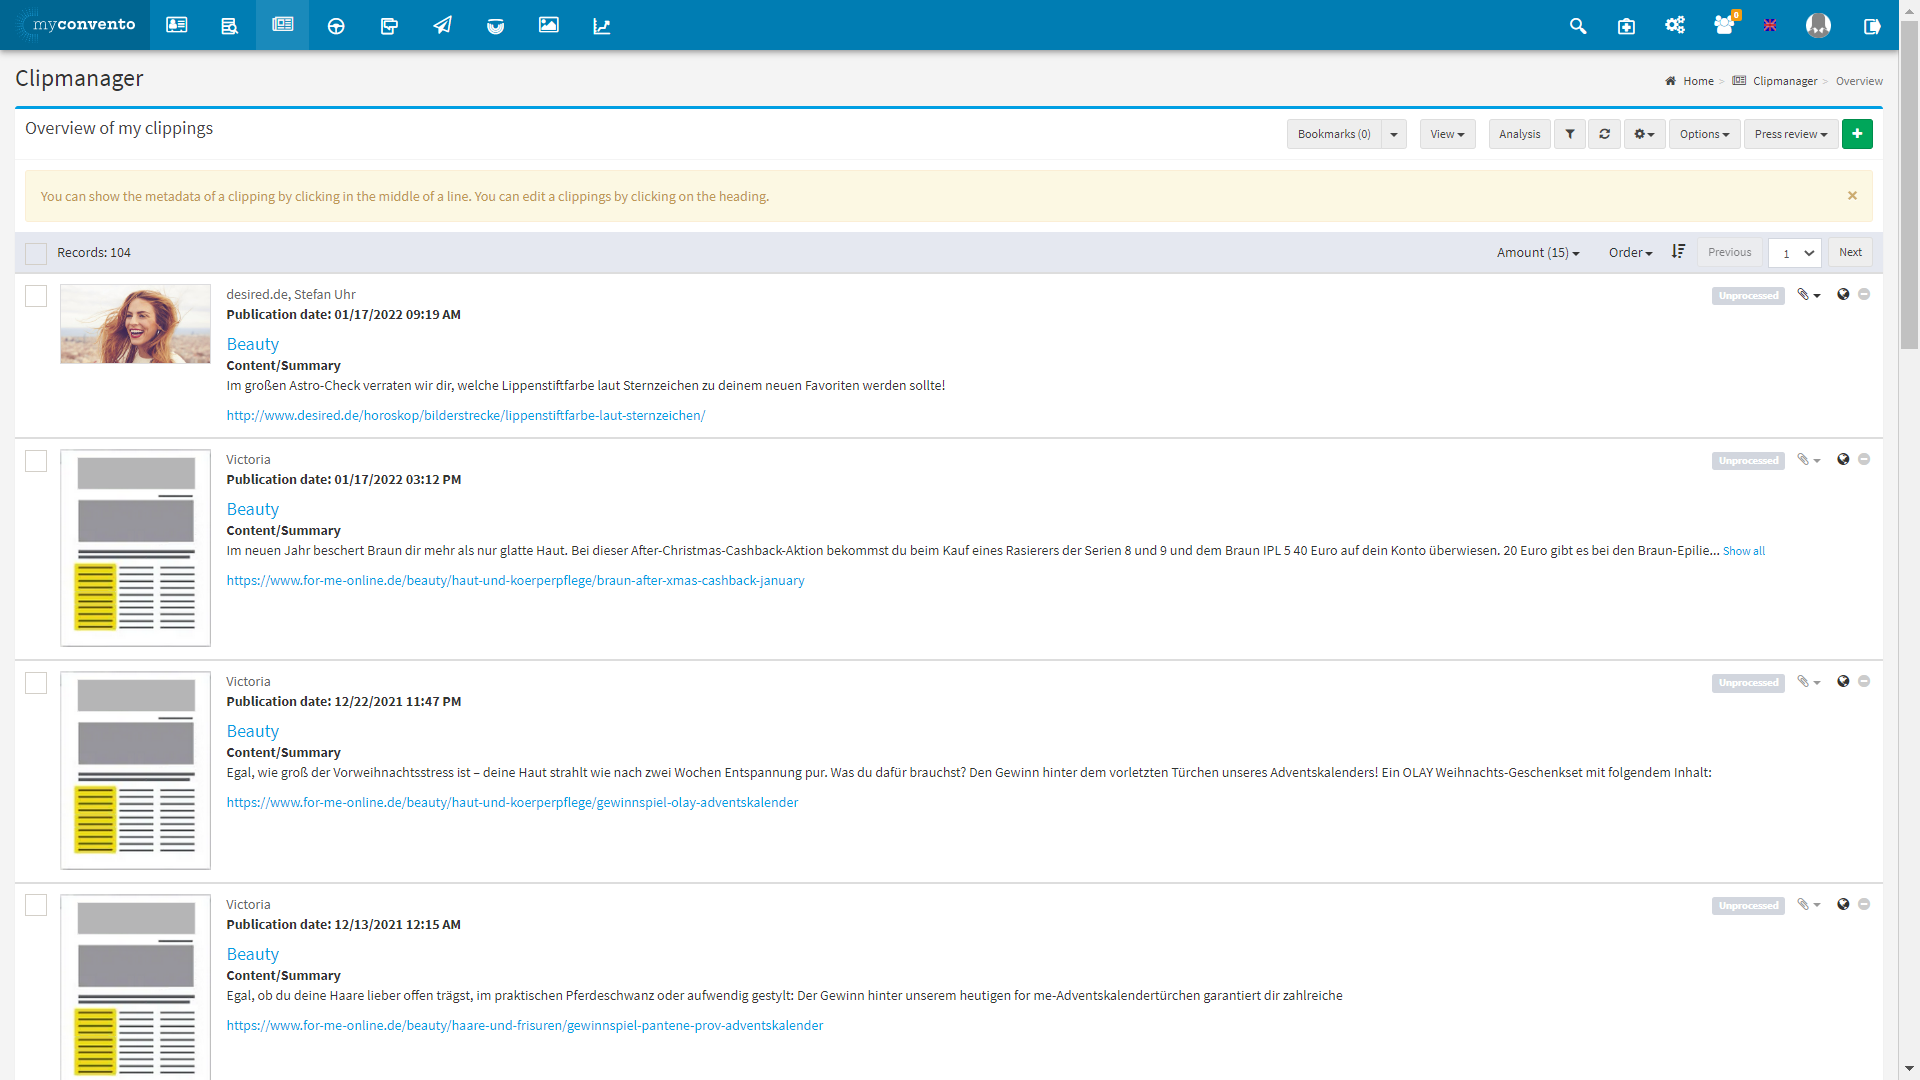
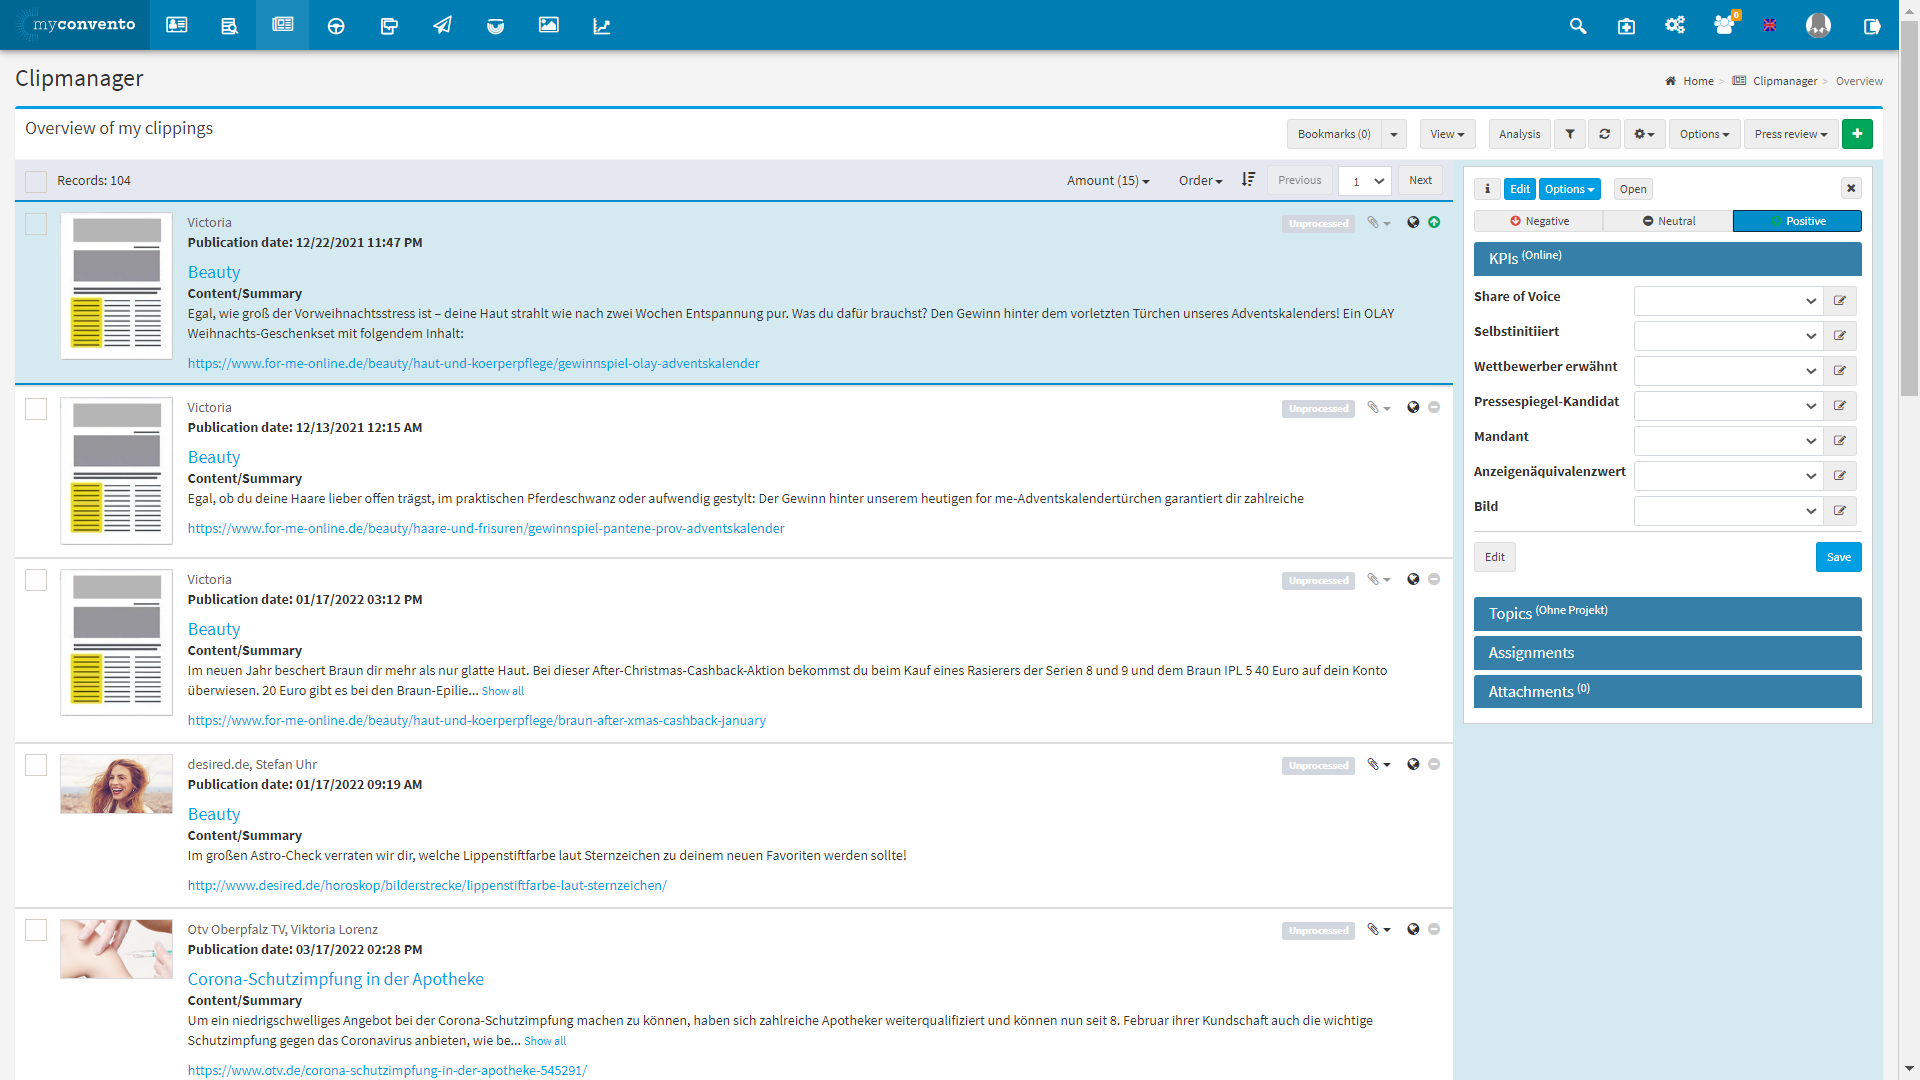
In ,,Overview of my Clippings” you can click on the Headline of a Clipping, so the Pop-Up window ,,Edit Clipping” appears.
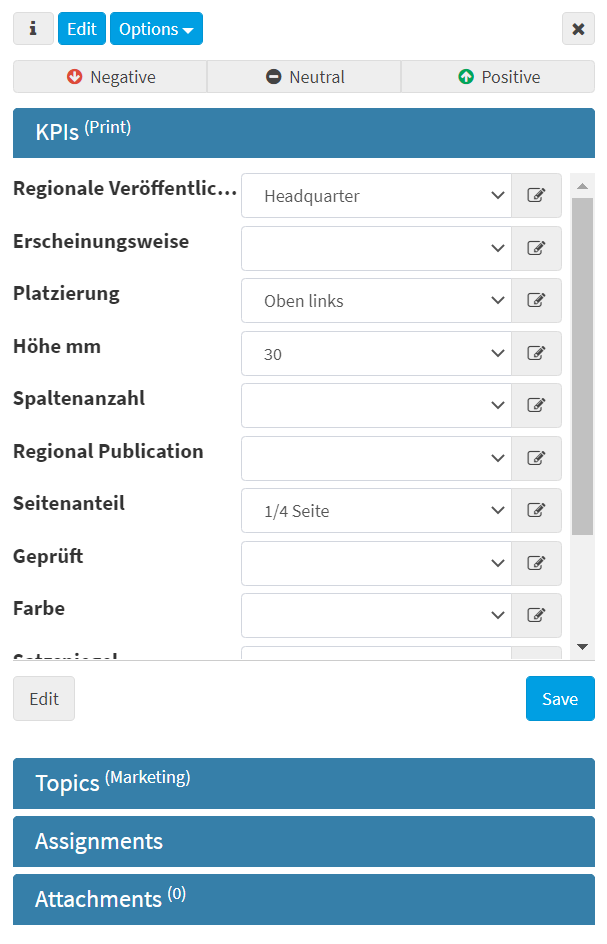
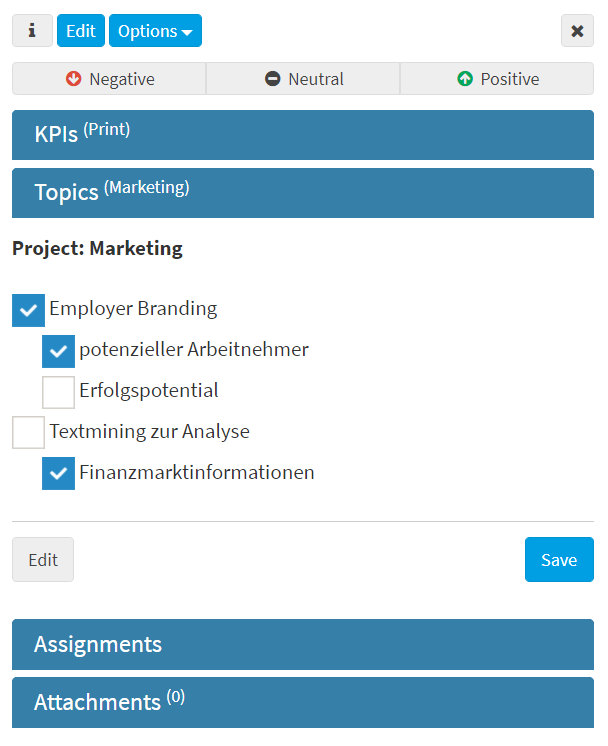
By clicking on the Clipping (not the headline), an area appears, where you can edit ,,Key Performance Indicators”, ,,Topics”, ,,Assignments” and ,,Attachments”. How to edit KPIs and Topics can be found here.
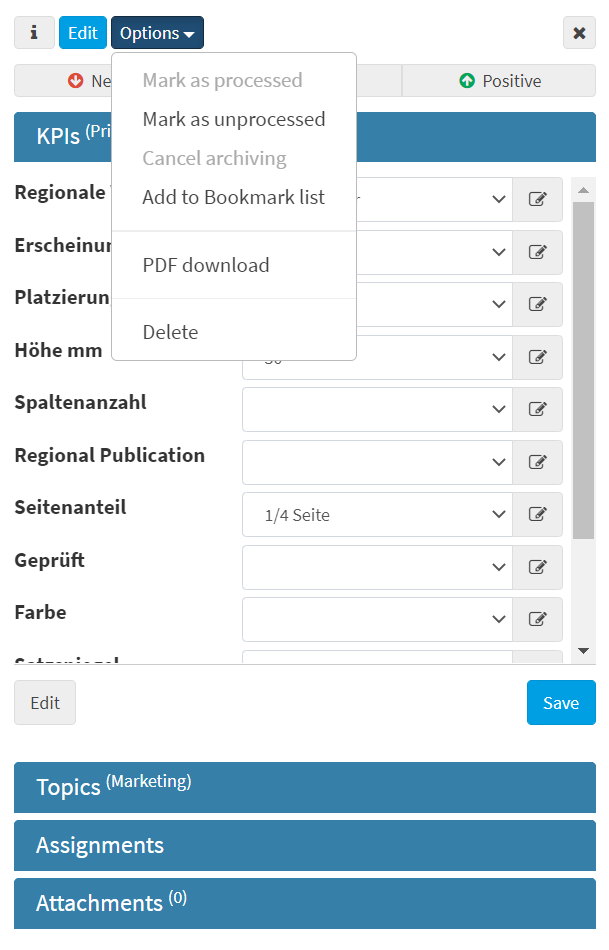
Click on ,,Edit” to open the Pop-Up window ,,Edit Clipping”. By clicking on ,,Options” you can ,,Mark as processed”, ,,Mark as unprocessed”, ,,Cancel archiving”, ,,Add to bookmark list”, make a ,,PDF Download” or ,,Delete” your Clipping.
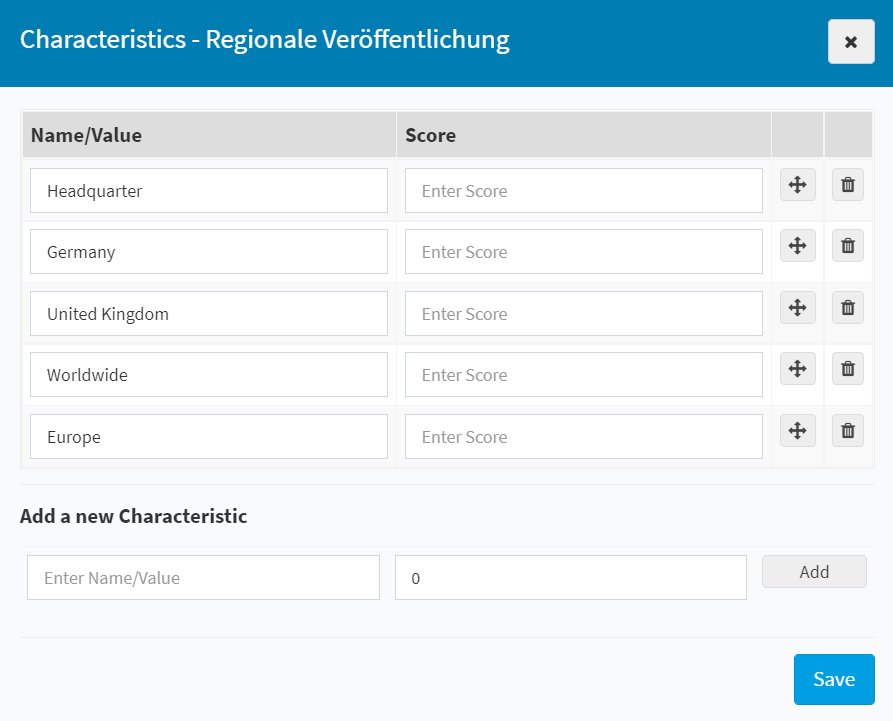
Define the tonality of the clipping here and add ,,negative”, ,,neutral” or ,,positive” as tonality. Under the key performance indicators, you can select the KPIs you have defined and assign a value to them. You can edit the values using the “pencil icon” next to the free line by assigning a different name/value or score to existing values, adding values or deleting values.
Worth-knowing
- Selected clippings can be placed on the ,,Bookmark”-List by right-clicking with the cursor or via “Options”. You can see how many clippings are on the ,,Bookmark”-List by the number in brackets. If you click on ,,Bookmark”, you will see the actually contained clippings. In the pop-up window you can remove clippings from the list. You can empty “Bookmark”-List by clicking the icon next to the “Bookmark” button.
- You can filter your clippings via the funnel icon. There are different filter options here:
- Publication date from/to
- Created on from/to
- Filter by
- Channel
- Source
- Archived
- Searchterm
- Tonality
- Medium
- Author
- Project
- You can search for Clippings with your filter and ,,Save (your) filter”, which is then to be found unter ,,My filters”. You can also ,,Reset (your) filter” to continue with different filter criteria.
- In the overview of your clippings you find some ,,Options” on the top right. There you can ,,Edit”, add ,,Selected to bookmark list”, and ,,Archive” selected clippings. You can also ,,Mark as processed/unprocessed”. Whether a clipping is processed or unprocessed you can see in the upper right corner of your clipping. An ,,Excel-Download” can be made with the selected clippings and they can also be ,,Deleted”.
