After contacts have been created or imported, you can edit them and change all parts of the record afterwards. Learn here how to edit your contacts later.
“Worth knowing” also provides further detailed information and hints on the roles (create, save and delete).
Workflow
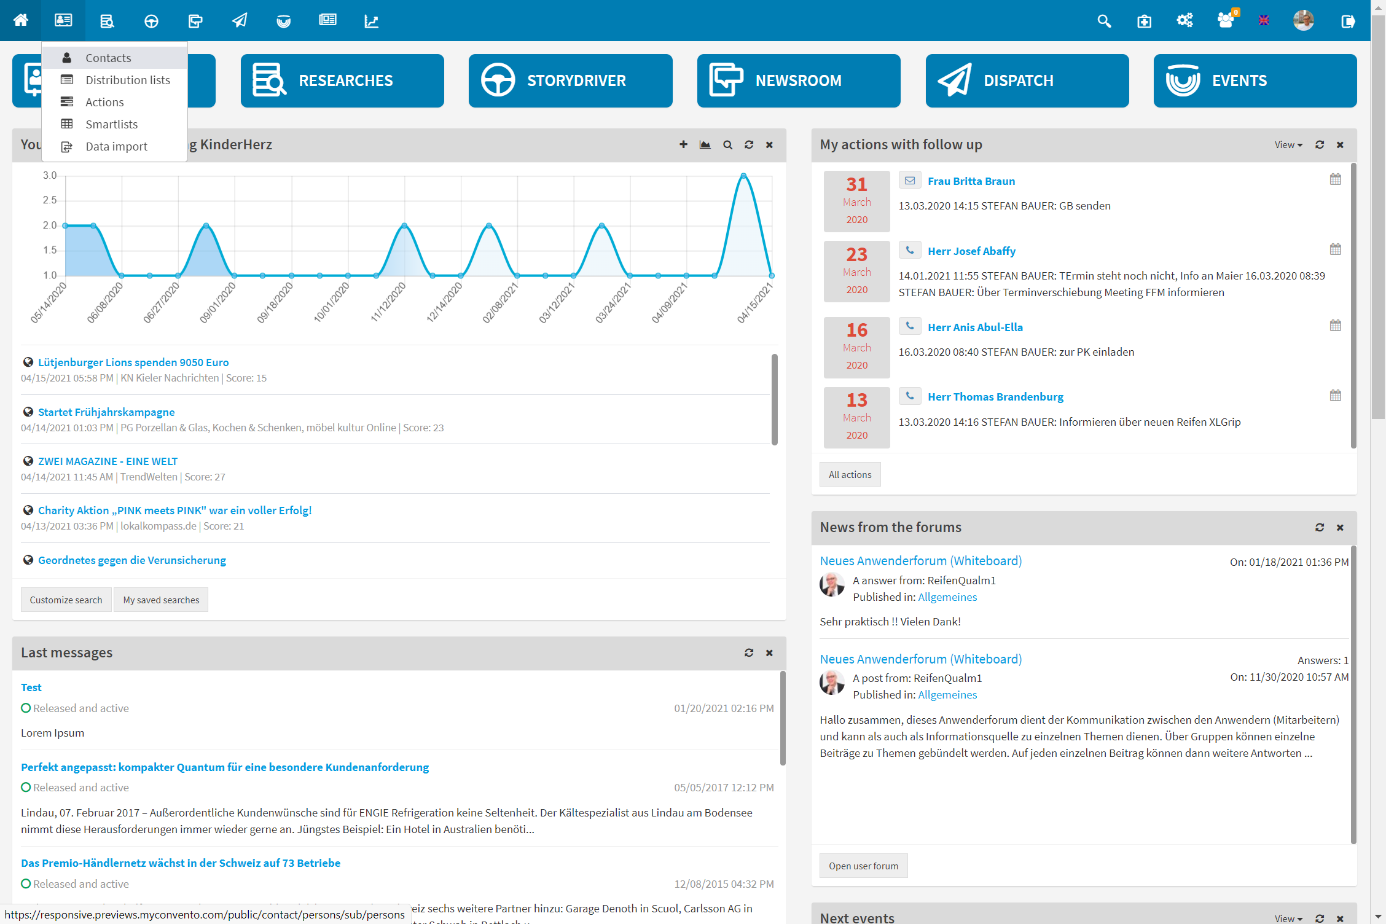
Contacts are edited in the “My data“-“Contacts” section.
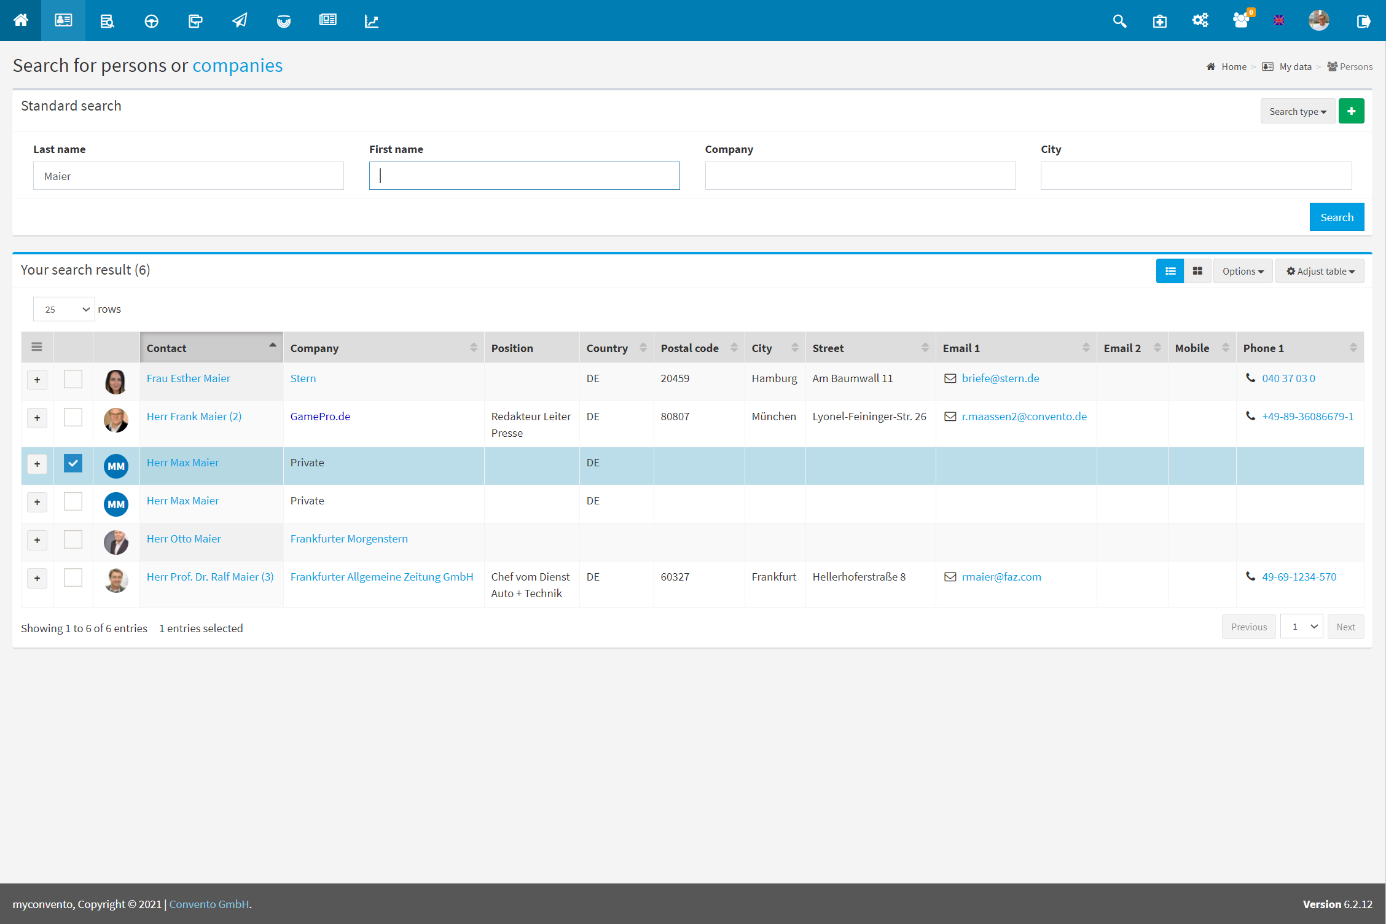
- you get to the “Persons” area, which is used for contact search
- use the search methods described from “How to find your contacts” and click on the name of the contact to get to its detailed view
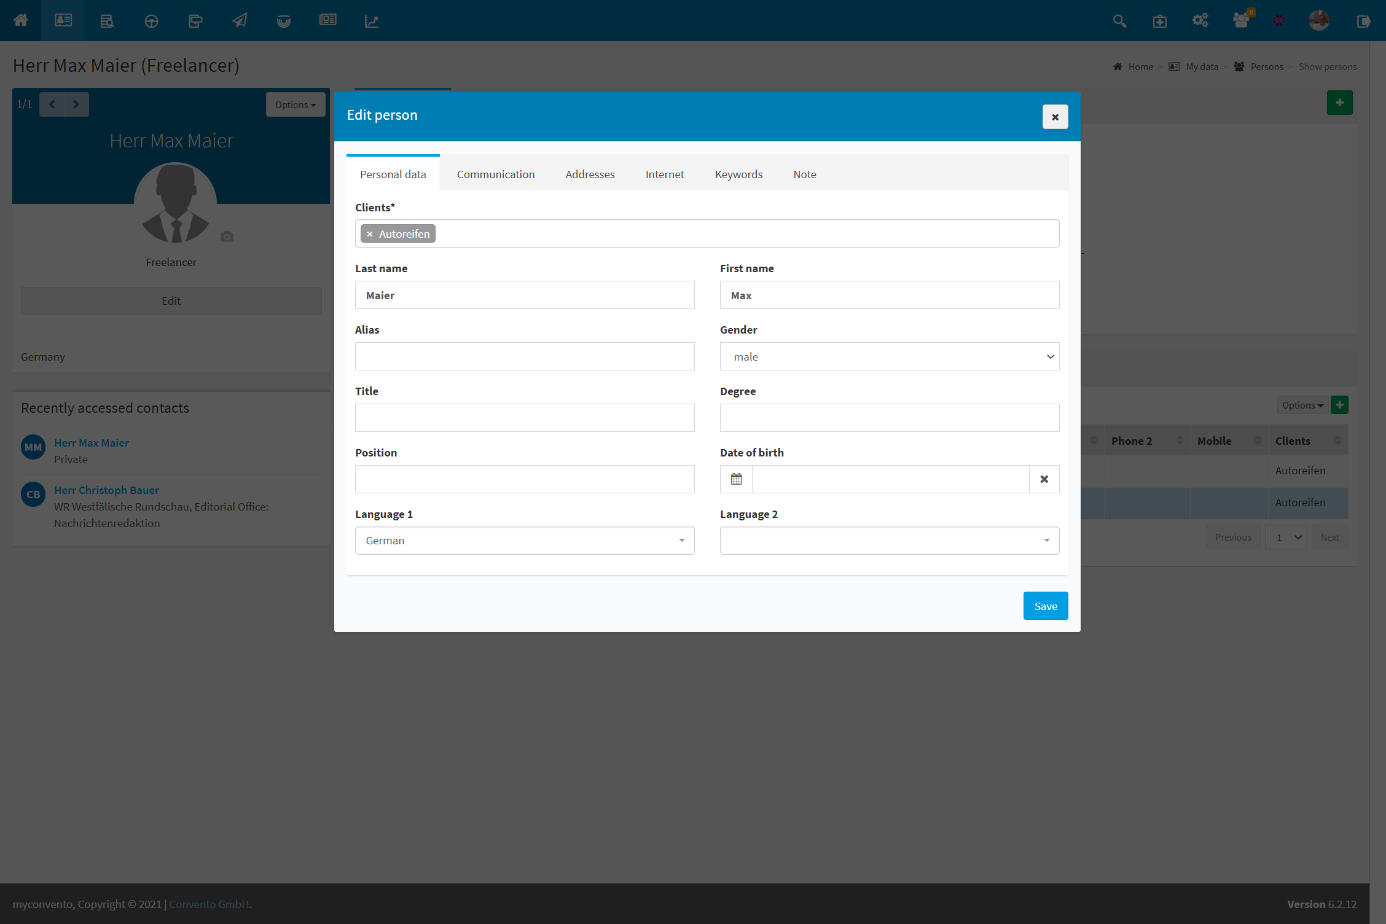
- click on “Edit person”, make the desired changes and confirm by clicking on the “Save” button.
Examples
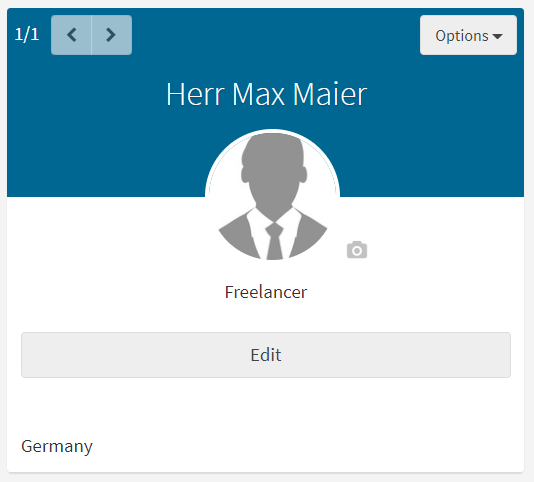
Use the search methods described in ” How to find your contacts” and click on the contact’s name to get to their details.
Click here on “Edit person” and go through the individual fields. Make the desired changes and confirm by clicking the “Save” button.
Make the desired changes and confirm by clicking the “Save” button.
Worth knowing
- If you want to delete the whole record, click on “Options” via “Edit person” and select the item “Delete this person“. You confirm the deletion process by clicking on “Delete“.
Tip: Create a backup copy of the contact by selecting the respective role and choosing “Export” via Options. Select “Excel Import Format” here to add this role to your database again as described in “Data Import“. - If you want to add more roles to your contact, select the “Roles” tab below and click on the green plus sign. Here you can now choose whether a new role should be created in the same company, in another company, as a freelancer or as a private person.
- The “main role” is marked with a golden star. This is the role that will appear in your lists with priority. Click on the grey star of another role to make it the new main role.
- Mark a role and select “Delete” via “Options” to remove a role again. Here you can now decide whether the information available there (distribution lists etc.) should be transferred to a remaining role


