Inquiries, contacts, meetings or conferences of any kind (telephone, e-mail, fax etc.) can be documented and managed in the “My Data” module via “Actions“. This way you can create a so-called contact history.
A well-maintained contact history ensures transparency in the team and makes you a competent contact person, because you can recapitulate past contacts with a person at any time before contacting them again.
Workflow
There are two ways to create actions:
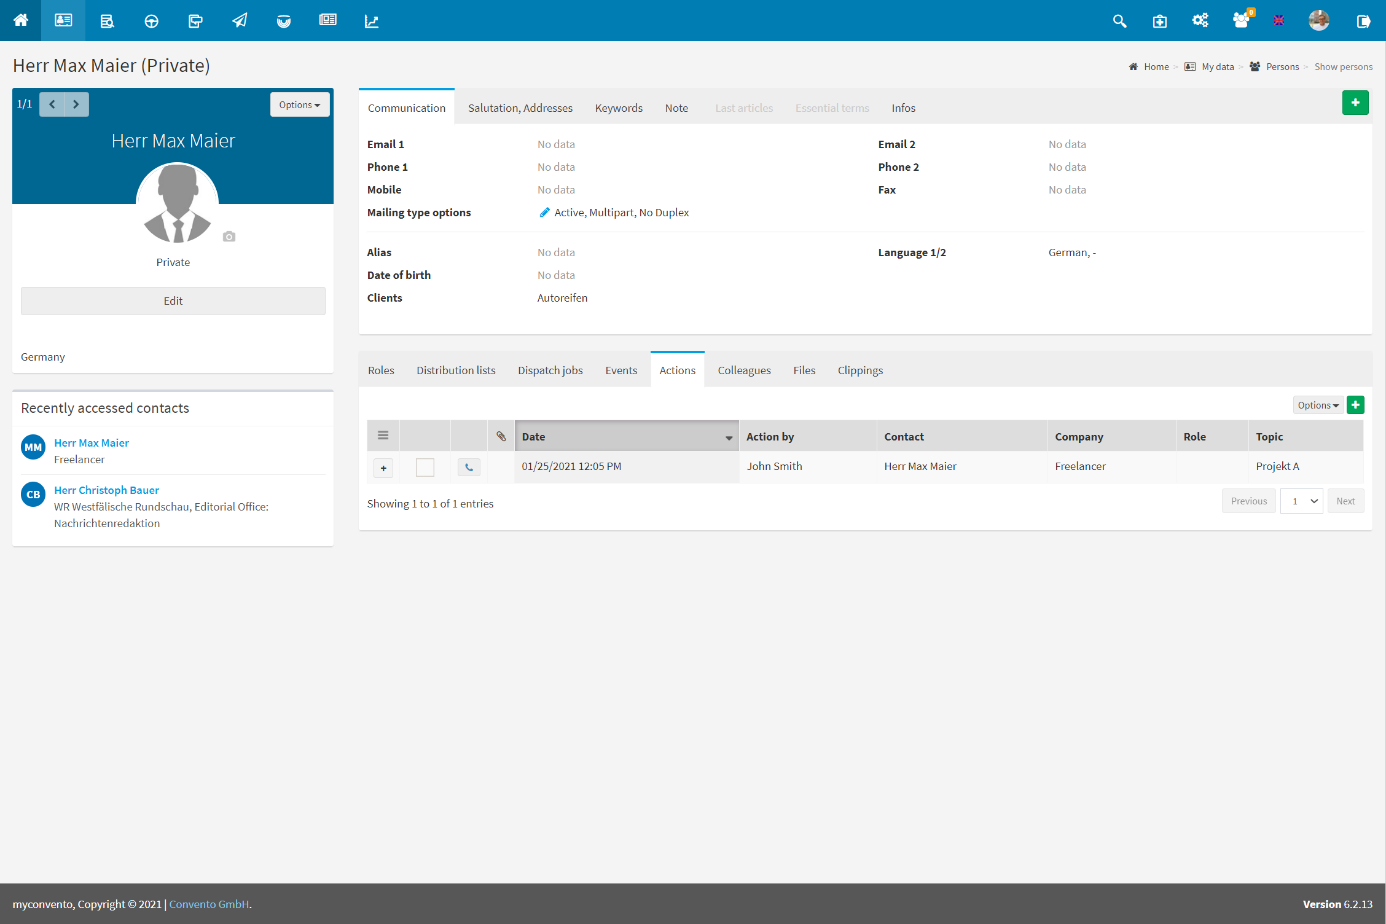
- access the person or company and click on the green plus button in the “Actions” tab
- go to the “Actions” section under “My Data” in the toolbar.
In the following, the procedure of the second option is explained, as you will find the explained search for actions here later on.
Example
Create Action:
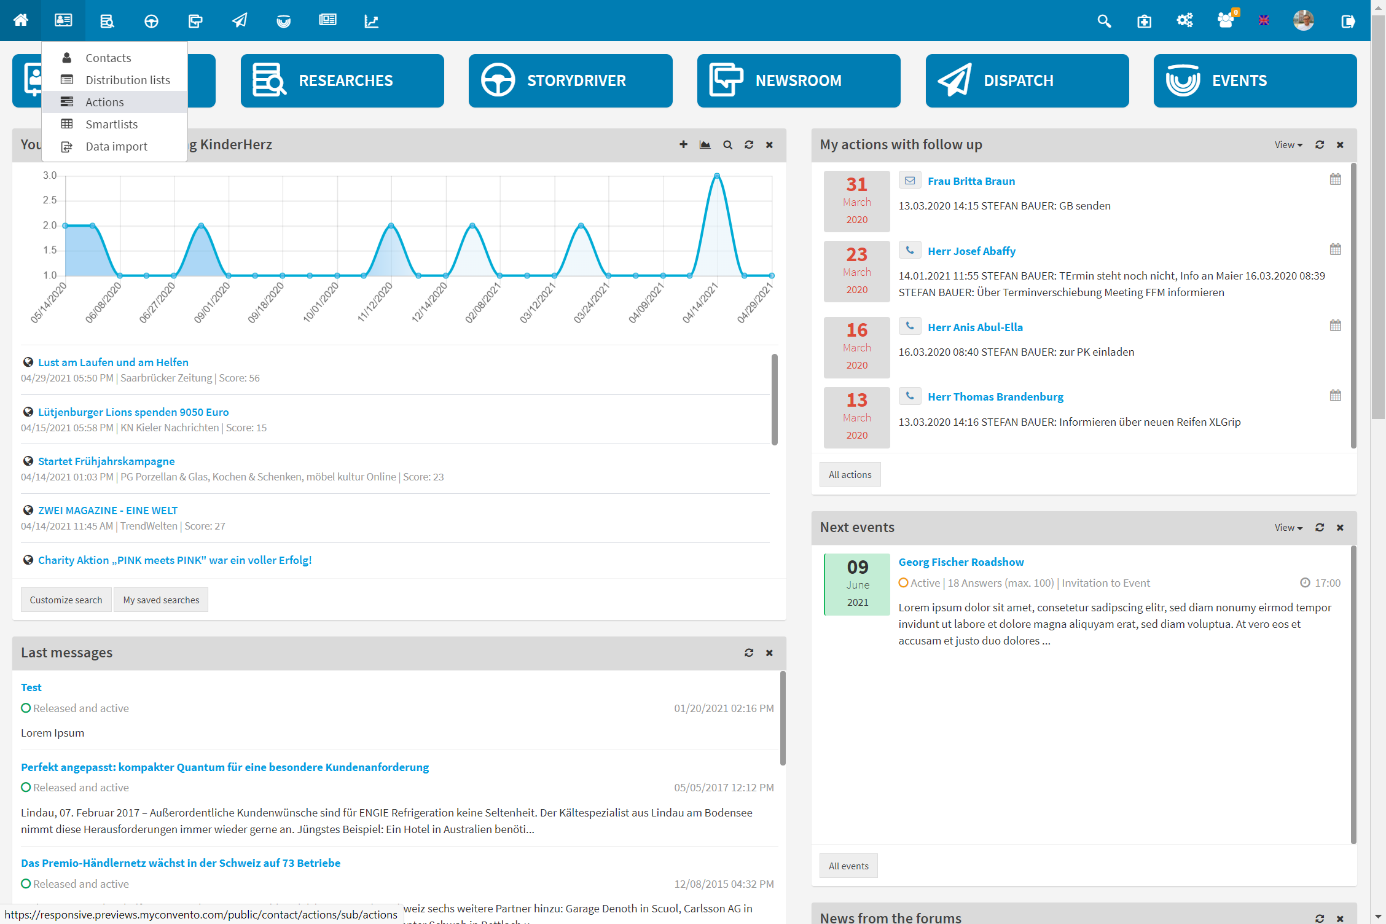
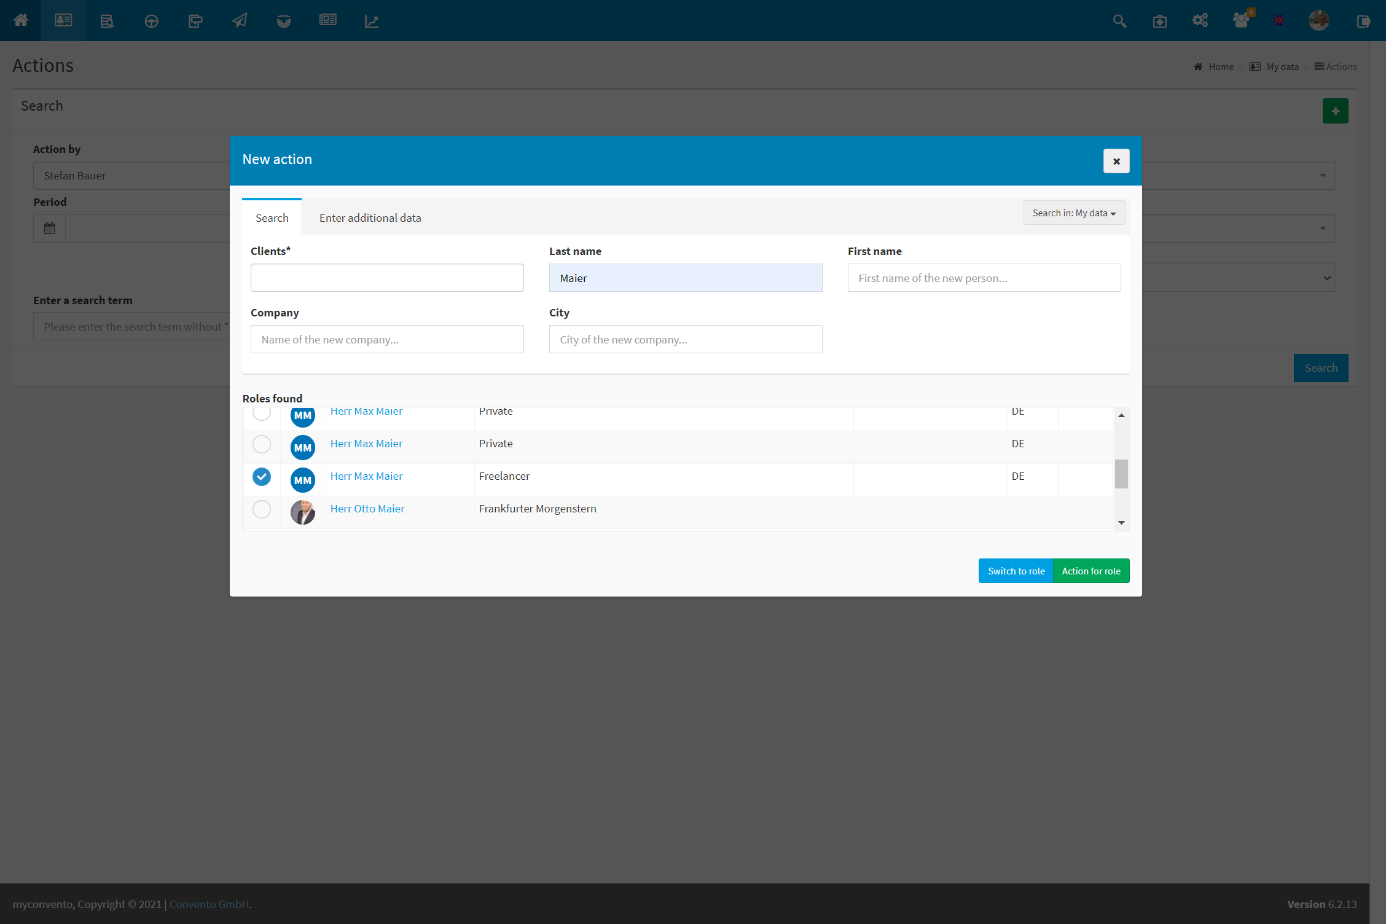
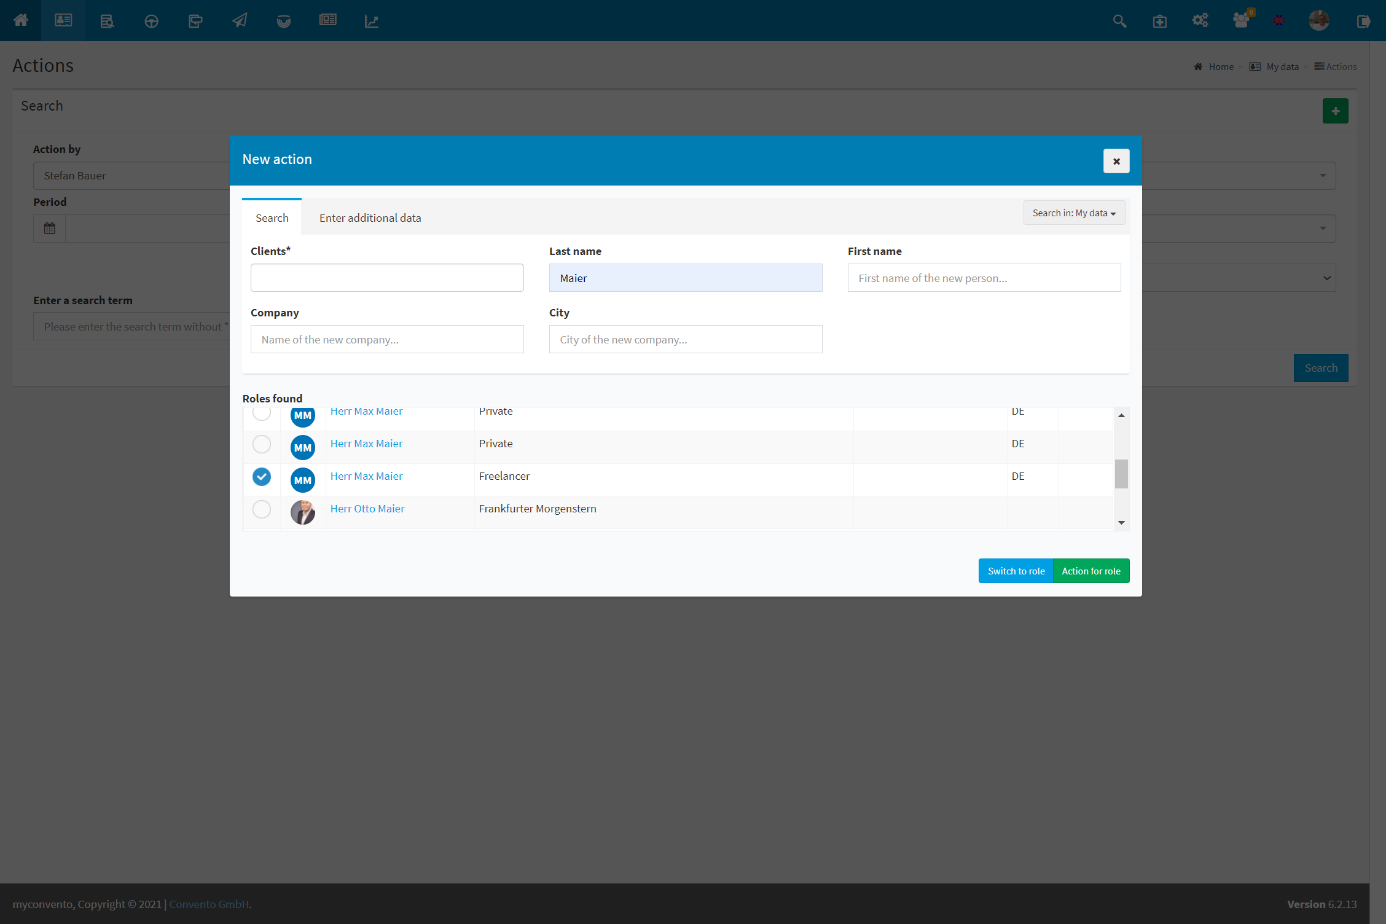
Select “My data” – “Actions” on the start page and click on the green plus to open the “New Action”- dialogue. Enter the personal data and click on “Action for role”.
Search and Edit an action:
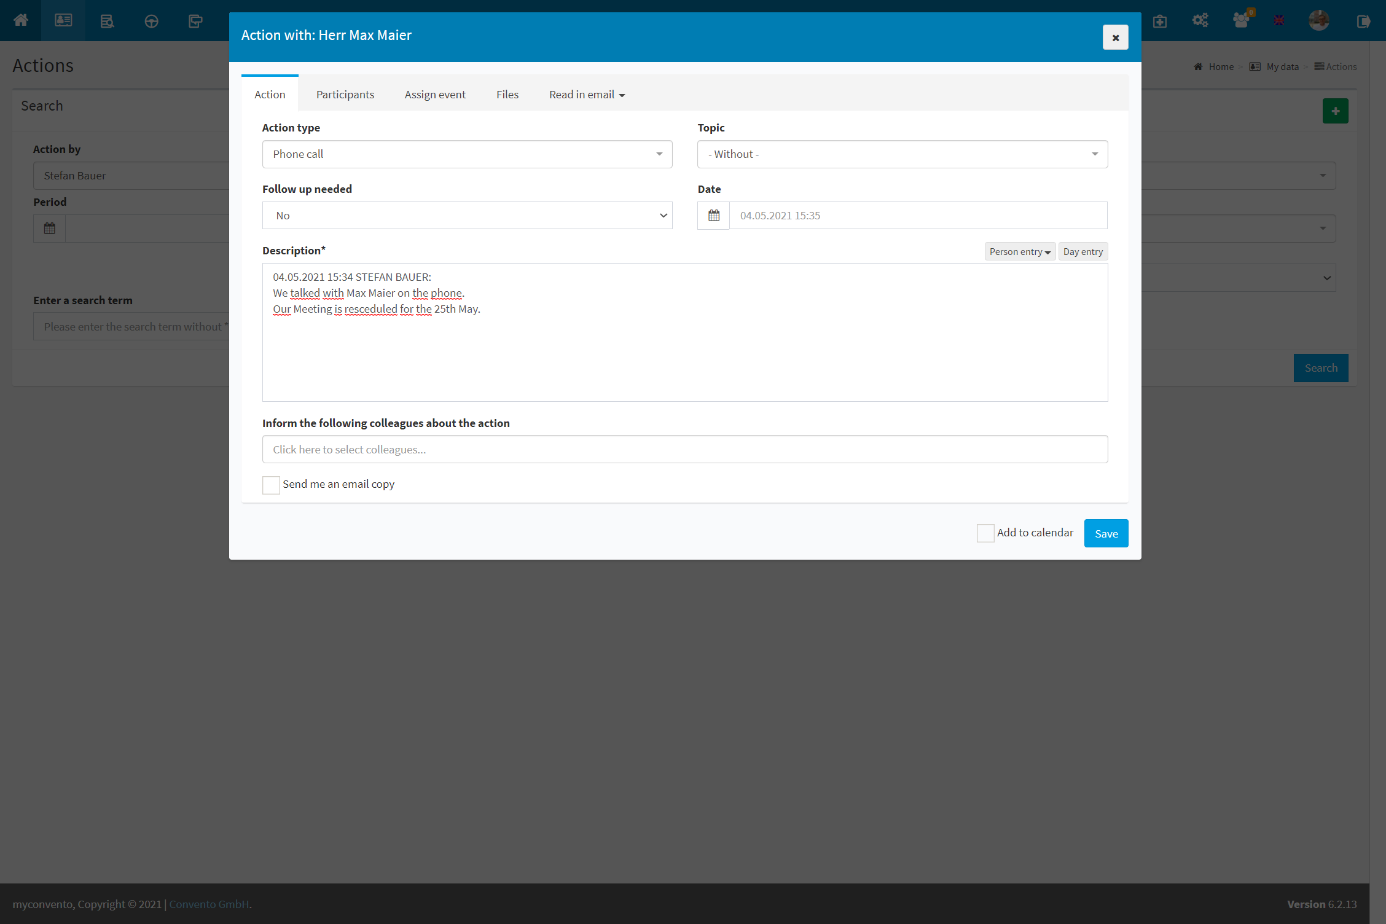
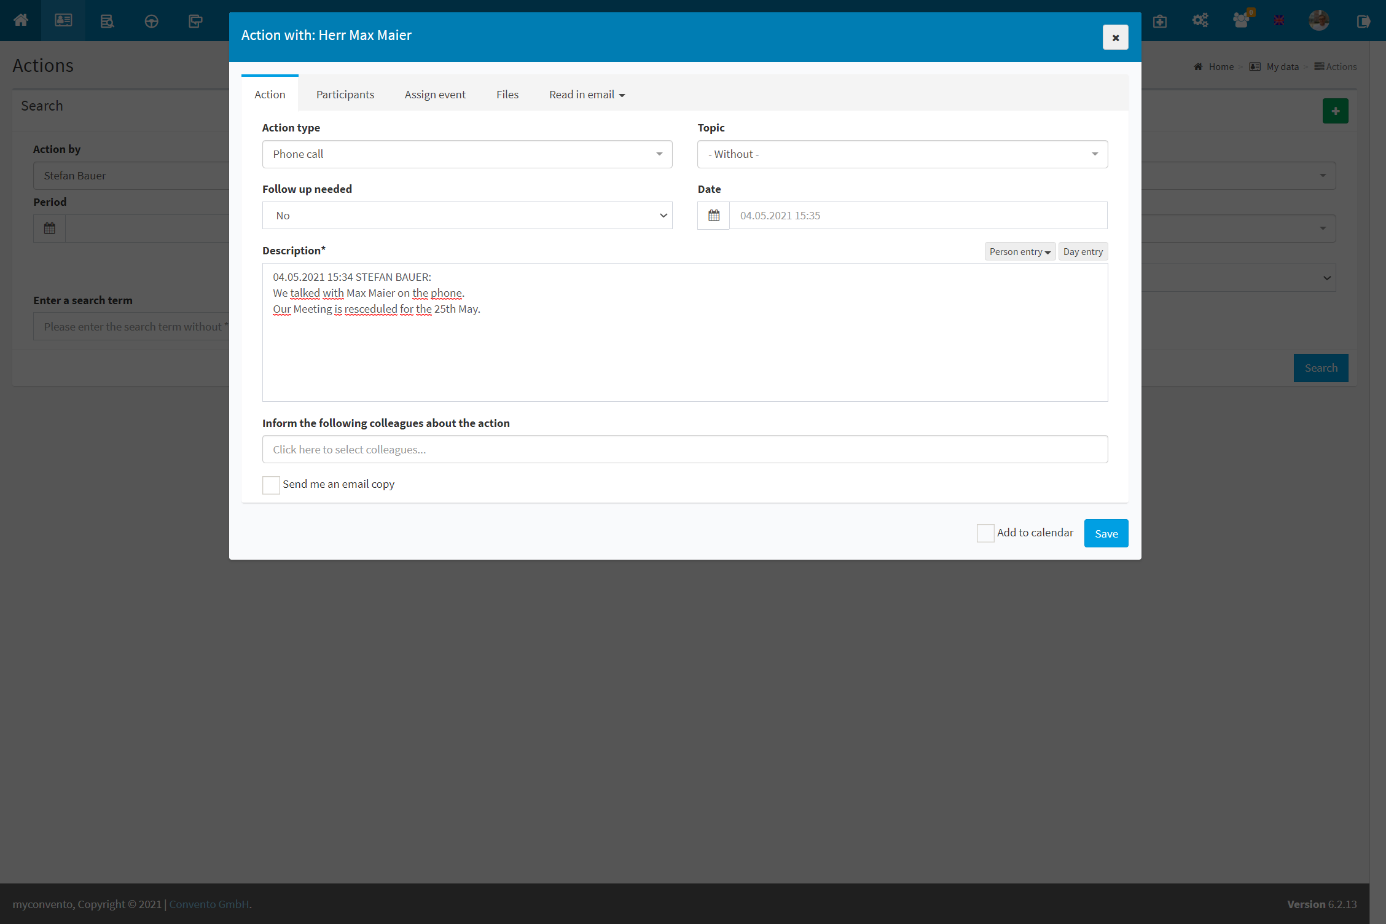
Clicking on “Edit action” opens the same editor as if you were creating a new action. Edit the entry and finish the process with “Save”.
The Participants tab allows you to associate other people with the action,
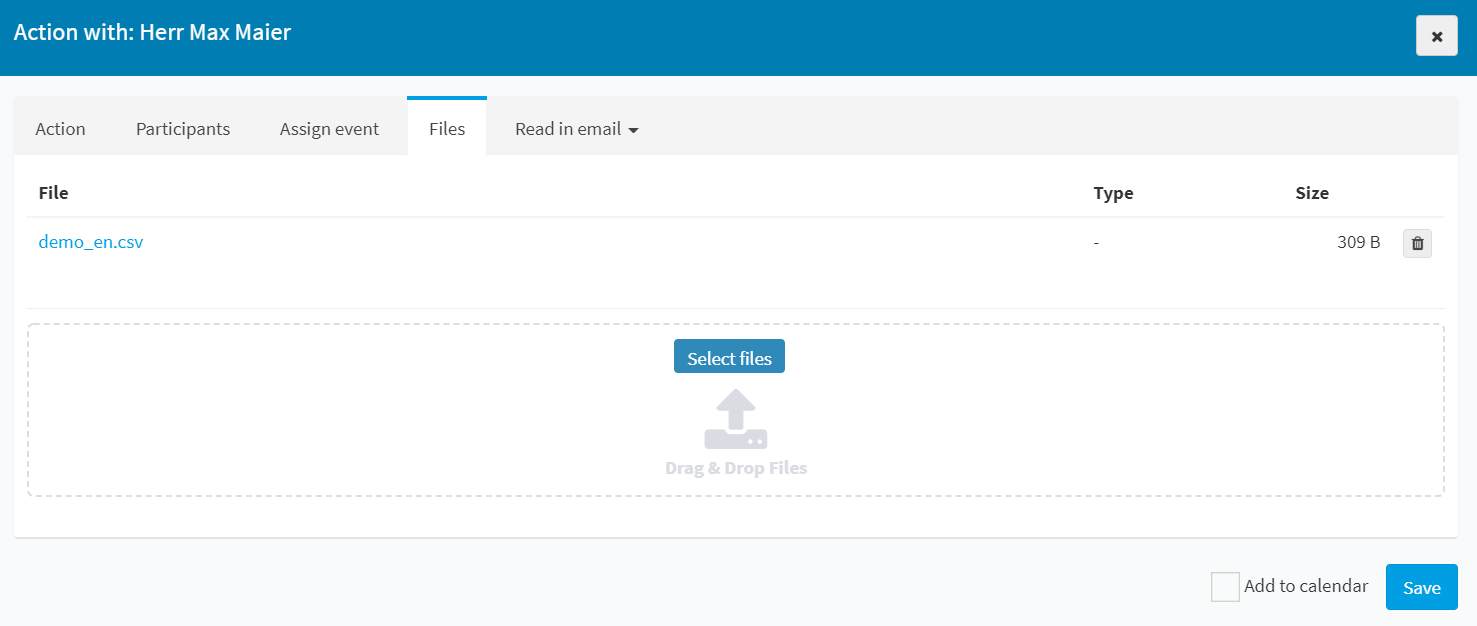
… assign events and, if necessary, files, …
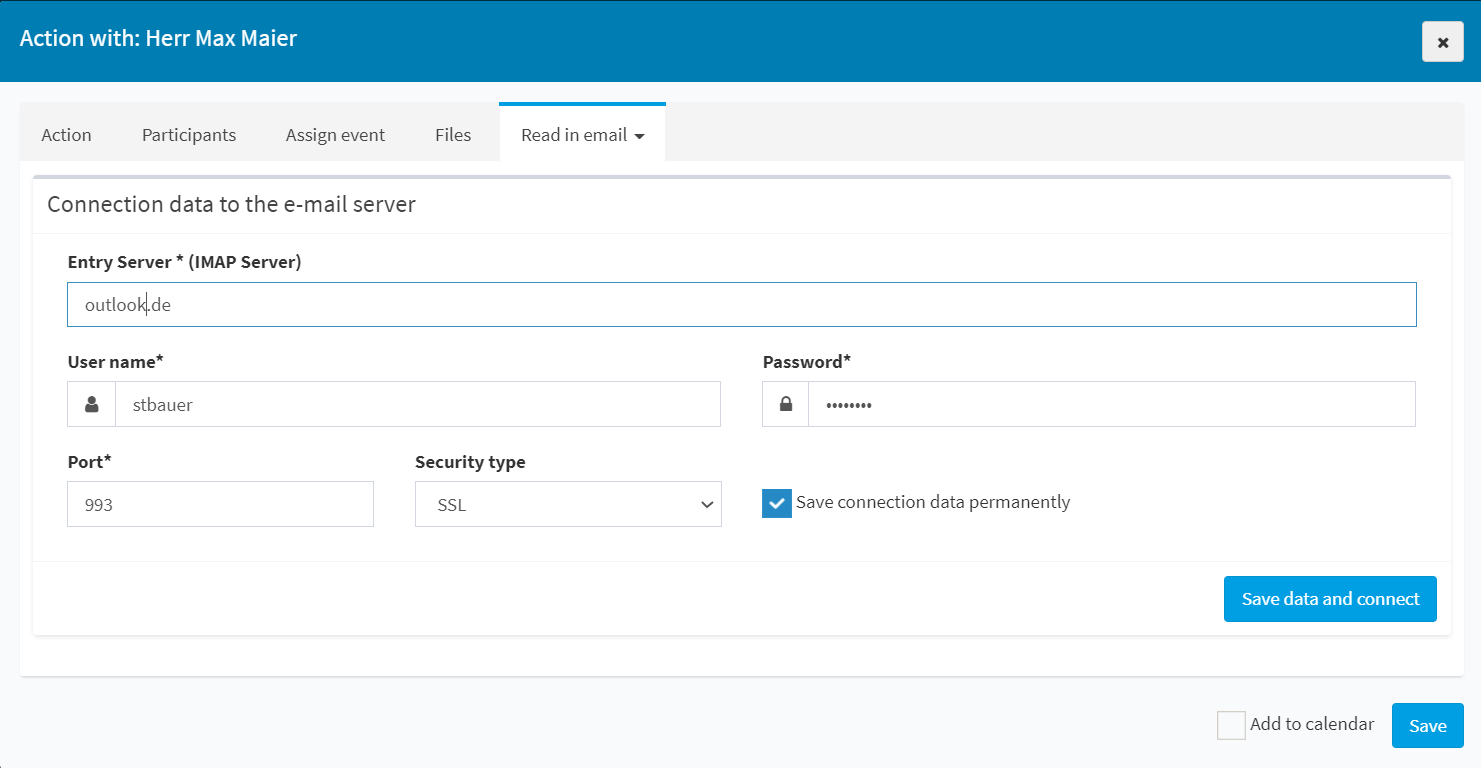
… as well as to store e-mails relevant for correspondence.
Search an Action
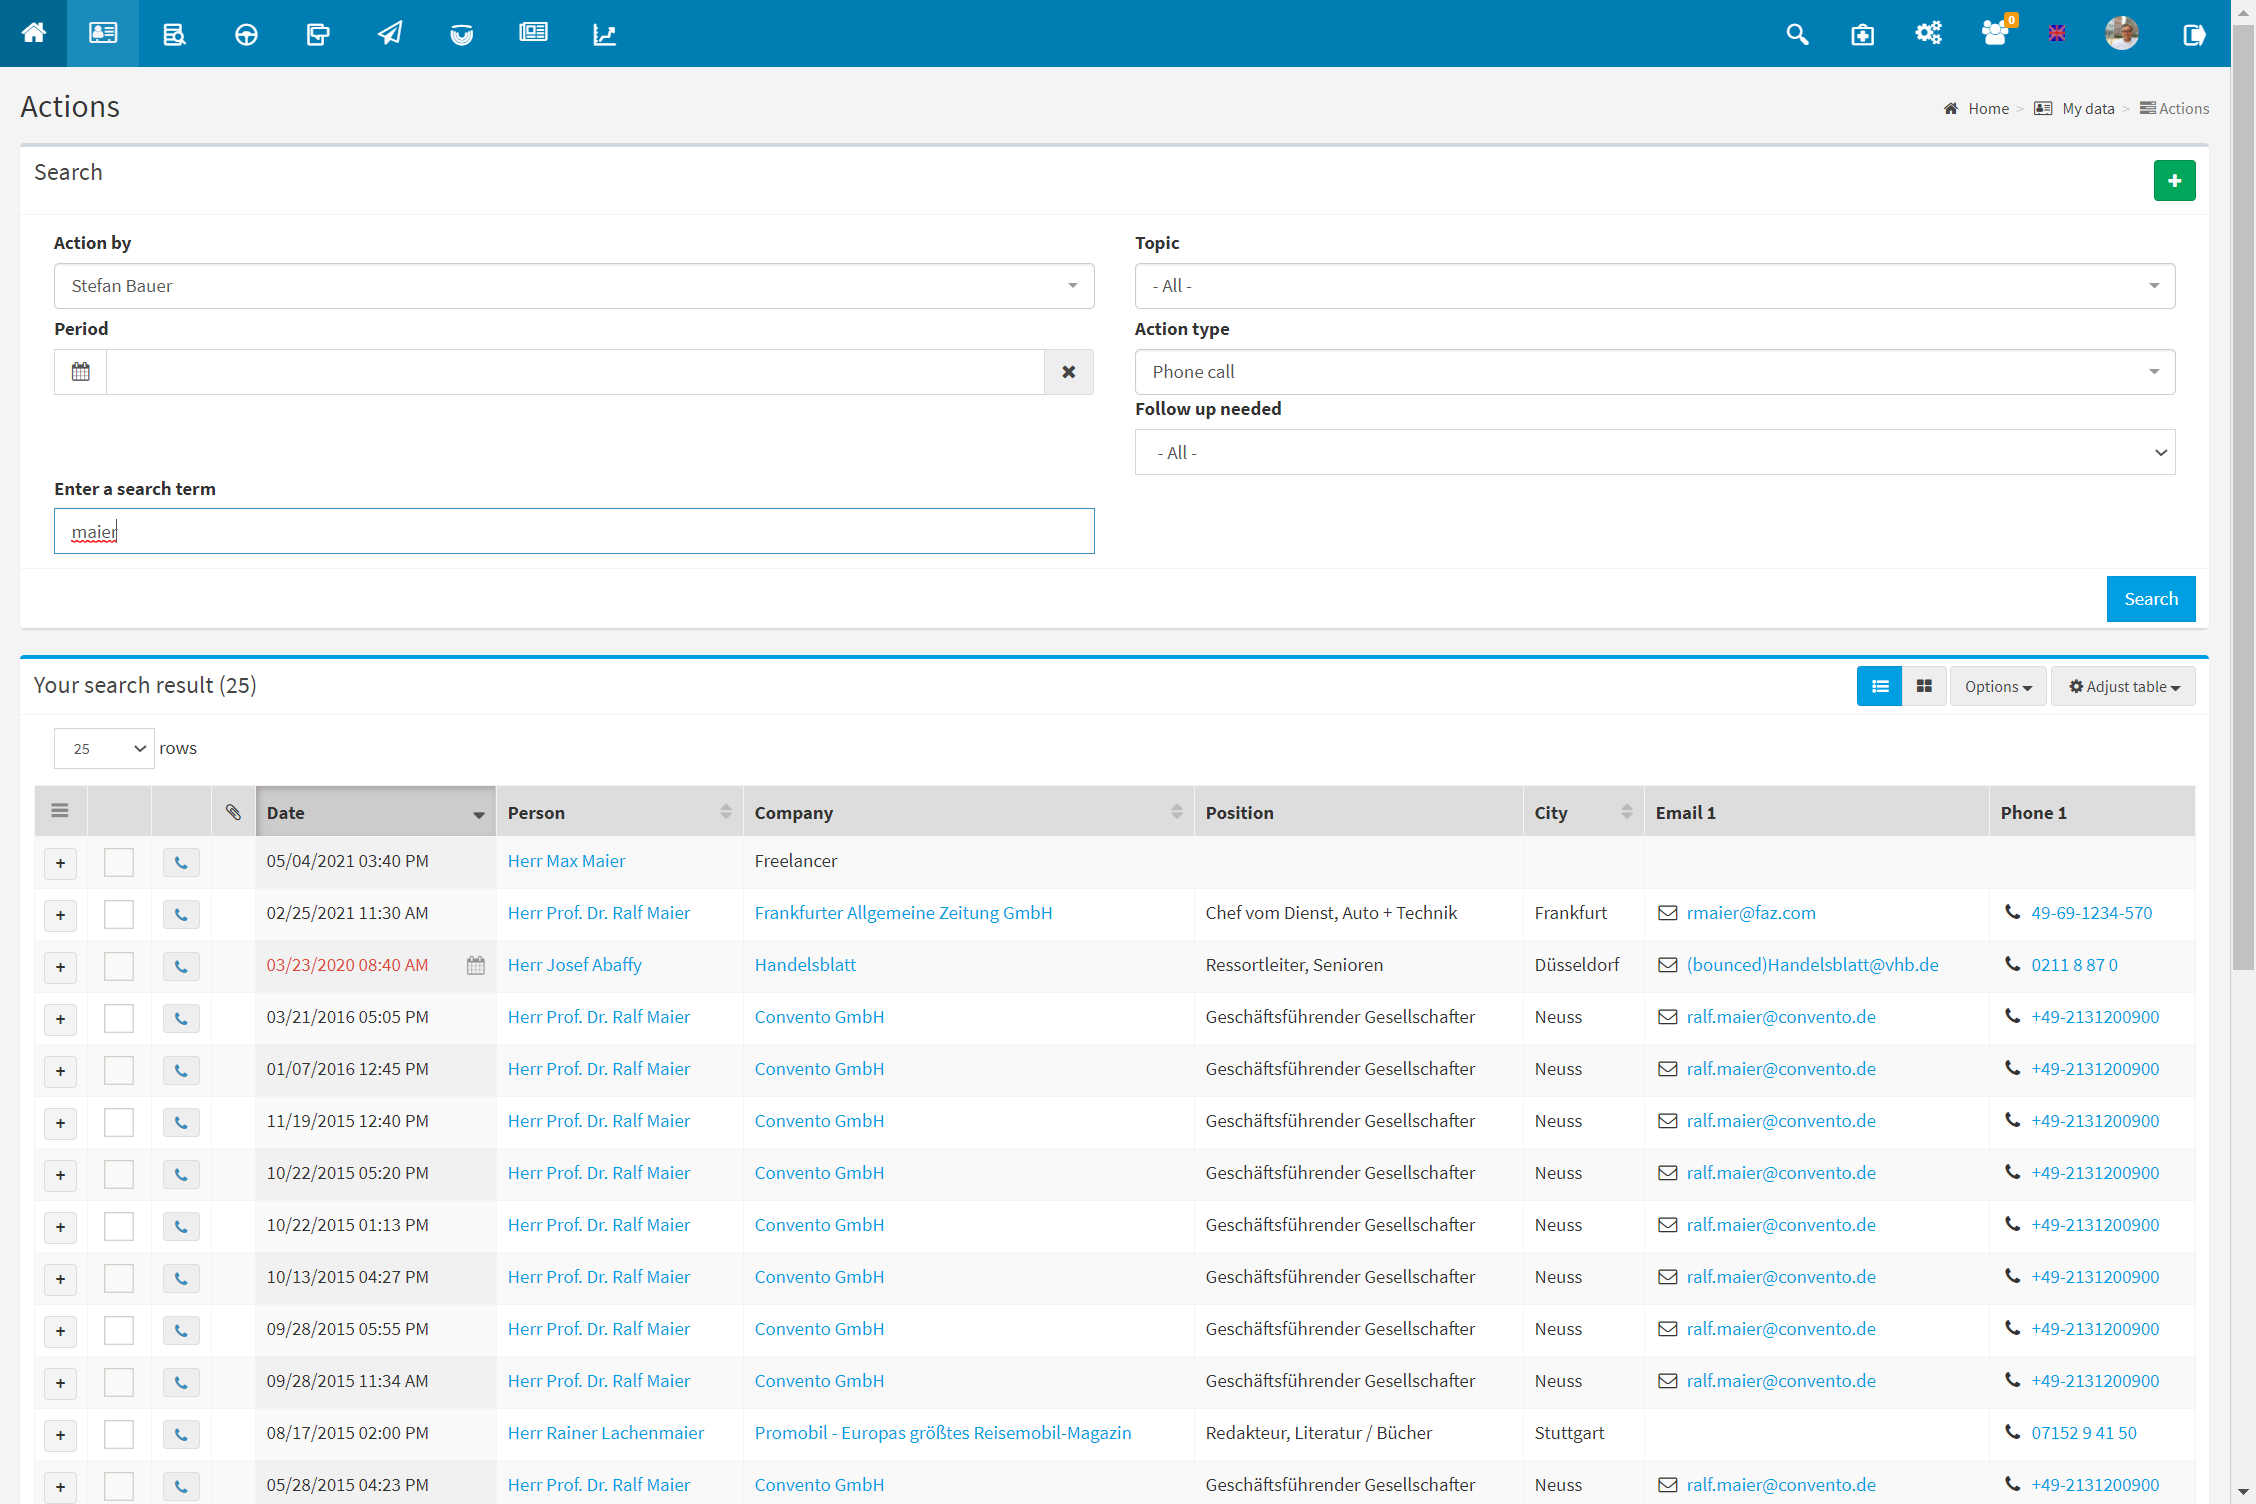
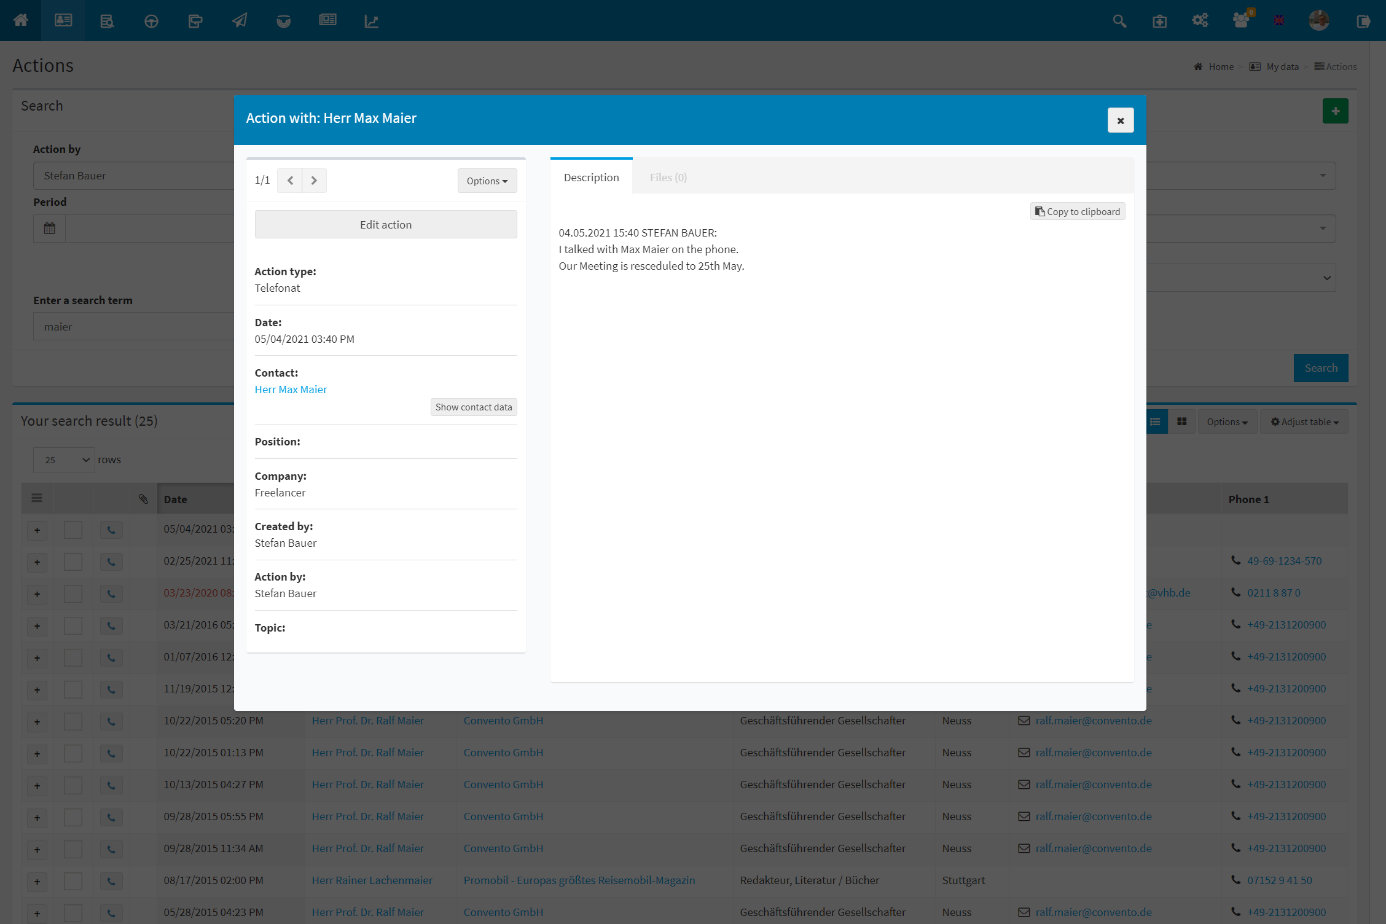
Select “My data” – “Actions” on the start page to get to the “Actions” dialog form. Set the desired parameters and click on “Search” to display the corresponding results. Click on the action symbol (here blue telephone-icon) to open the action.
Clicking on “Edit action” opens the same editor as if you were creating a new action. Edit the entry and finish the process with “Save”.
Worth knowing
- If, on the other hand, you simply move the cursor over the symbol, the dialog box that opens displays the contents of the action without you having to open it. In this way, you can find out about all the actions entered without having to click and open them. For example, it would also be sufficient to only click on the due date of an action to move the date back or forward. This is also possible without having to open the actual action.
- There are individual and group actions. While individual actions only document a 1:1 interaction, it is possible with group actions to record the contents of a telephone or a meeting, for example, and to include the people who have taken part in the tab “Participants“. The action is then also stored in their data records.
- Under “Scan e-mail” you can store an IMAP server for both your inbox and your outbox and scan your e-mails. This allows you to transfer important correspondence directly from your e-mail into the action and store it in the role.
