The manual creation of new contacts is the primary method of expanding the database besides the data import.
Workflow descriptions and examples will help you to navigate the process of manually creating new contacts while “Worth knowing” provides additional information and hints.
Workflow
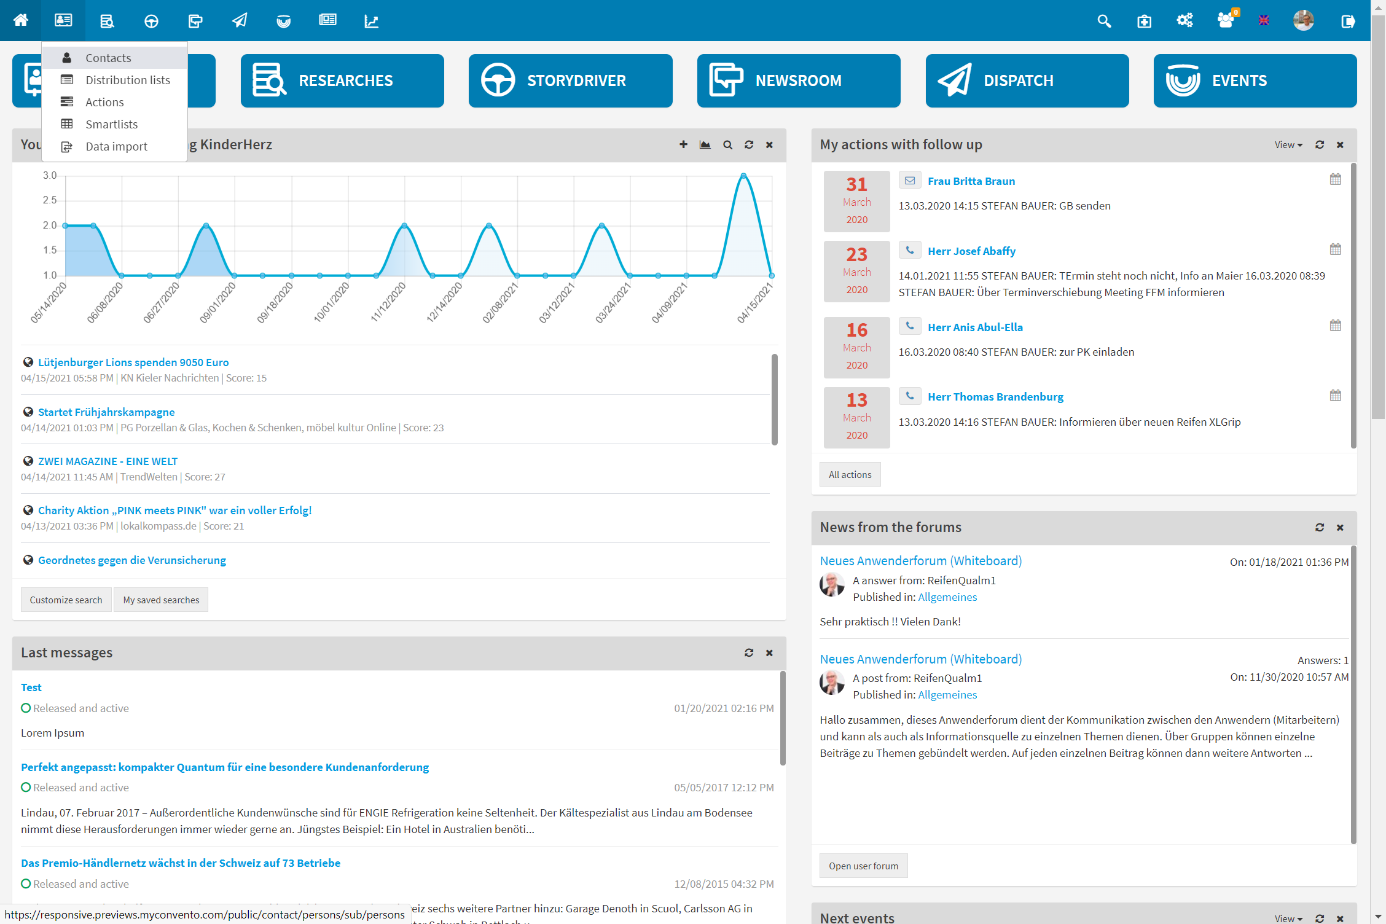
New contacts are created under “My data“-“Contacts“.
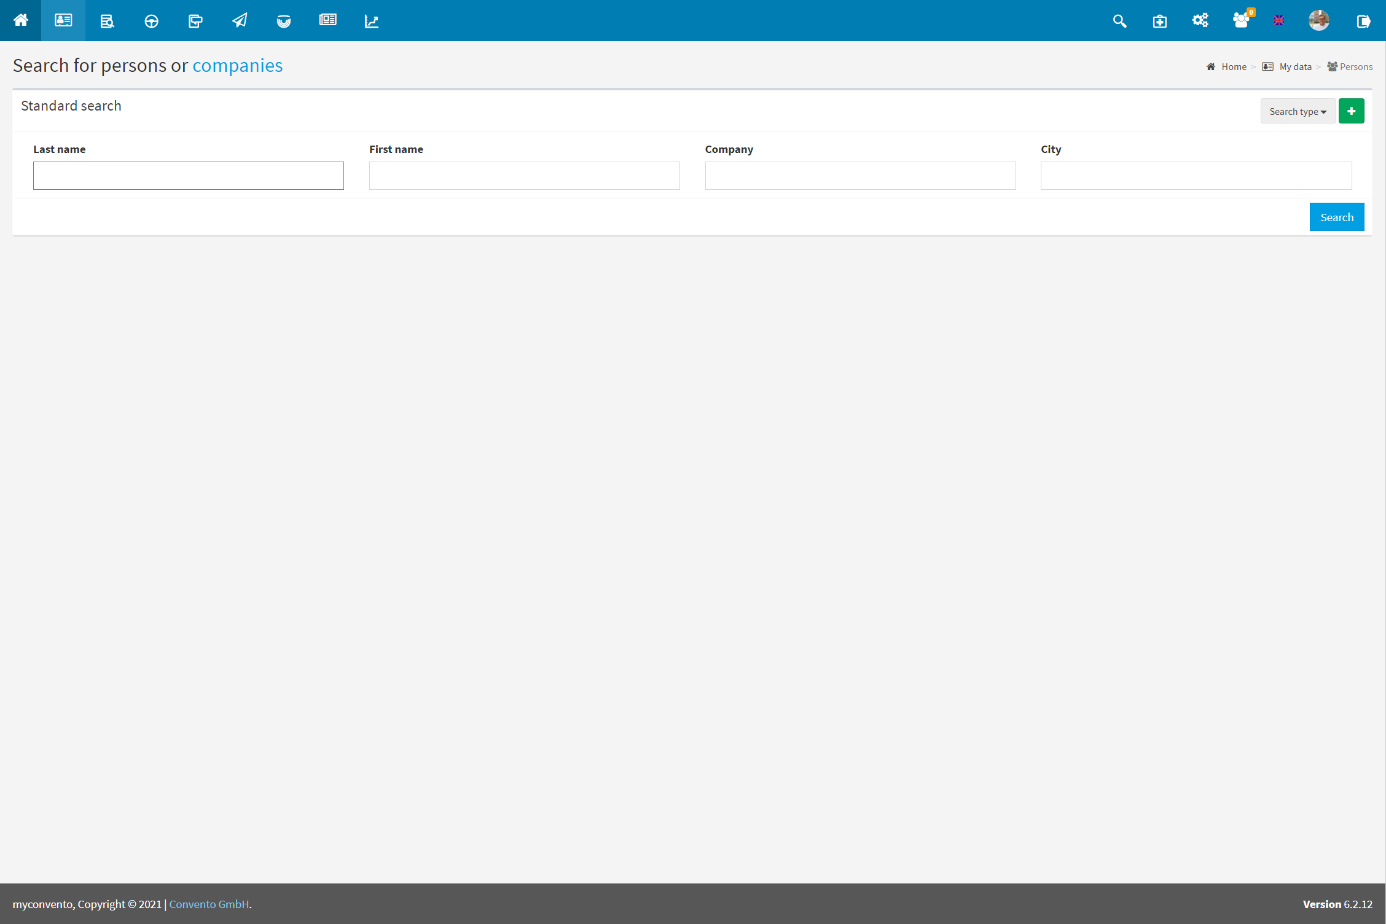
- you access the “Persons” area, which is used to search for contacts.
- Click on the green plus to open the entry dialog.
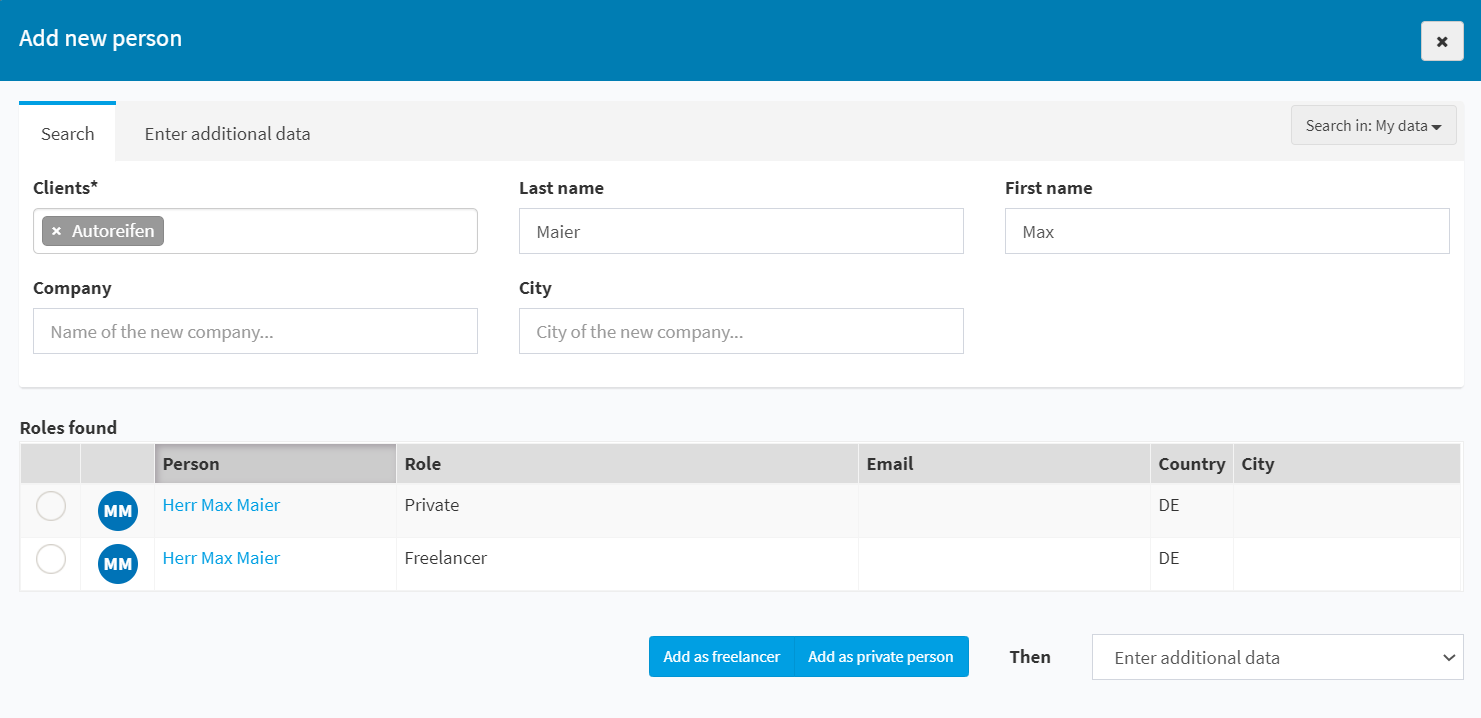
- enter the data of the contact you want to create in the dialog window
→ here it is checked whether the contact already exists and appropriate suggestions are made (duplicate prevention). - depending on the information you provide, the blue buttons below will change (private person, freelancer, etc.)
- clicking on a blue button opens the “Edit person” dialog box.
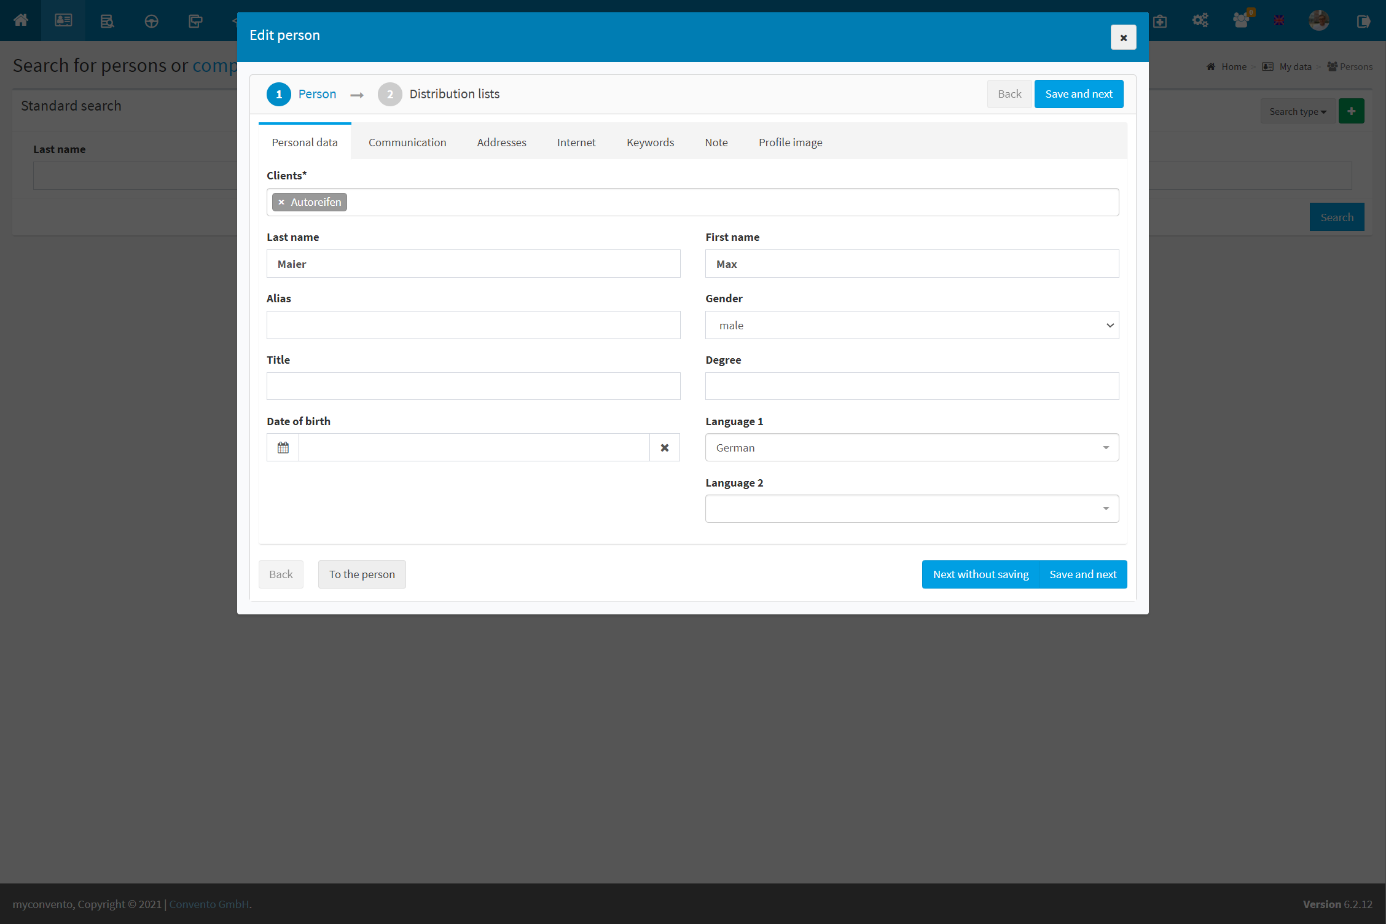
Enter further data to complete the dataset or click on “Switch to person” to get to the detailed view. - now that the contact has been created “Edit person” allows you to edit and complete the dataset.
Example
Enter the data of the contact you want to create in the dialog window. The system checks whether the contact is already existing in the database. If it exists it will be displayed in “Roles found”, if not you can create it via the blue buttons.
After you have entered the basic entries for the person, you can now store further details in this data record or directly “Switch to person”.
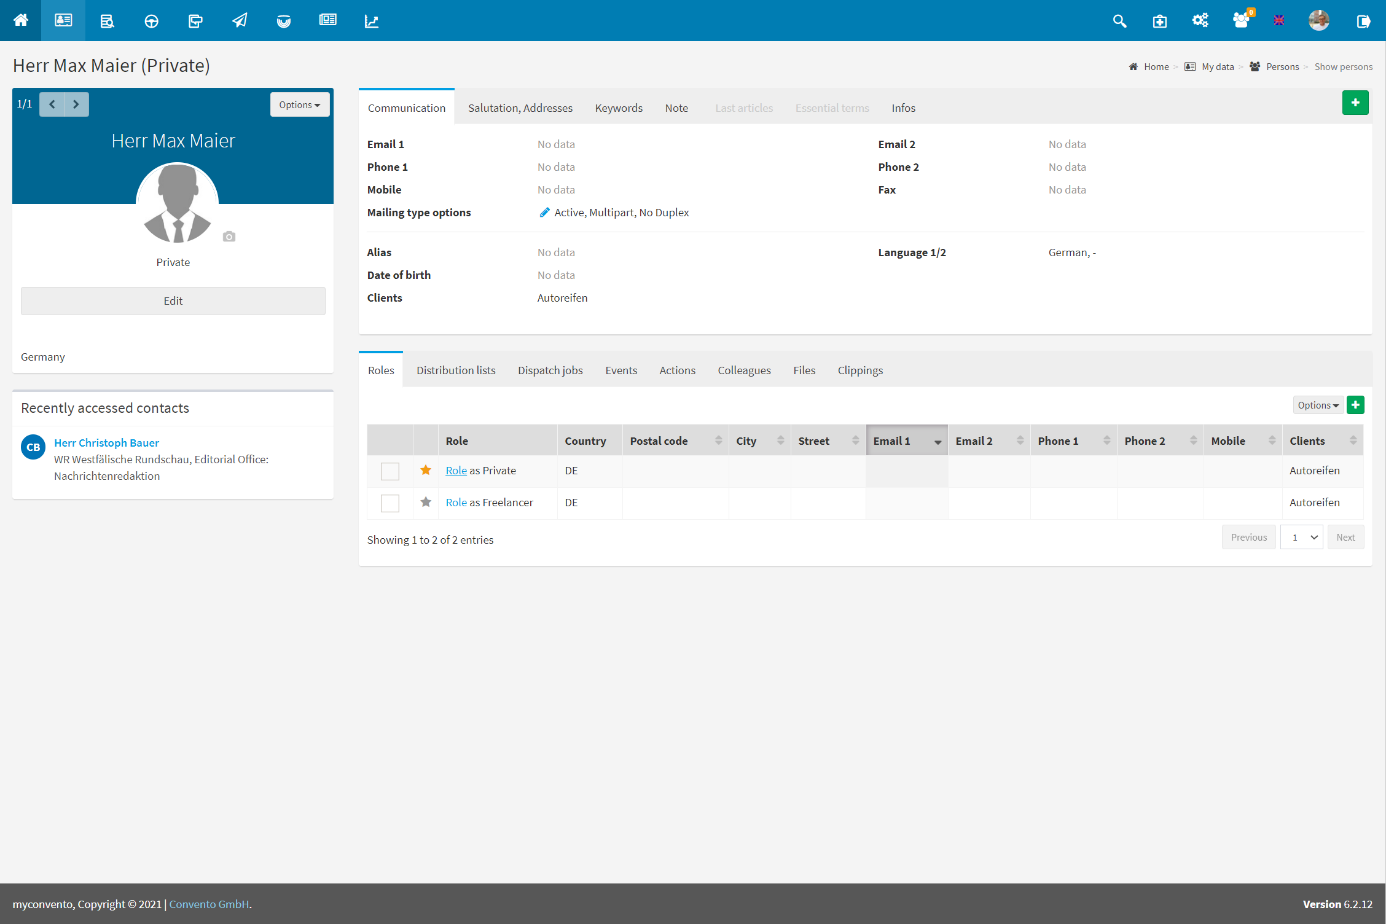
You are now seeing the details of the chosen contact. Here you can assign distribution lists, add new roles or edit the basic information via the “Edit Person” button.
Worth knowing
- – In the case of frequently appearing names with different spellings such as “Meier” and “Schmidt“, a long list of potential duplicates may appear. Now add the first name to limit the duplicates. The duplicate check in the “Company” field works according to the same principle – “New York“, for example, returns more hits than the more precise search “New York Times“.
- According to the following principle, myconvento checks new entries to avoid the creation of duplicates:
- The person AND the company already exist in My Data = if this situation is not due to an incorrect entry or selection, you MUST assign the person a new, additional role in the existing company.
- The person already exists in My Data, but not yet the company (the “medium“) = the person is definitely assigned an additional role that is linked to the new company being created.
- The person does not yet exist in My Data, however, the company (the “medium“) does exist = a new person with a role is assigned to the company.
- The person does not yet exist in My Data – no duplicate was found = there is no risk of a duplicate person.
- The following personal data are particularly important: gender (generates the letter salutation in combination with language and name), language 1/2 (determines in which language this person can be addressed), e-mail 1/2 (the delivery in dispatch is made to this e-mail address)
