The Smart List in myconvento provides you with a way to compile and import lists of contacts quickly and easily without having to permanently add and maintain them in “My data“. For the addressees on a smartlist, only the e-mail addresses are stored as a communication channel. Smartlists can be used in “dispatch“.
Unlike when importing your contact data to myconvento, the CSV file you want to import as a smartlist must have a very specific structure. To make this work easier for you, myconvento offers a sample file for the creation of a Smart List for download.
If you want to use an already existing Excel file, you can change the assignment of the columns after the upload.
All work around smartlists is located in the module “My data“.
Workflow
- On the home page, select the “My Data – Smart List” module to go to the corresponding section
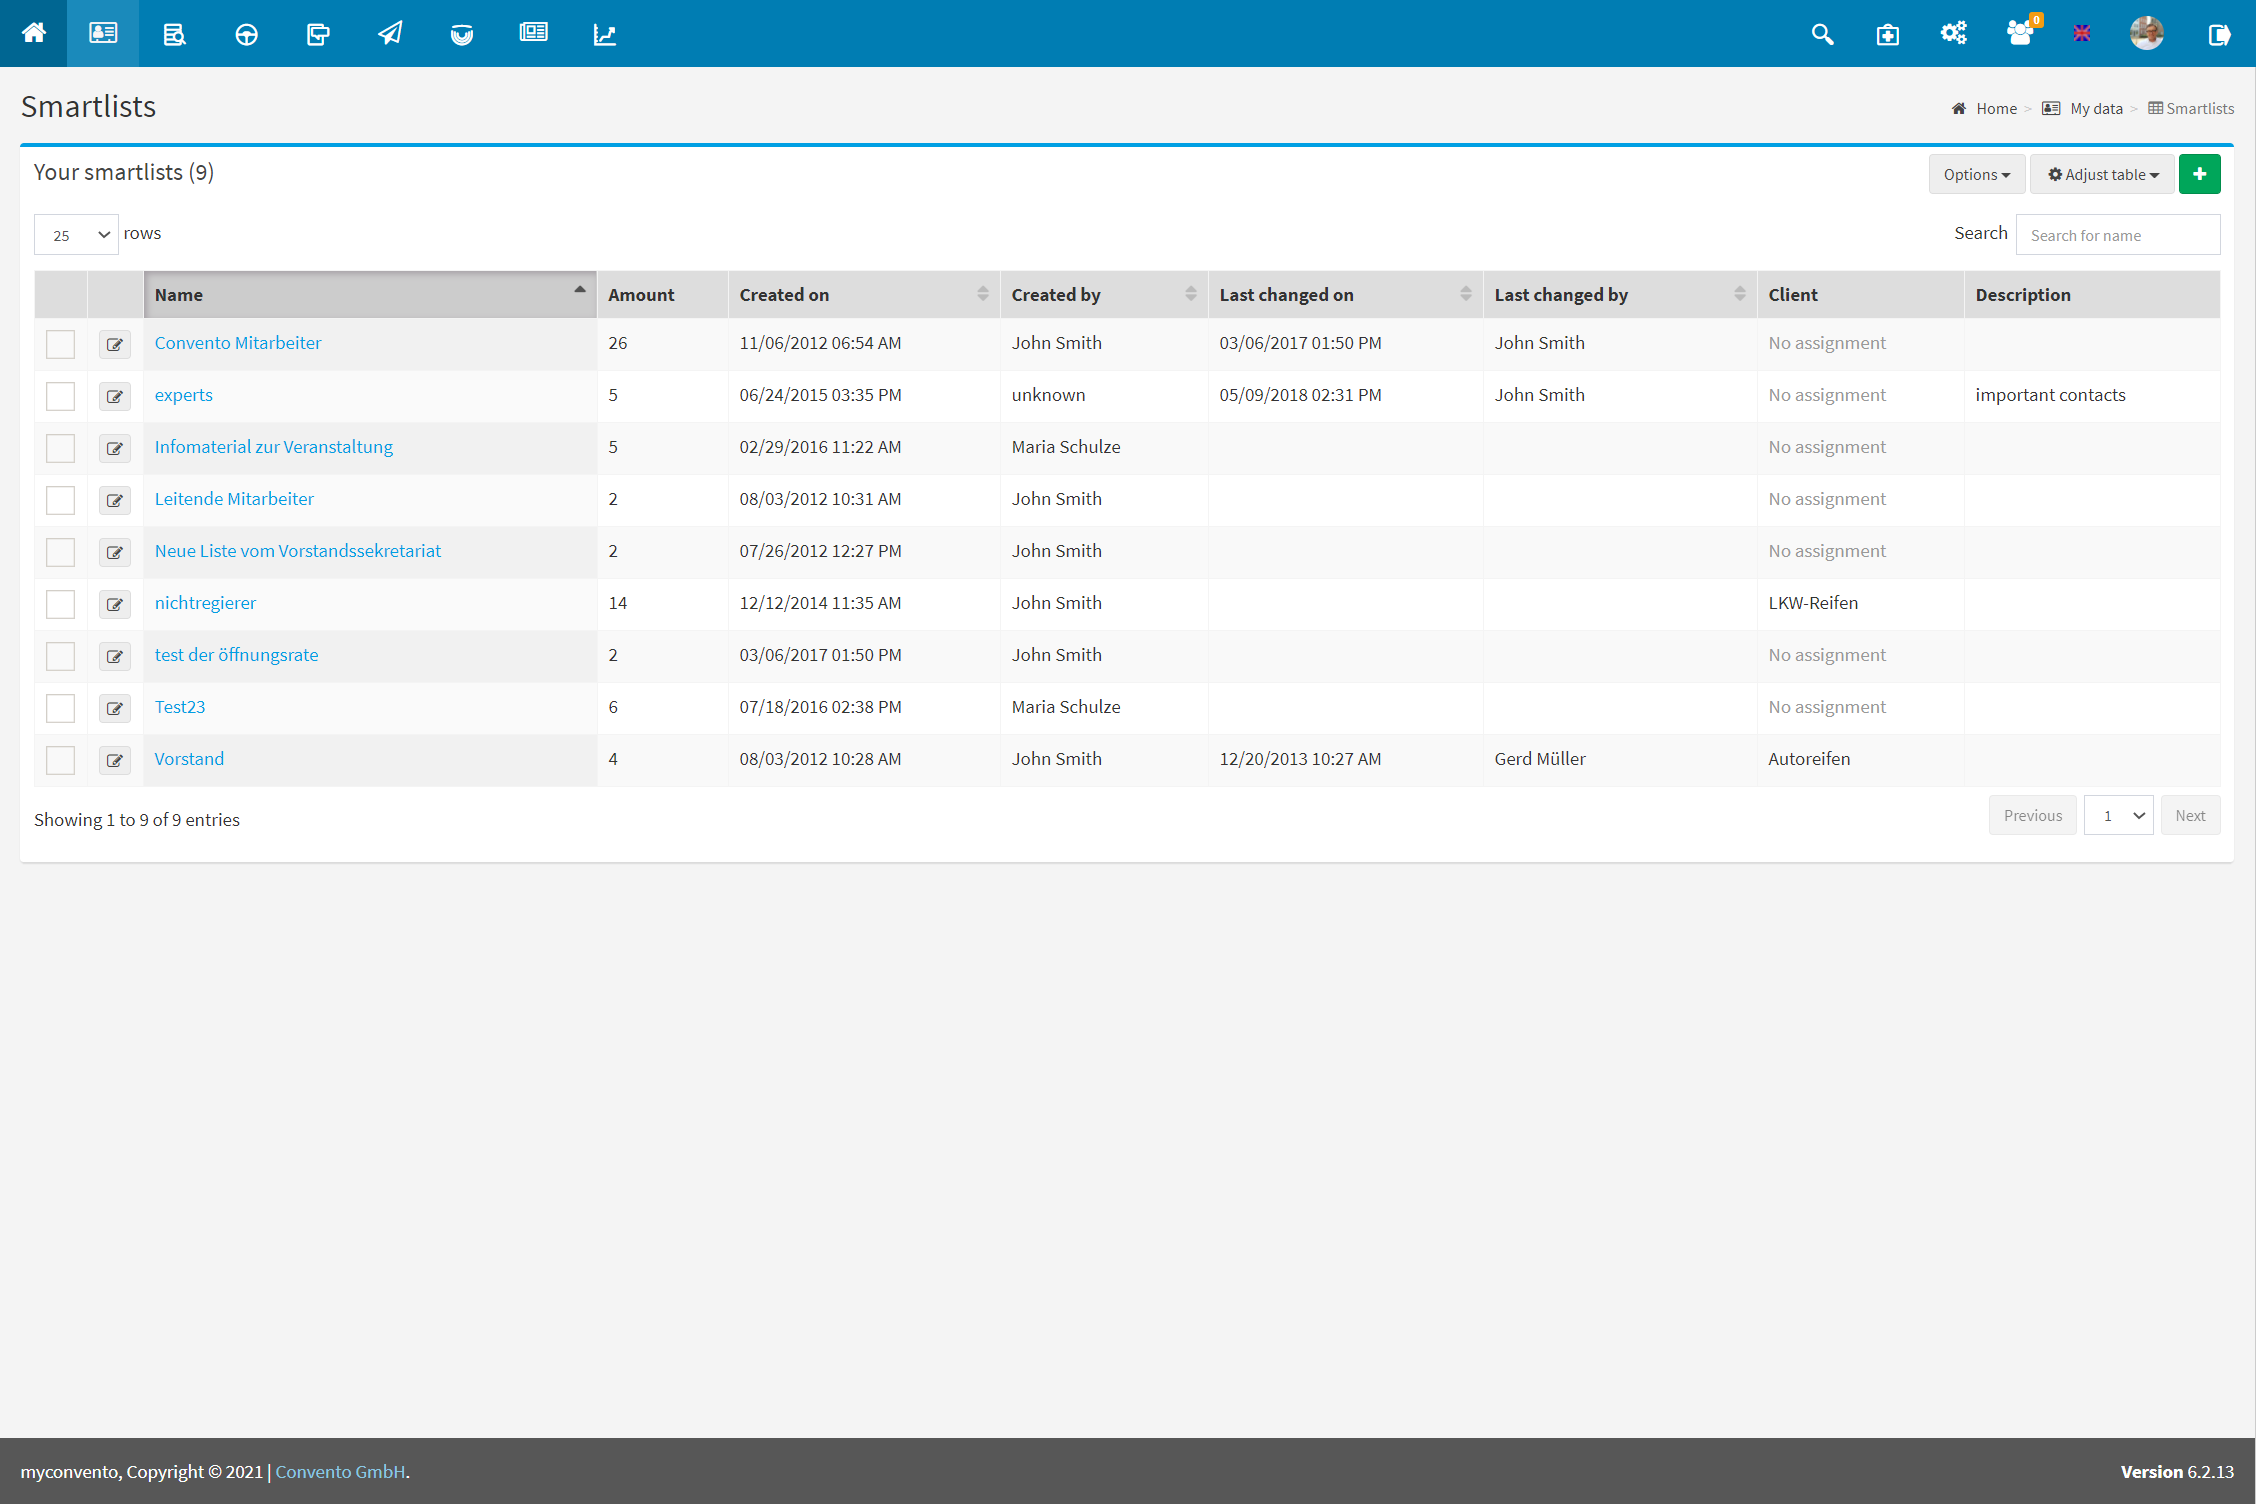
- the “Your Smart Lists” area shows the Smart Lists that already exist. Create a new Smartlist by clicking on the green plus sign.
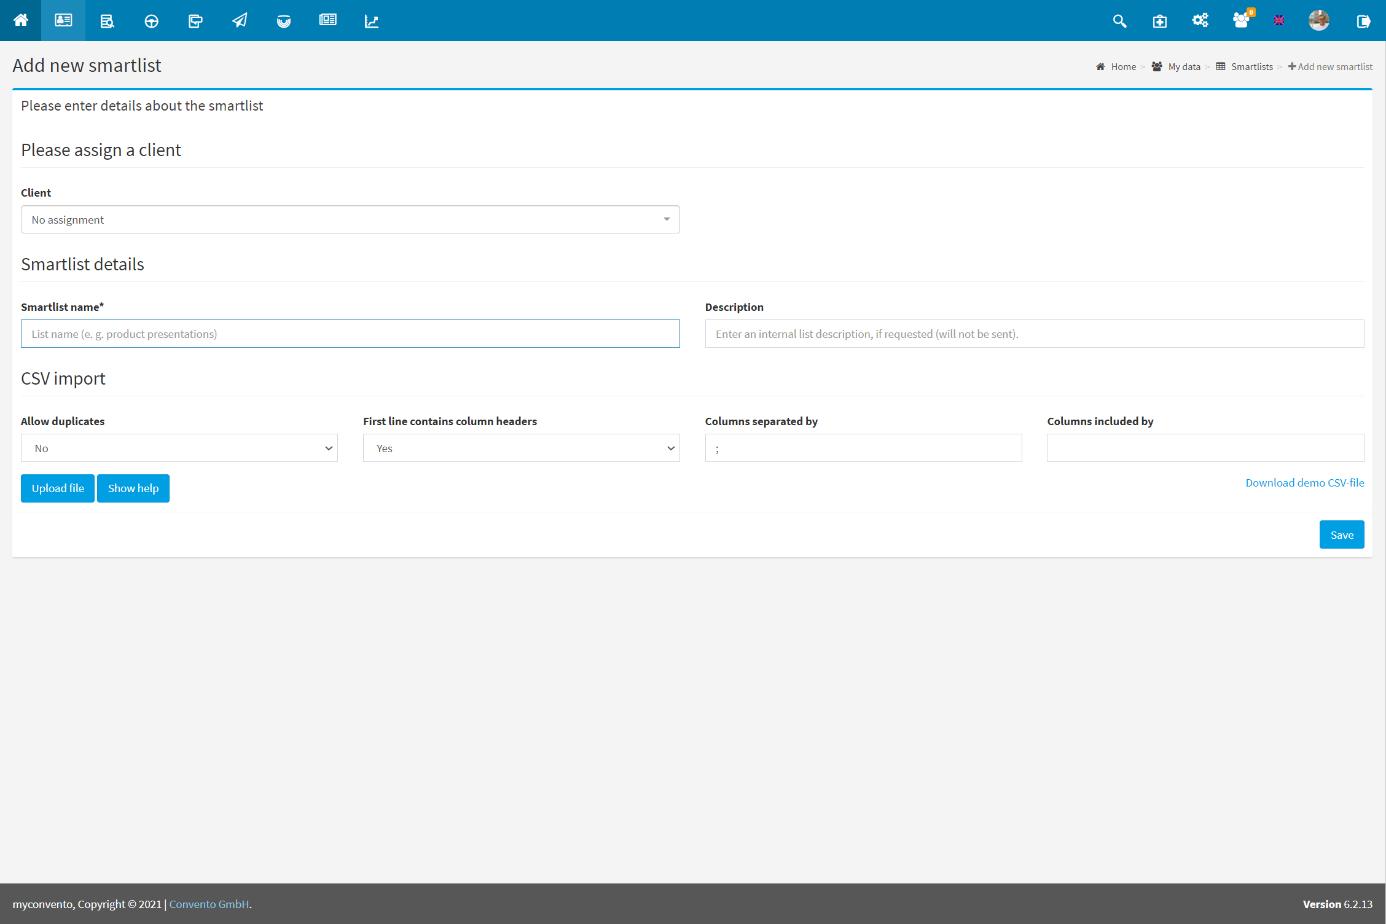
- “Create a new smartlist” allows you to download a sample CSV file that shows you the structure of a smartlist. Enter your own data here and upload the list via “Upload file“.
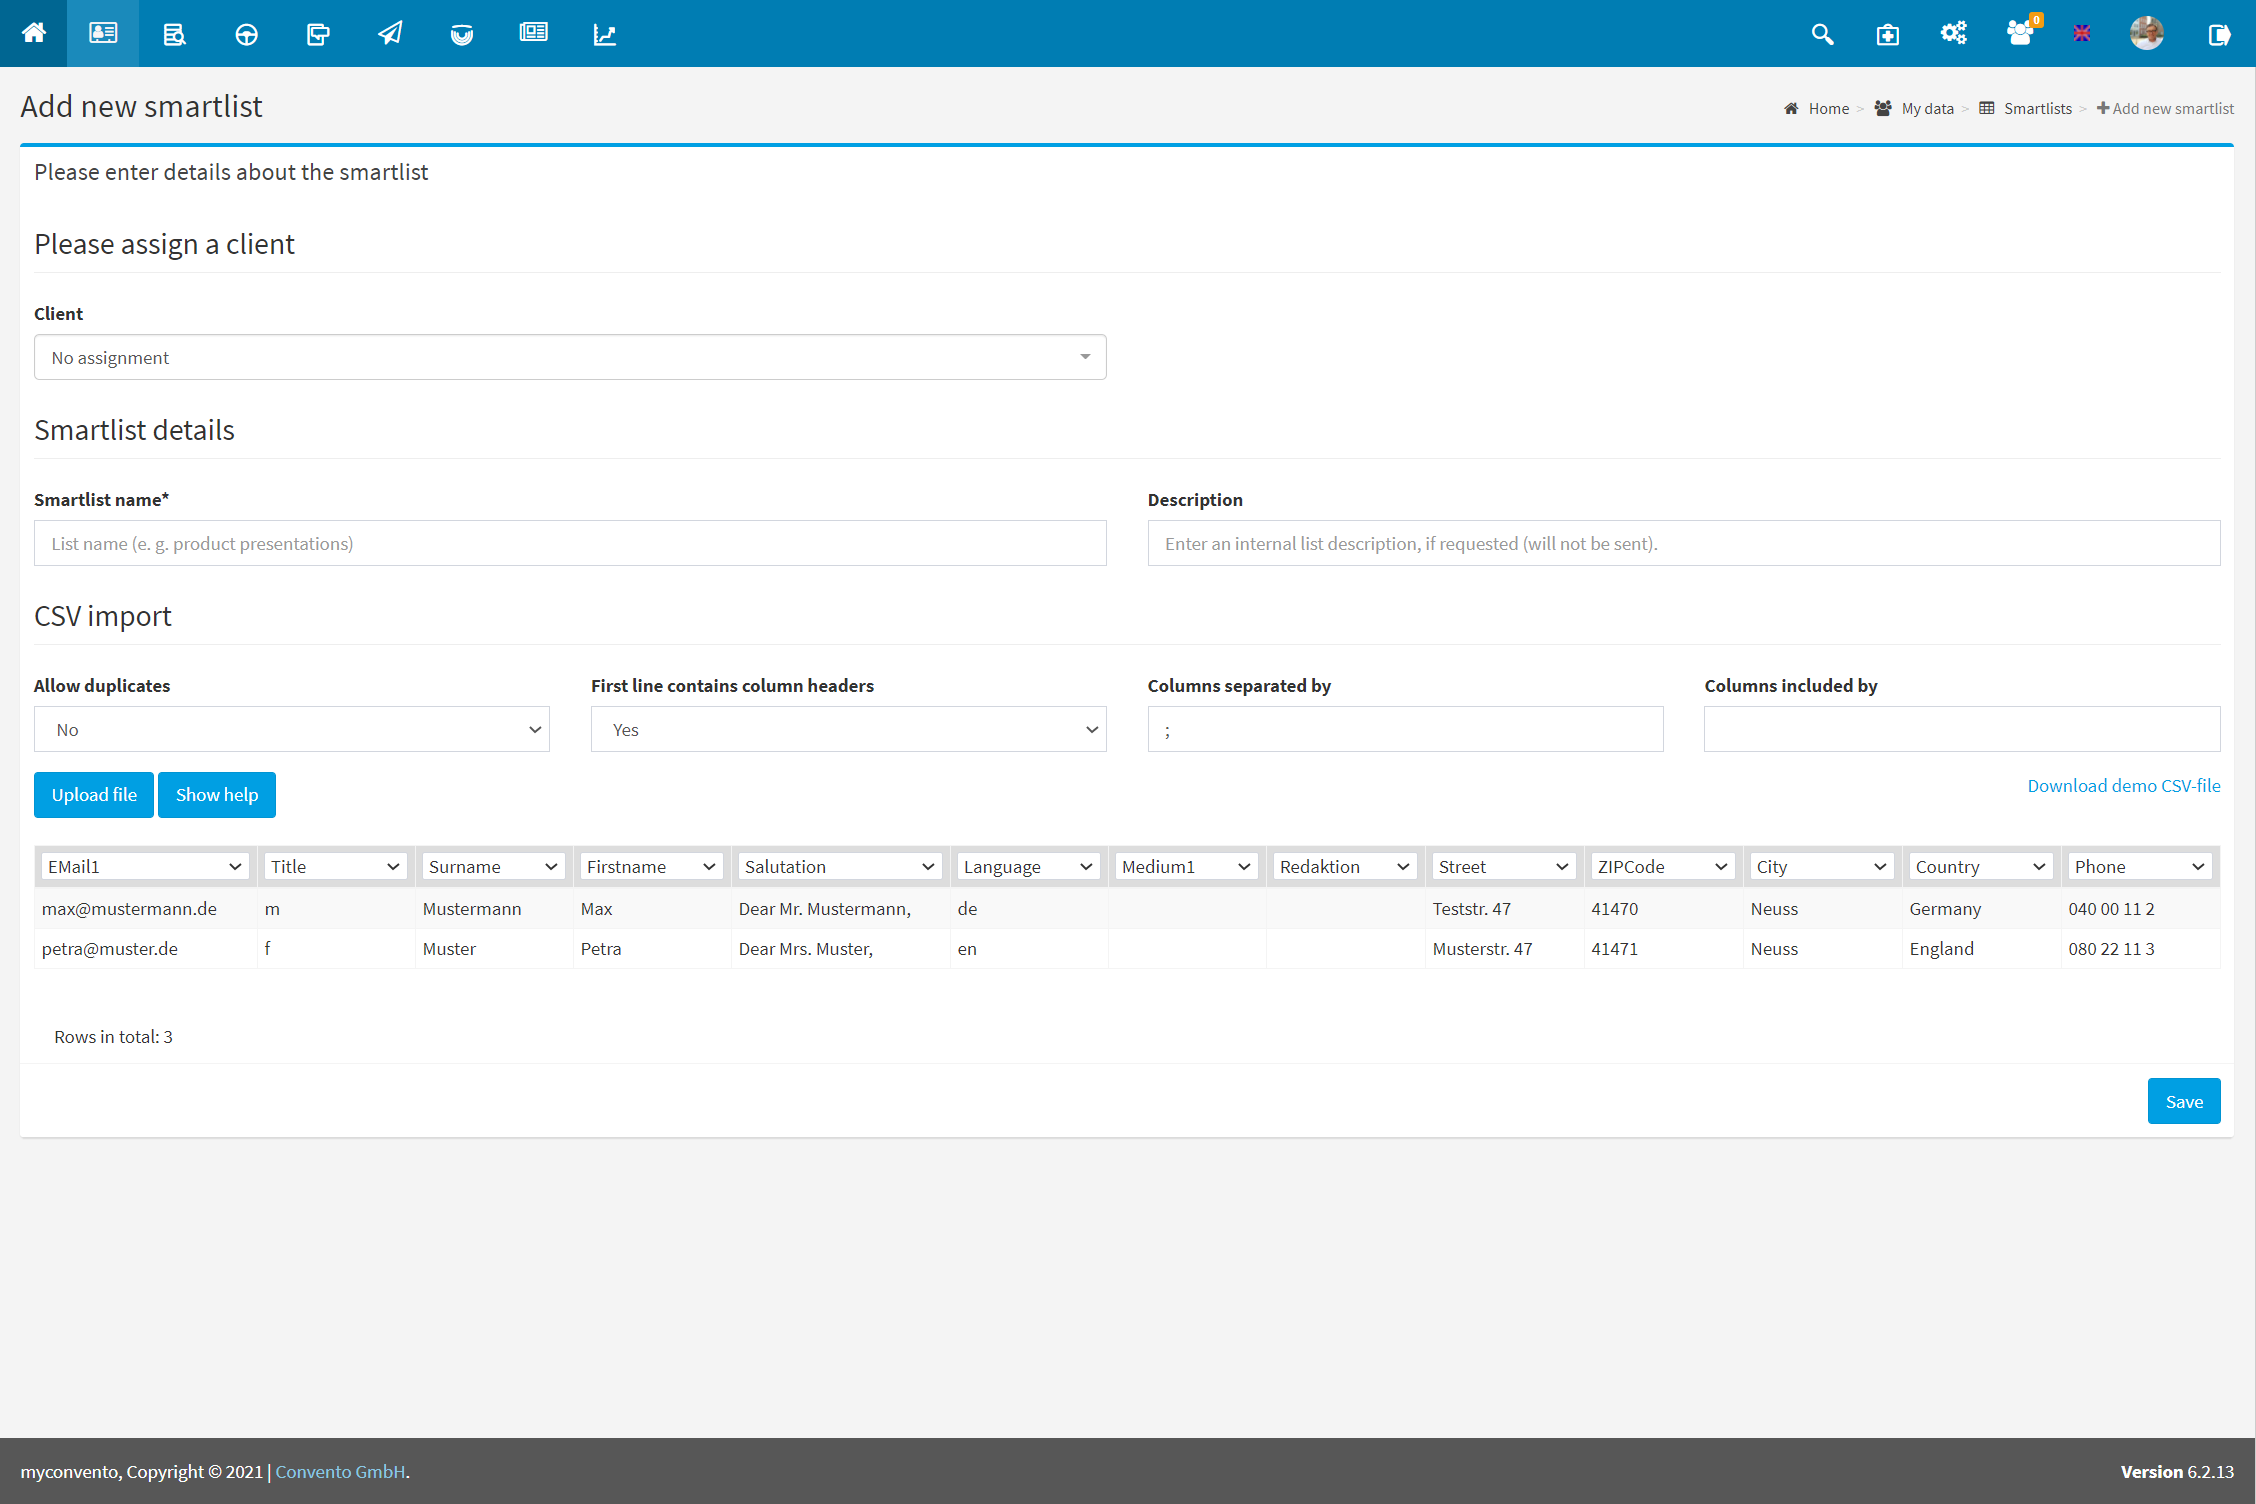
- Check the structure of your smartlist and exchange the headers if necessary. Finish the process by clicking the “Save” button.
The smartlist is now accessible in the dispatch.
Examples
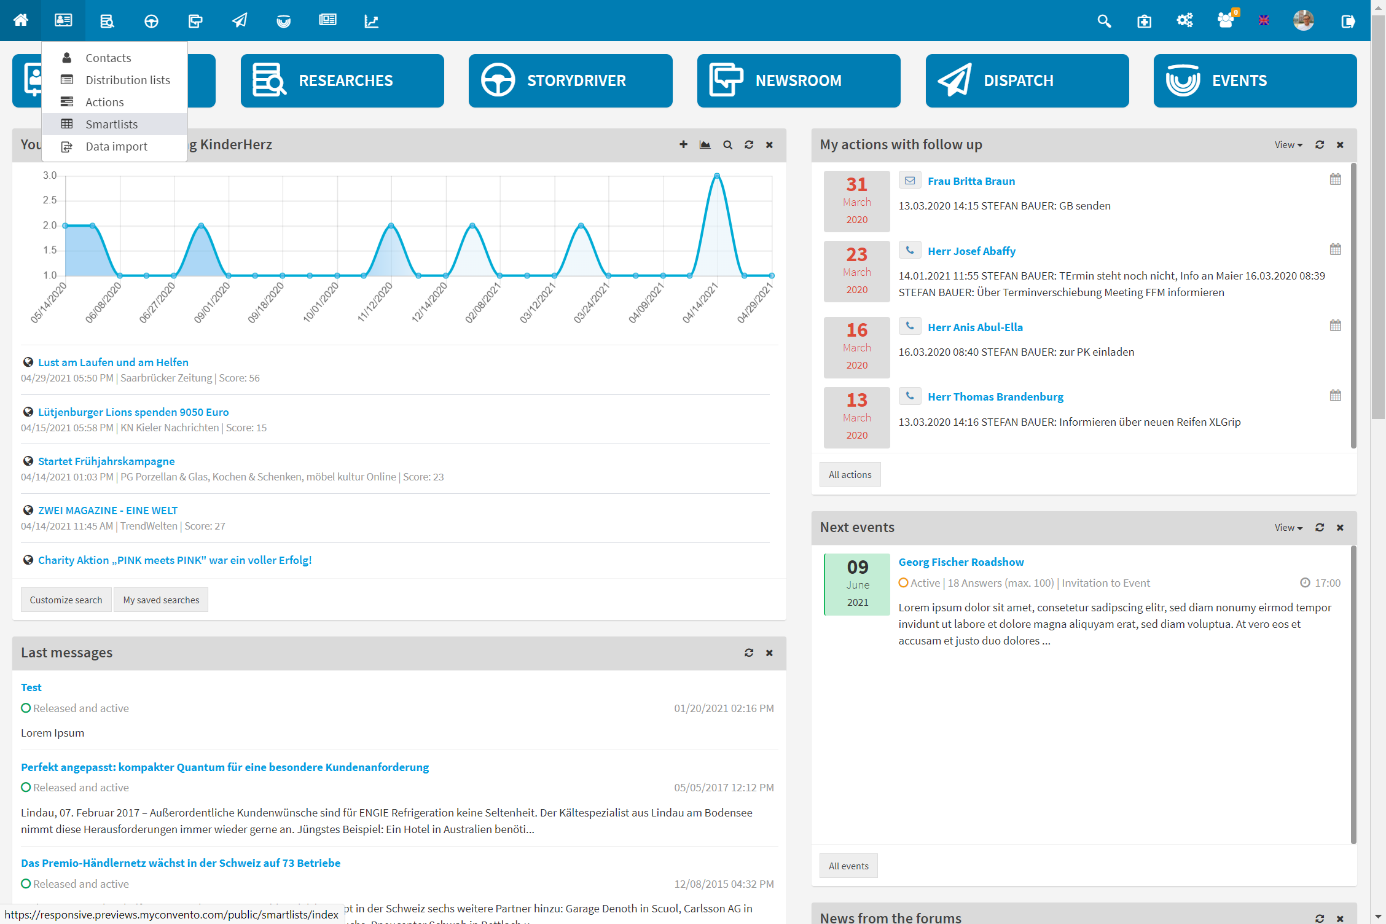
To work with smart lists, select the “My data” module (business card icon) on the home page in the toolbar and select the “Smartlists” item there.
You will get to the “Smartlist”-Section, in which you can click on the green plus to create a new smartlist.
You now see the dialogue for creating a new smartlist. Download the example-file which displays the csv-strucuture. Once you filled in your data you can upload the file via the “Upload file”-button.
Check if the uploaded data is correctly assigned to the columns and click “save” to create the smartlist. It can then be used for dispatch jobs.
Worth knowing
- Smartlists can be edited by checking the box and selecting “Edit” via “Options”.
Here you can change the title of the smartlist or upload an updated recipient list.
The process is identical to creating a new Smart List. - If you would like to address your contacts in a personalised way, the individual salutation must be created manually in the “Salutation” field.
This can be simplified as follows with the help of help columns:
1. create assistance columns for “Dear”.
2. now enter the following in the line “Salutation” (scheme):
=Cell number_Dear& ” “&Cell number_ salutation& ” “&Cell number_surname&”
3. this command inserts e.g. “Dear Mr. Barnow”
4. now drag the lower right corner of this cell to apply this scheme to all contacts. - Of course, you can also use smart lists in the Events module. In this case, the responses can be viewed quite regularly in the overview under “Responses”. Please note, however, that you cannot synchronize the information from events with your smart list, because this data is not managed as personal data records in “My data”.


