Learn how to create or remove roles by using a workflow description and an example with images.
“Worth knowing” also provides further detailed information and hints to gain a certain basic understanding of the roller system and the mechanics behind it.
Workflow
Contacts are edited in the “My data“-“Contacts” section.
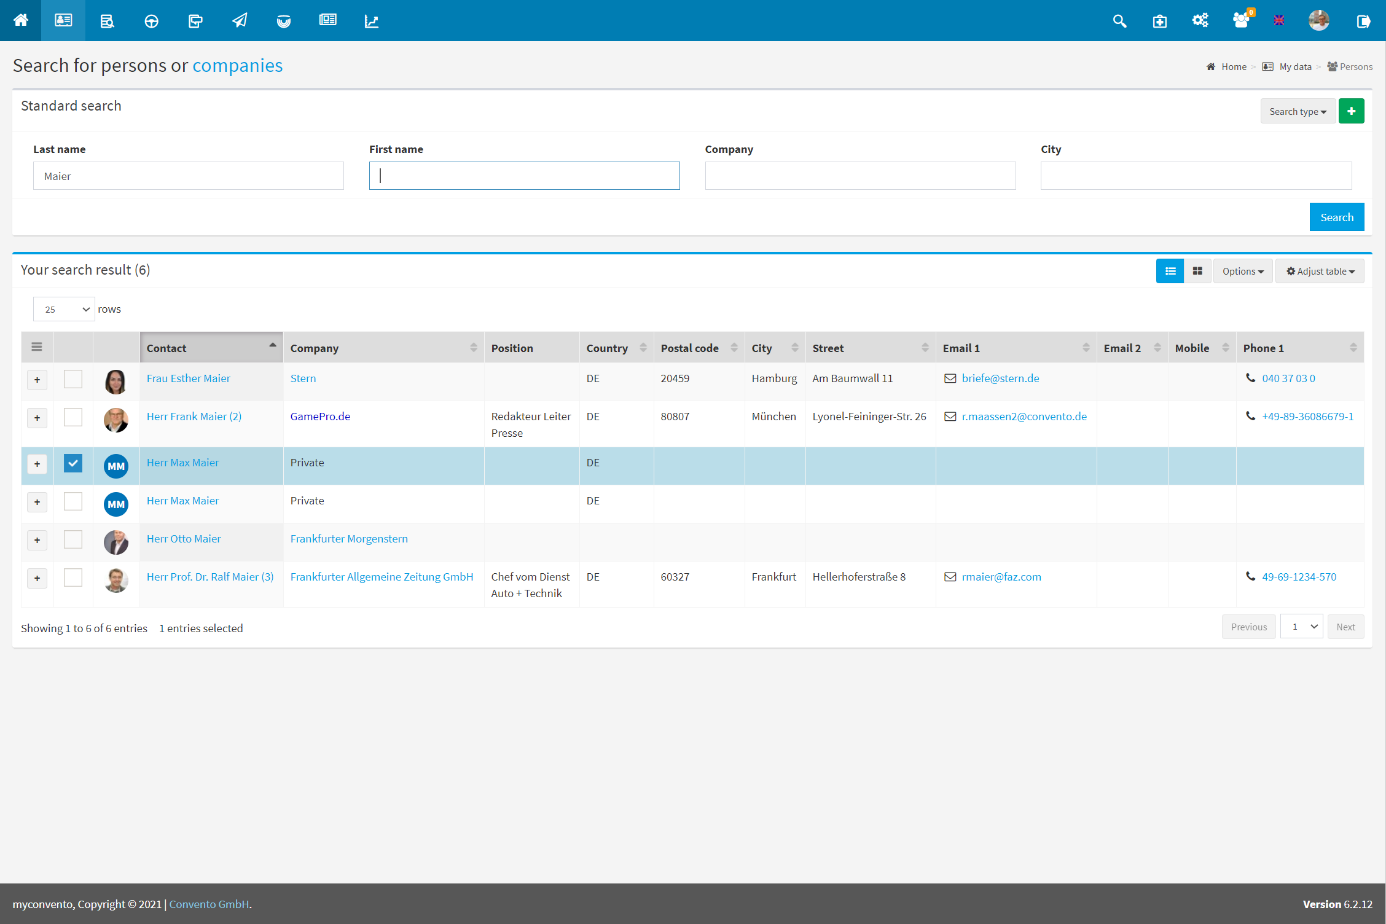
- you reach the “Persons” area, which you can use for regular contact searches.
- use the search methods described from “How to find your contacts” and click on the name of the contact to get to its detailed view
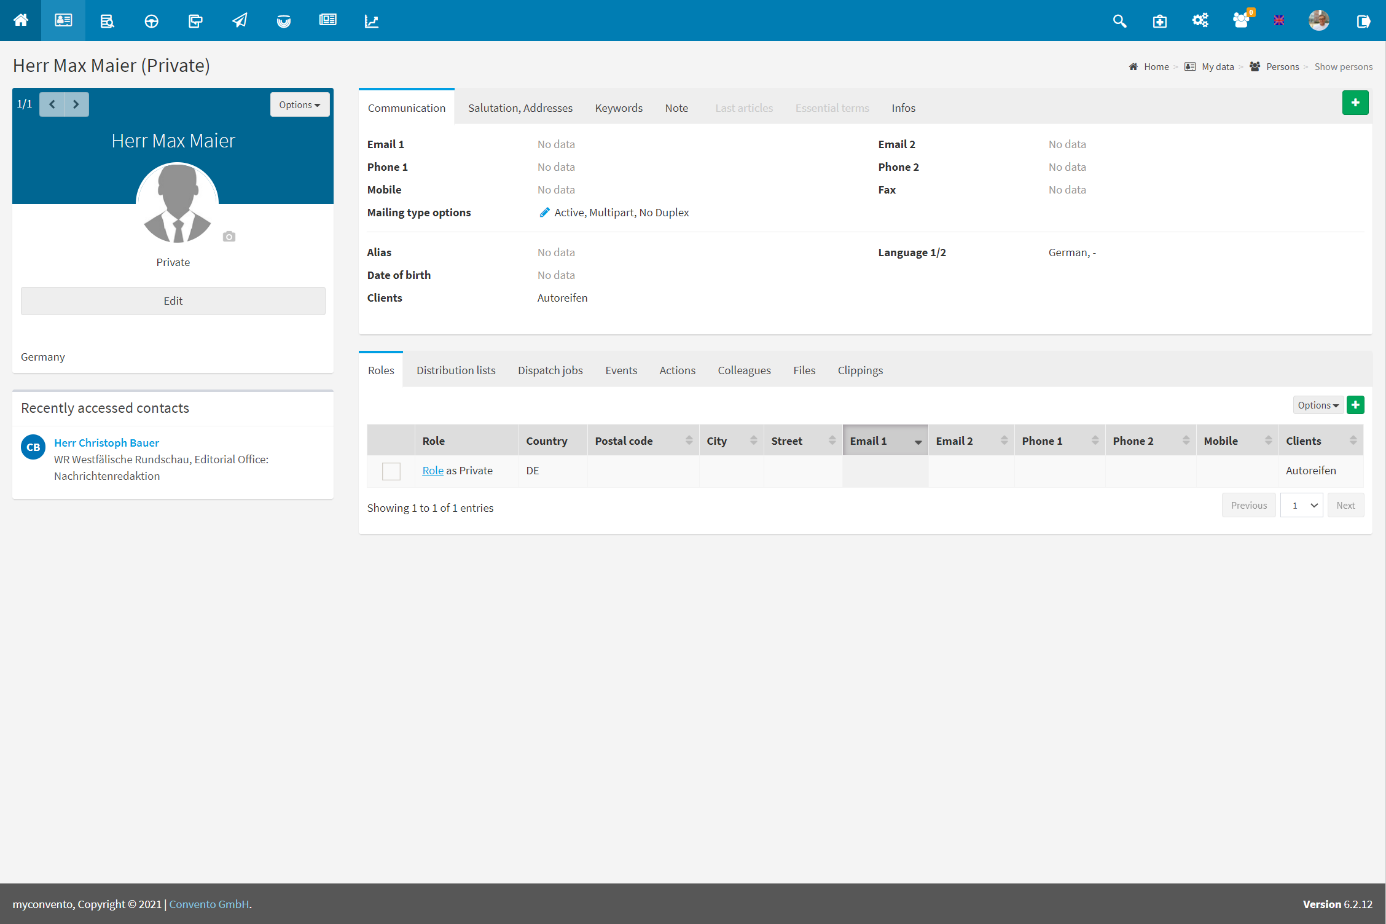
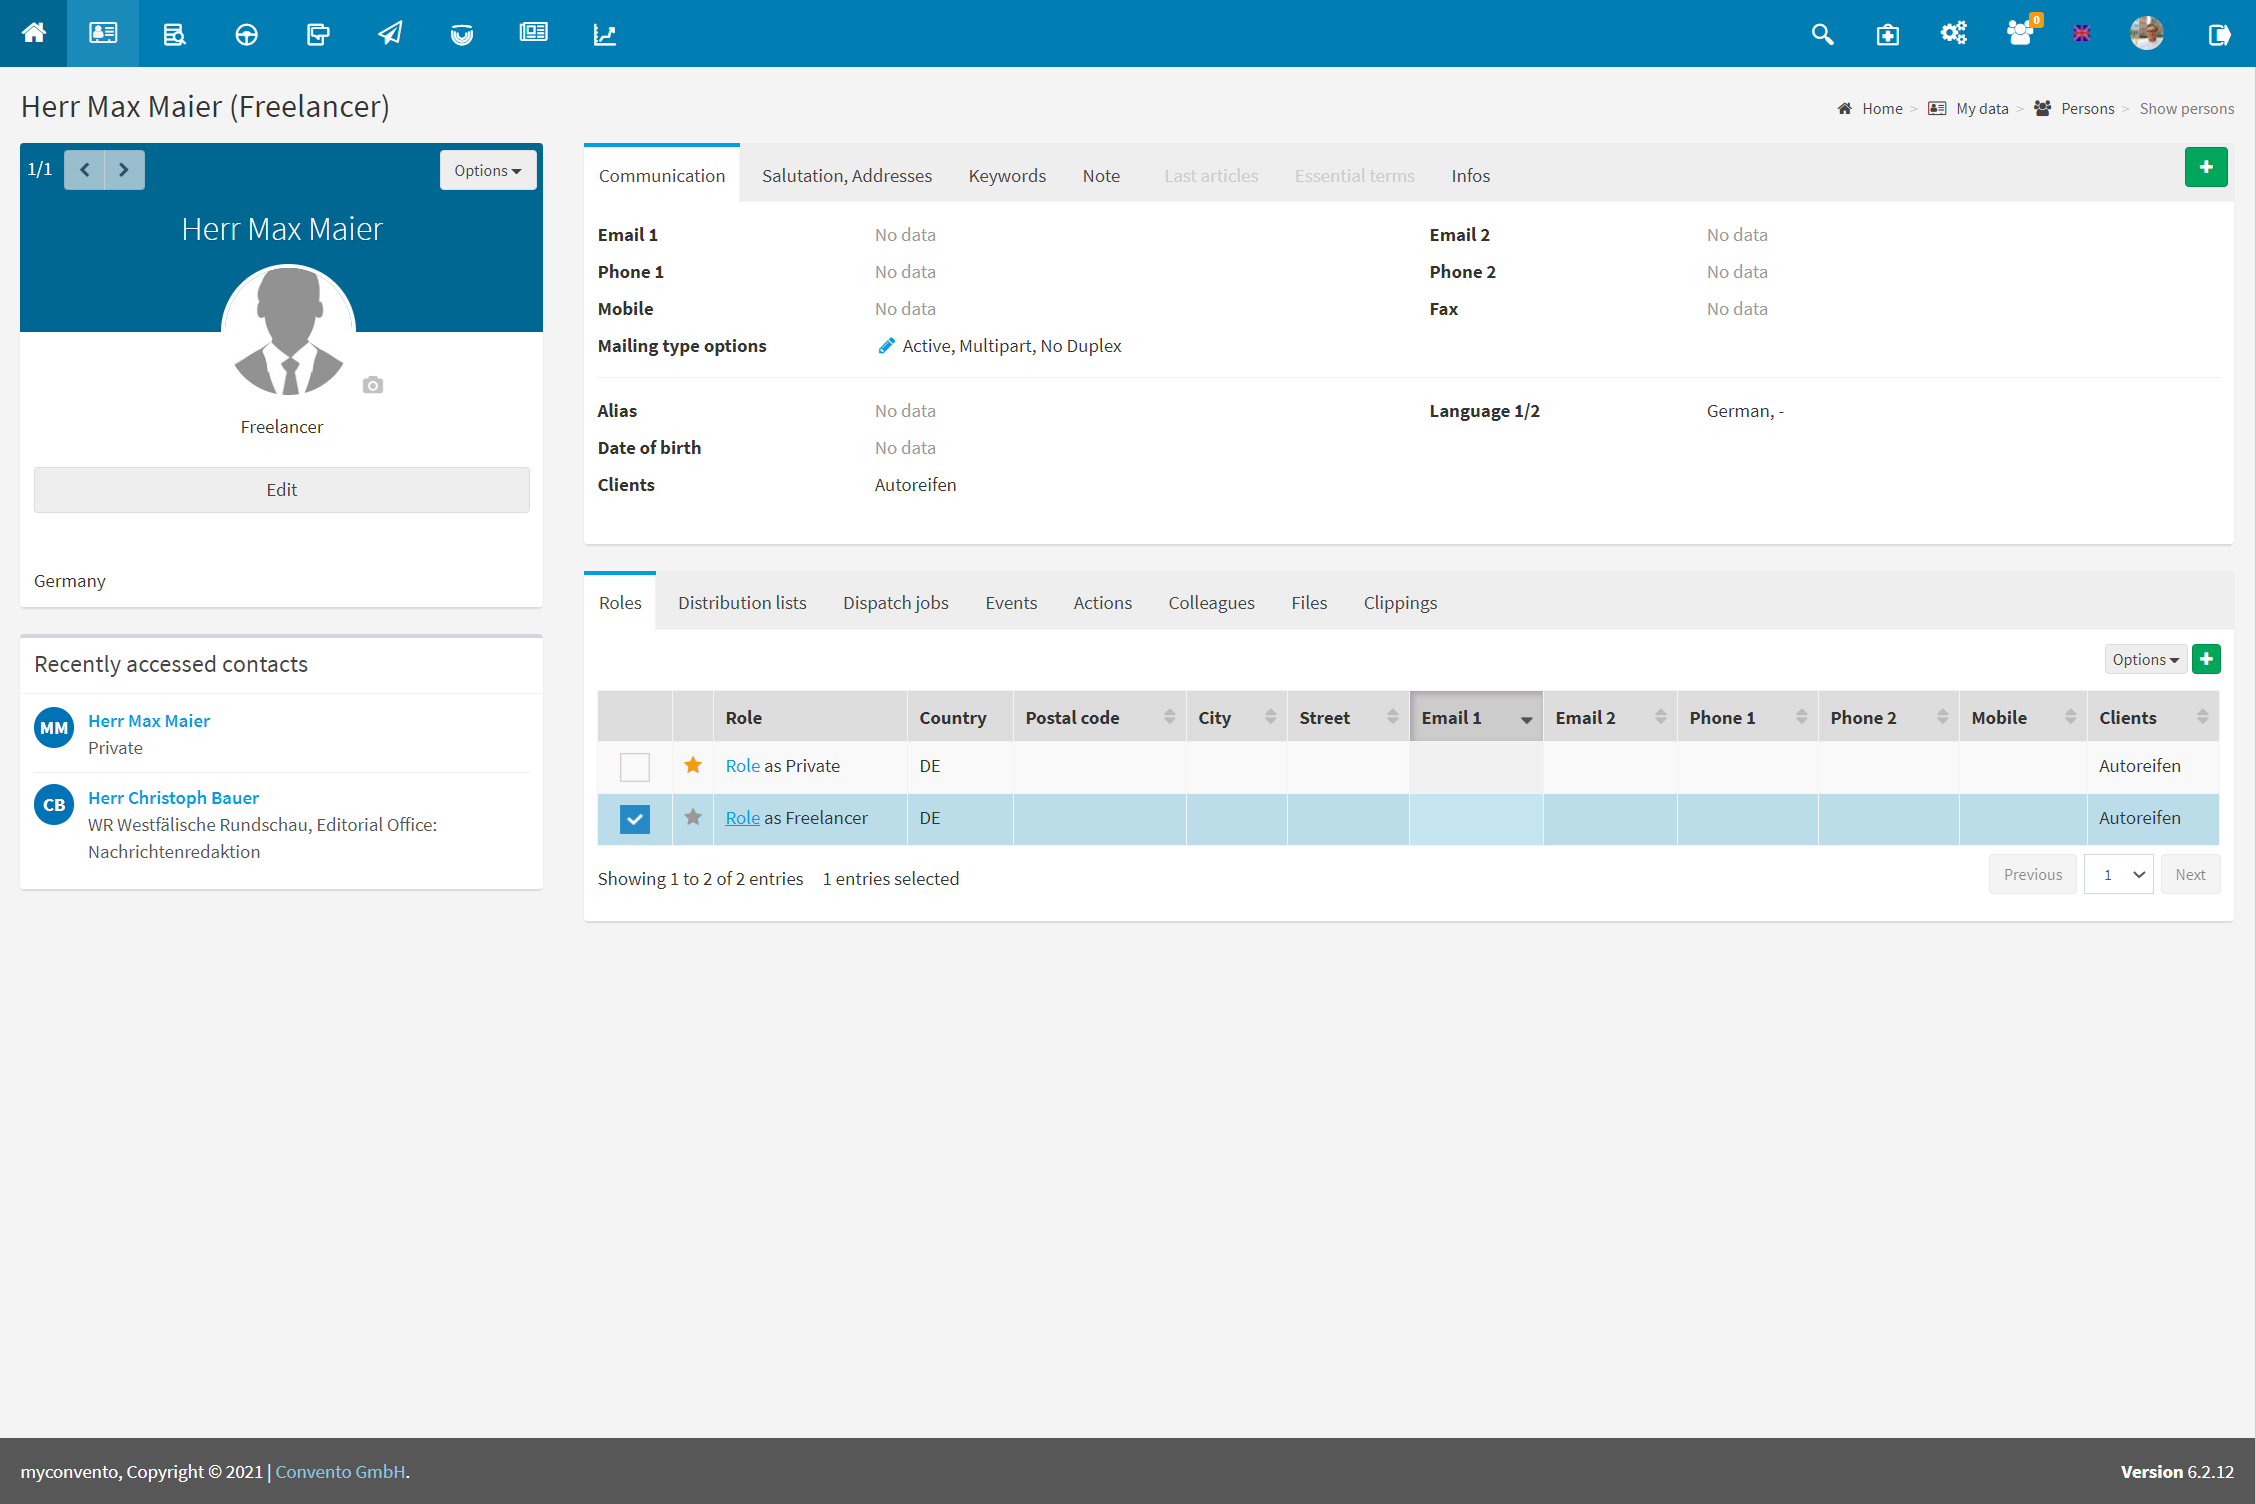
- in the tab Roles you can see which roles are already available. Click on the green plus to create a role or mark the desired role with a check mark followed by “Options – Delete” to remove the role.
Example
As described in “How to find your contacts”, find the record you want to edit and click it.
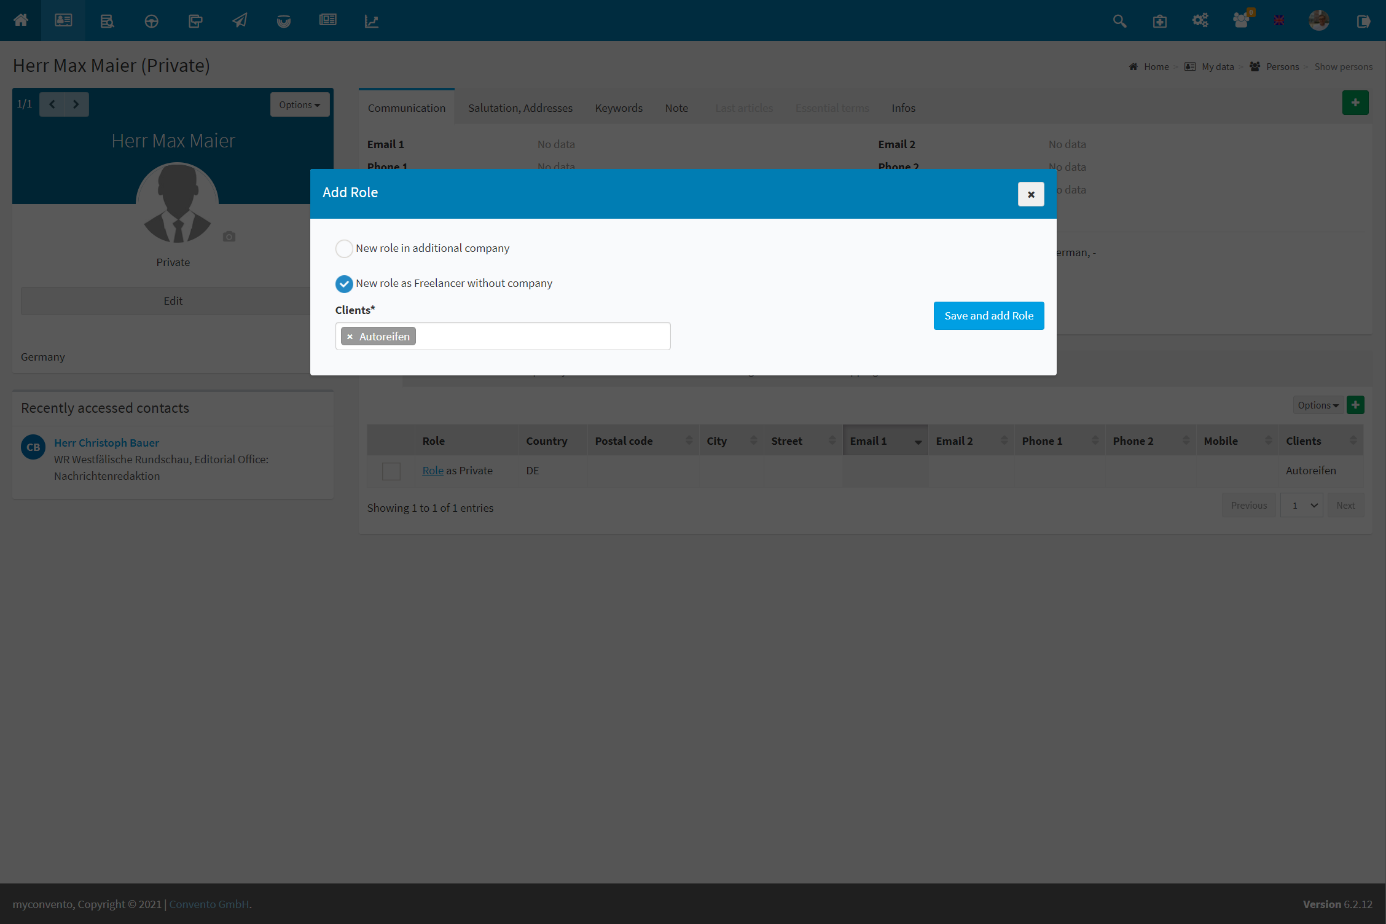
Select the tab “Roles” and click on the green plus to create a new role. In the “Add Role” dialog box, select the type of role you want to add. The options differ depending on which types of roles are already created.
The new role is now also visible under the “Roles” tab. The original role is now the main role (recognizable by the golden star).
Worth knowing
-
What are roles?: myconvento uses the so-called role system, which allows to keep multiple contacts in the database without redundant data sets. The basic idea is therefore “Who is my contact and what roles does he or she take on“
For example, Christof Barnow at Convento GmbH is a member of the support team who answers your questions and provides assistance. Furthermore there is the private person Christof Barnow and maybe he is also a blogger.
In order to portray all aspects of this contact and provide him with individual content (the private person has different interests than the blogger), you would have to create him three times. Instead, strictly speaking, myconvento has only one dataset where these 3 “roles” are stored. As a result, the contact lists remain clear, but each of these roles can be configured individually (individual mail addresses, distribution lists, address data, salutation etc.). -
If you want to add further roles to your contact, select the “Roles” tab below and click on the green plus. Here you can now select the type of role to be created (private person, freelancer, role in another company, role in the same company). The type of role that can be created depends on the existing roles.
-
The role that was the first to exist is the “main role“. This role is marked with a golden star and is always at the top of your lists when you search for this contact. Click on the grey star of another role to make it the new main role.
-
Select a role and choose “Options” – “Move role to another company” to open the corresponding dialog. Here you can not only decide which data should be kept, but also create a successor.
-
If you mark and delete a role, you will be asked if you want to transfer its information (distribution list, contact history, etc.) to one of the other roles.
