If you have subscribed to Premium Dispatch, you can use the Drag & Drop Builder to create your press releases. Learn here how to use this tool correctly to create a powerful design for your release especially quickly.
Workflow
Create dispatch order
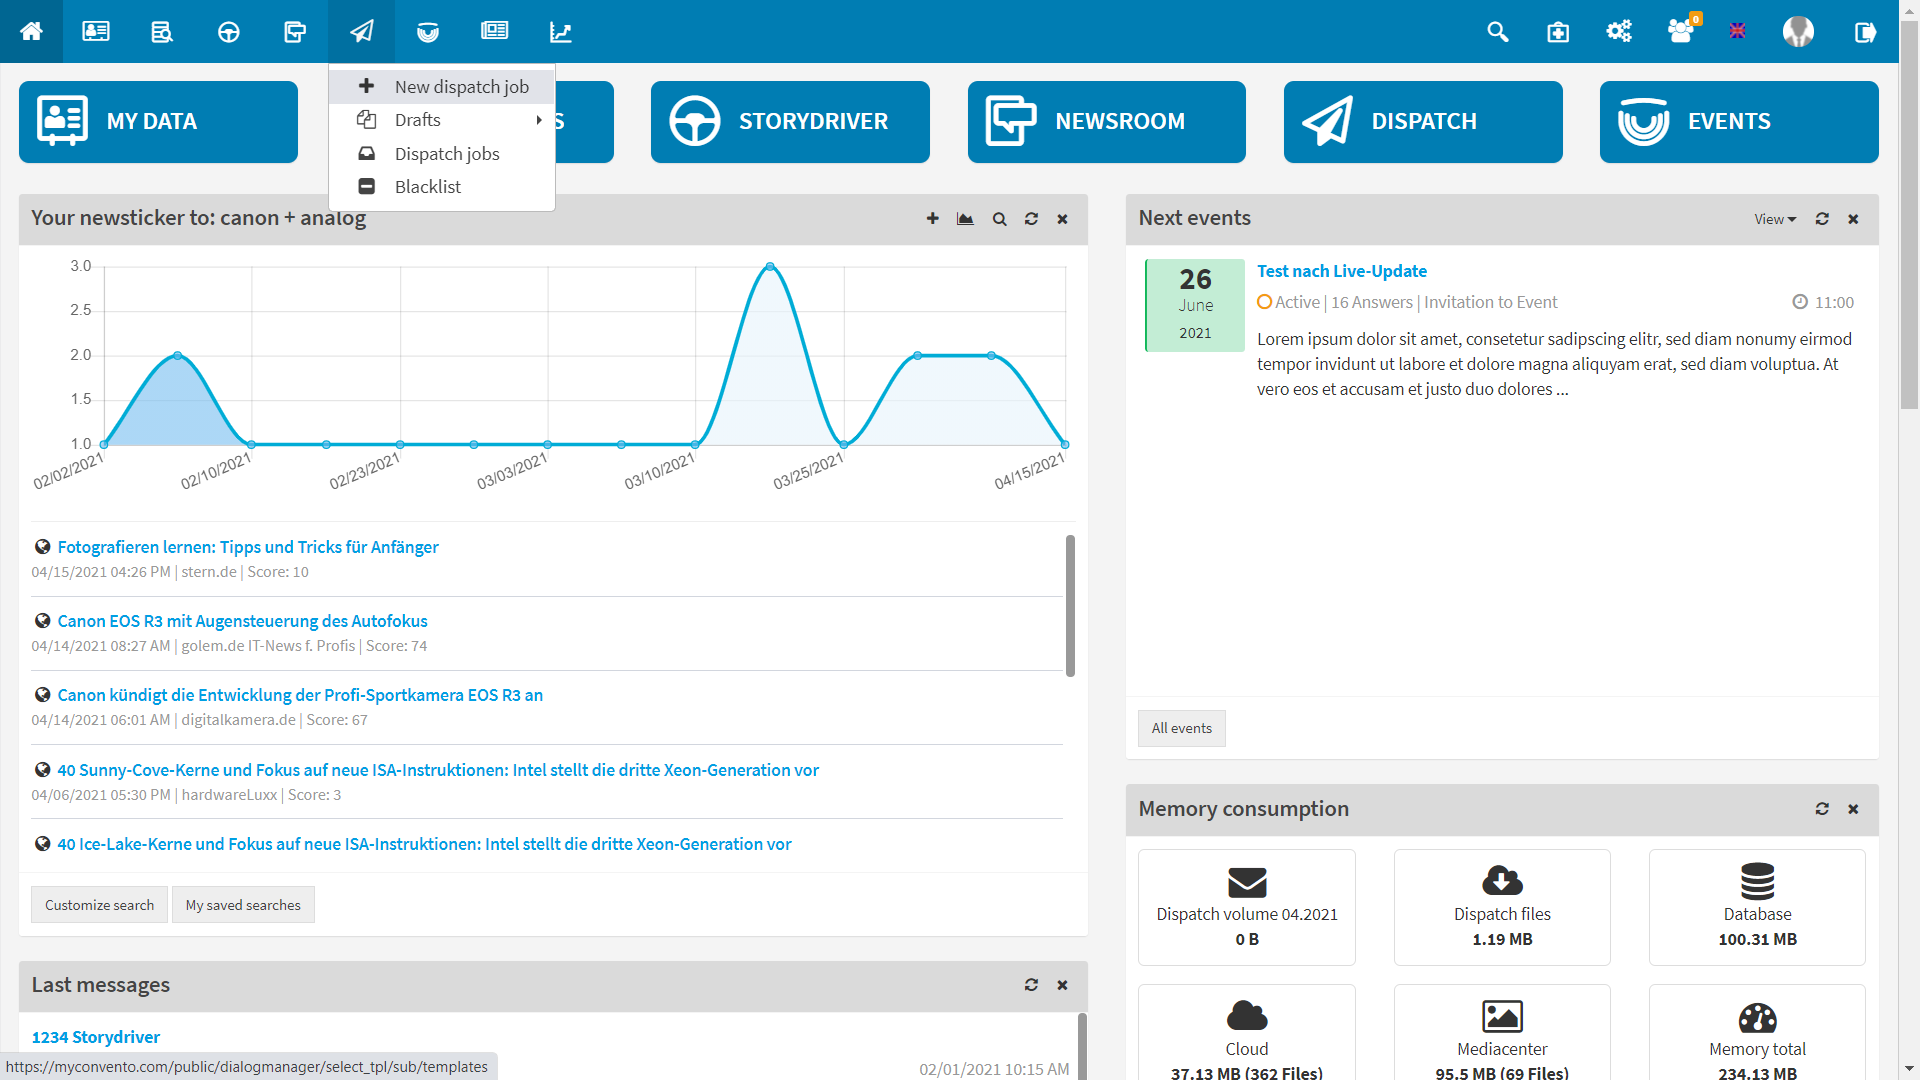
- On the home page, select the module “Send (letter symbol in the quick navigation bar)” – “New dispatch ” to access the corresponding area.
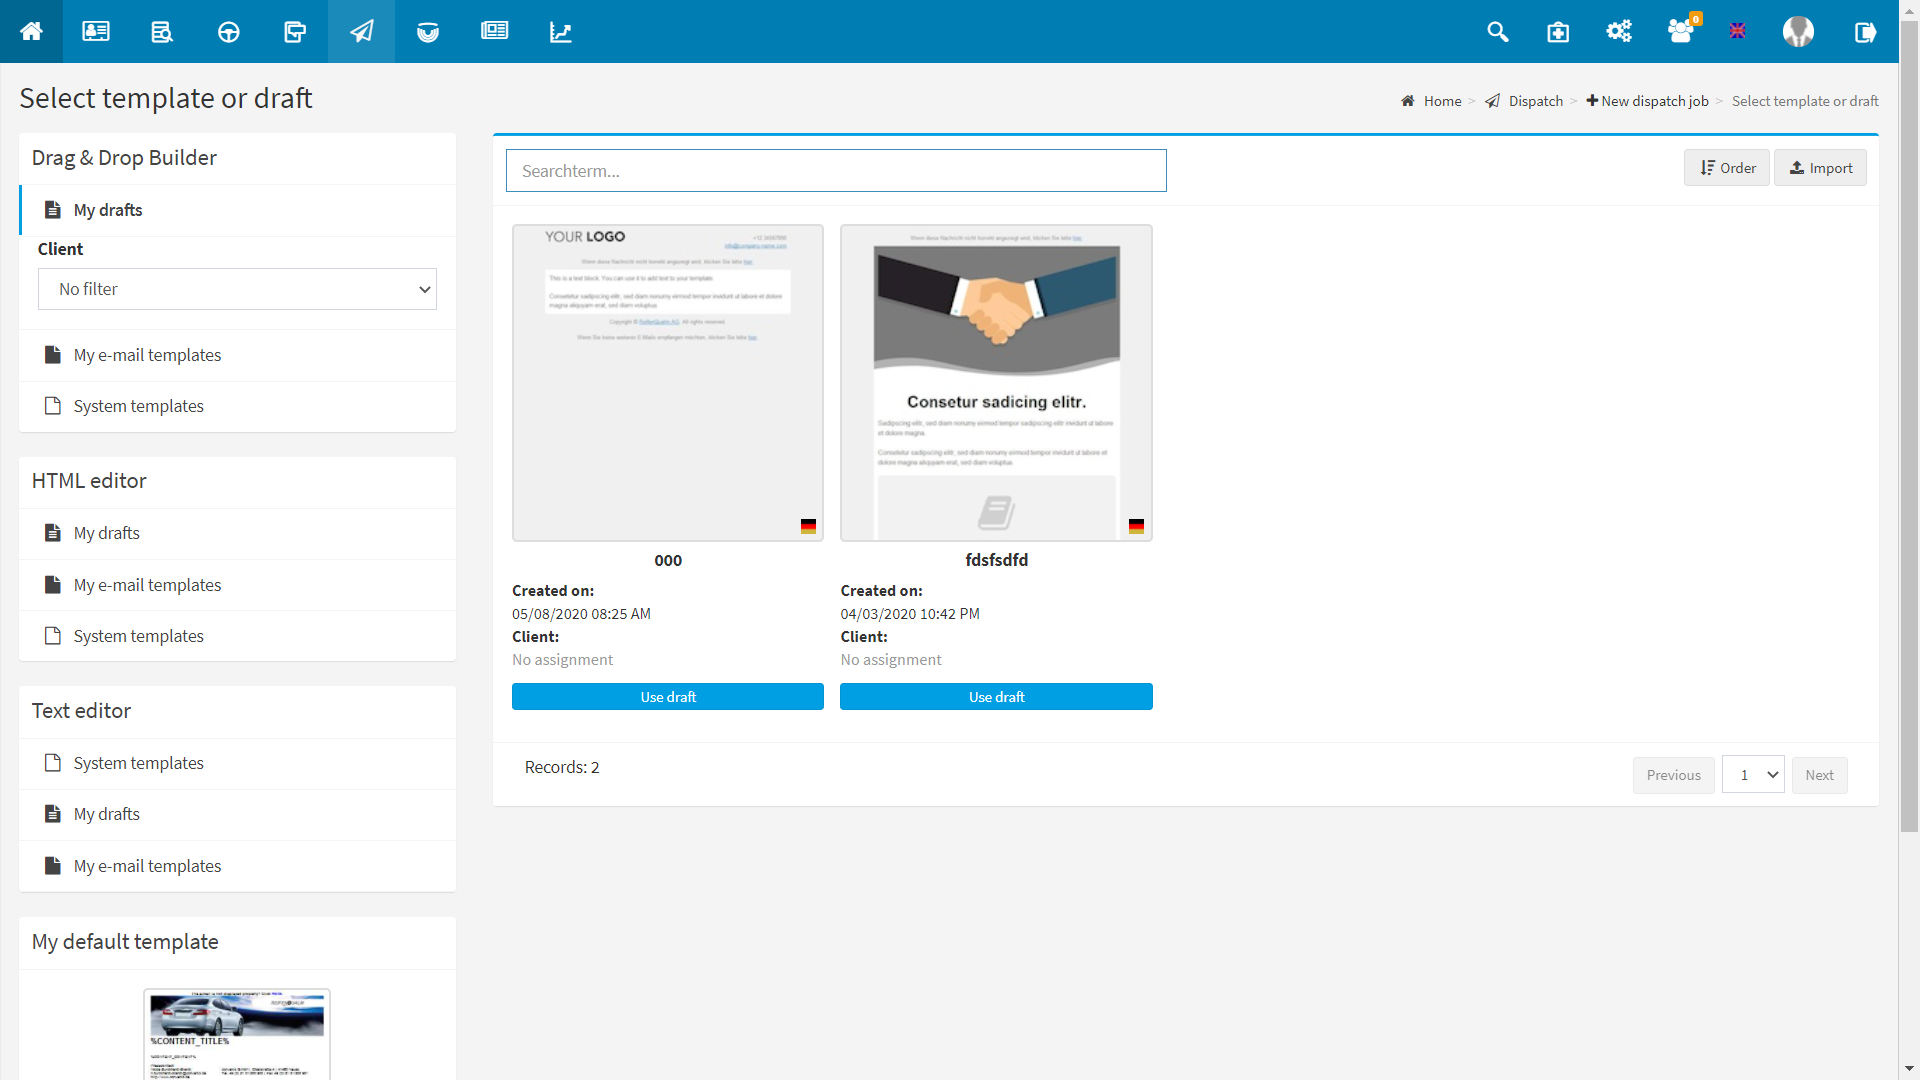
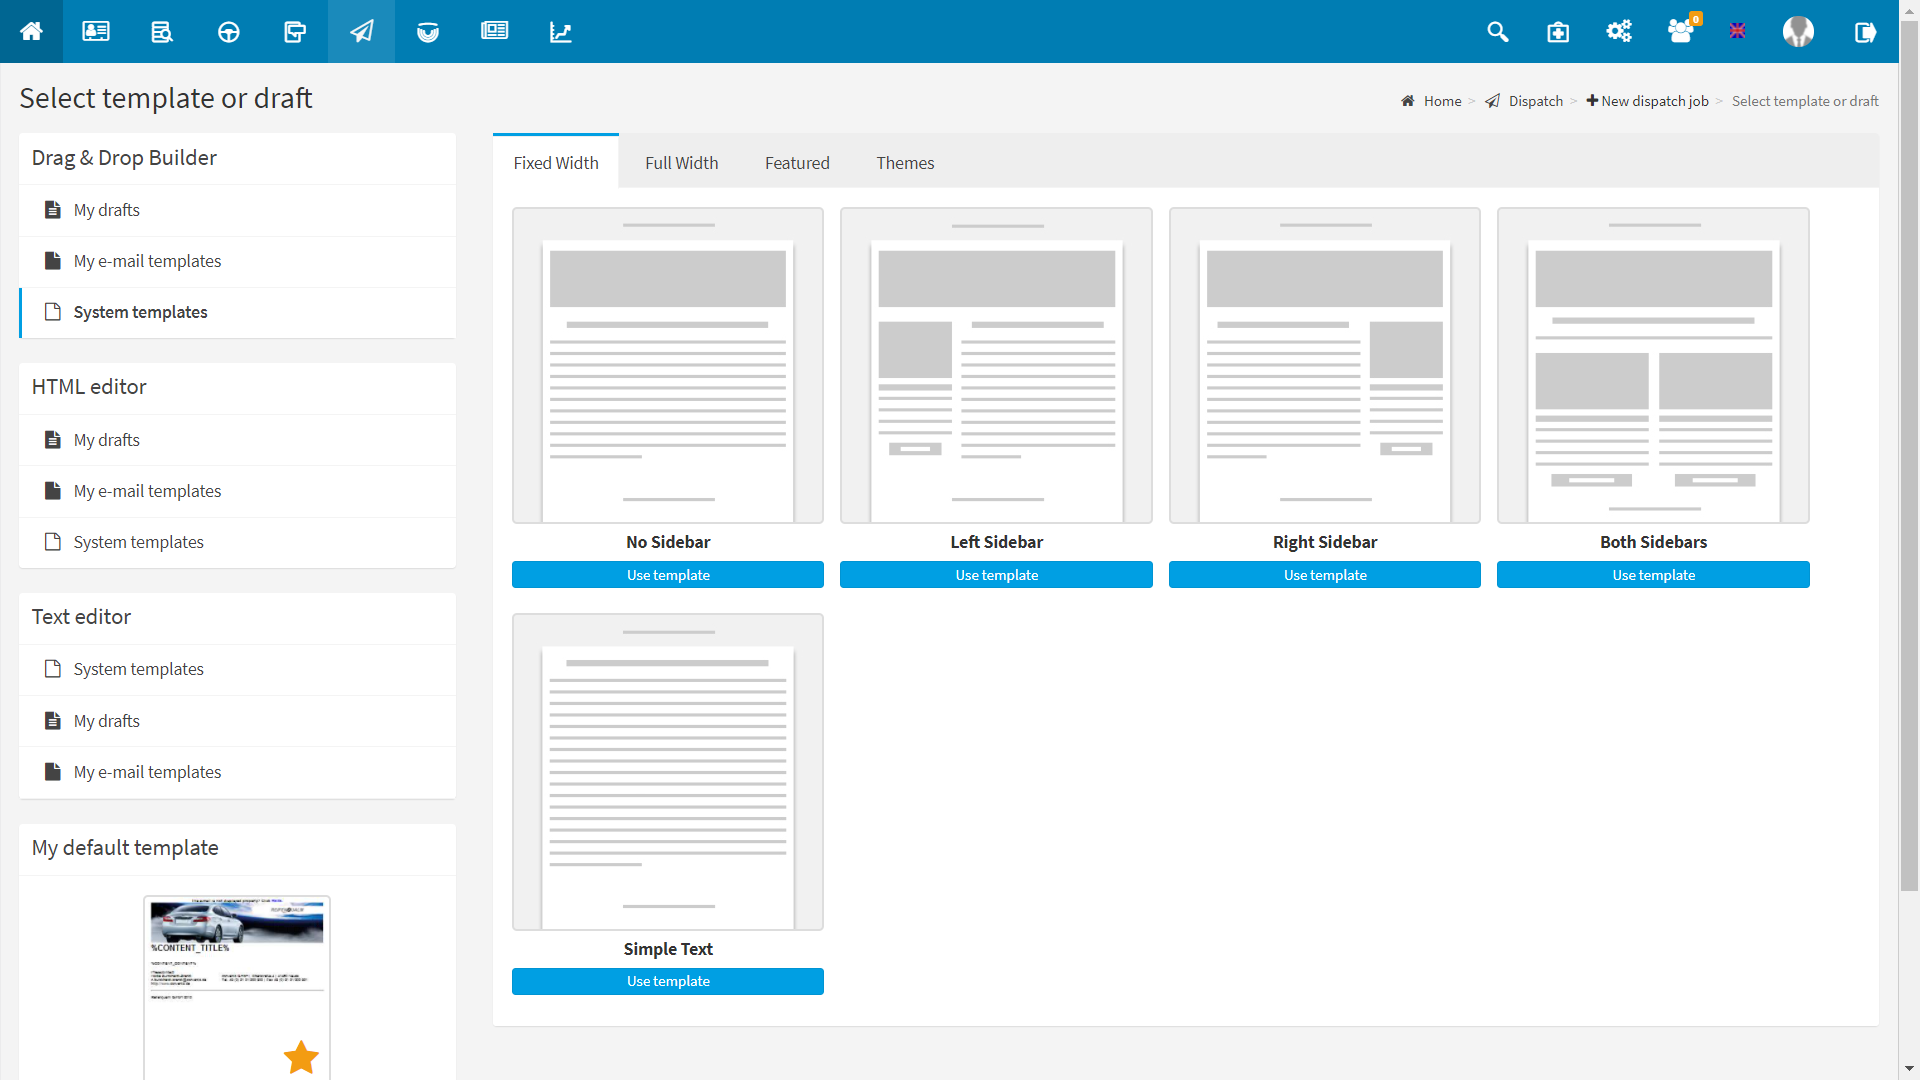
- By default, “My designs/layouts” is called up, where you can find sample layouts as well as your own designs later on. The area “Select template or design” allows you to choose from empty templates of various formats:Fixed Width: A separate content area with fixed width is located in the middle of the template.
- Full Width: Use a full width content area to give your designs as much space as possible.
- Featured: Make use of sample designs from myconvento here.
- Themes: Here you will find sample data for various occasions (invitation to the event, newsletter, press release etc.)
→ Preview pictures of the layout show the main differences (No Sidebar, Left Sidebar, Simple Text etc.)
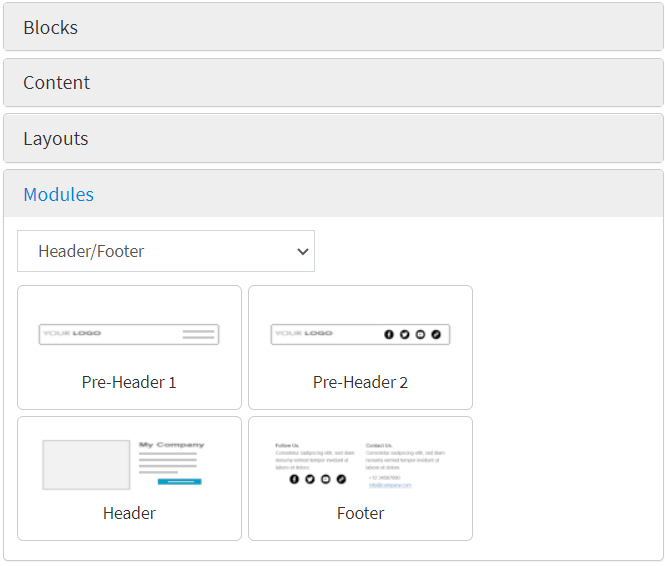
- Once you have decided on a template, you will be taken to the “Format and content” area, where the mail design takes place. You will see areas which are titled “File content here”; these are the areas where you can file the modules from the menu on the right-hand side using drag & drop. If you move the mouse over these areas, a blue box will show you which element it is (Header Section, Content Section and Footer Section).
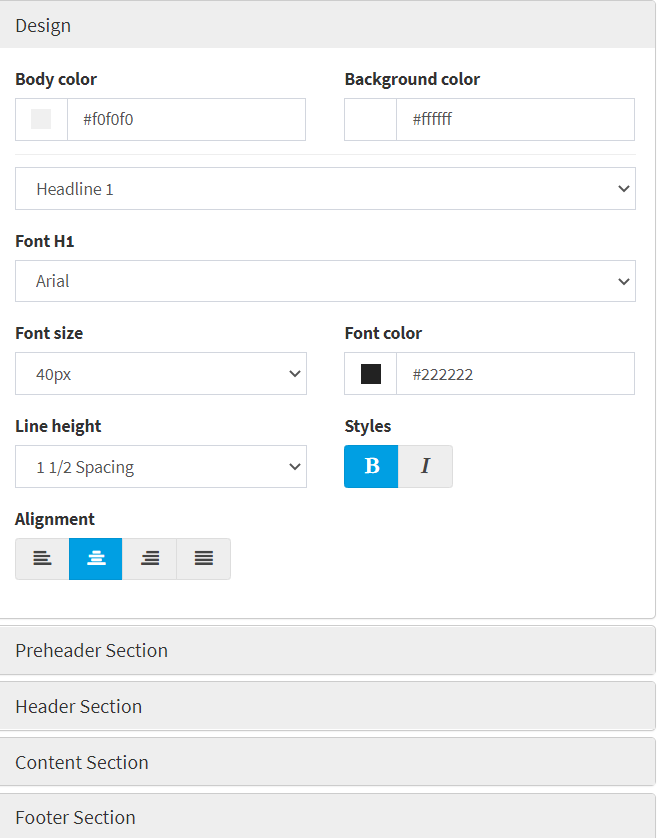
Via “General Settings” you can set the global HTML settings for the respective sections and this template in general:
- “Design” allows you to edit the content area (header and content section) in colour, font, line spacing etc.
- “Preheader” allows you to edit the area above the content area, where e.g. the link to the browser view is located.
- “Header Section” allows editing of the header, in which e.g. the company logo and name are located.
- “Content Section” allows you to edit the main area of your message, where you can insert your text with images etc.
- “Footer Section” allows you to edit the area where e.g. the binder, privacy notice and unsubscribe link are located.
→ Changing properties in these sections overwrites the style specifications set in “Design”.
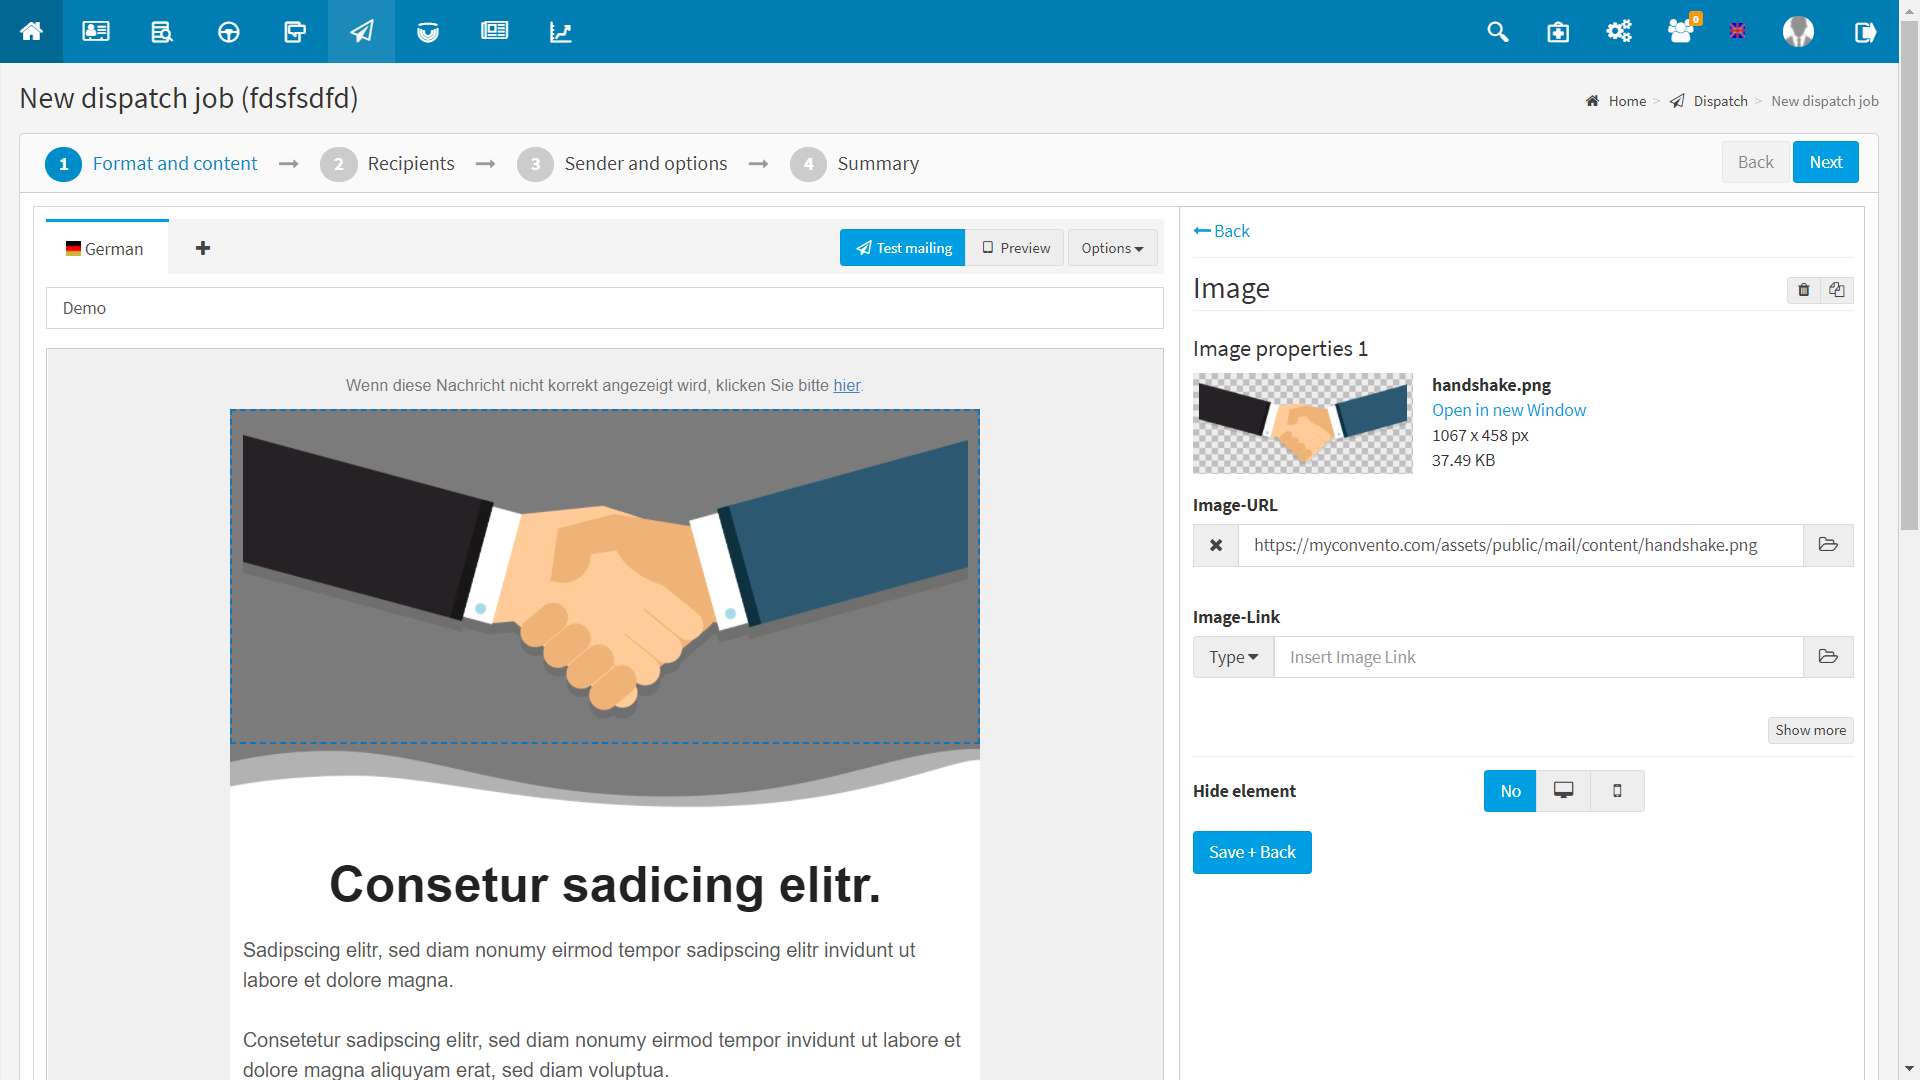
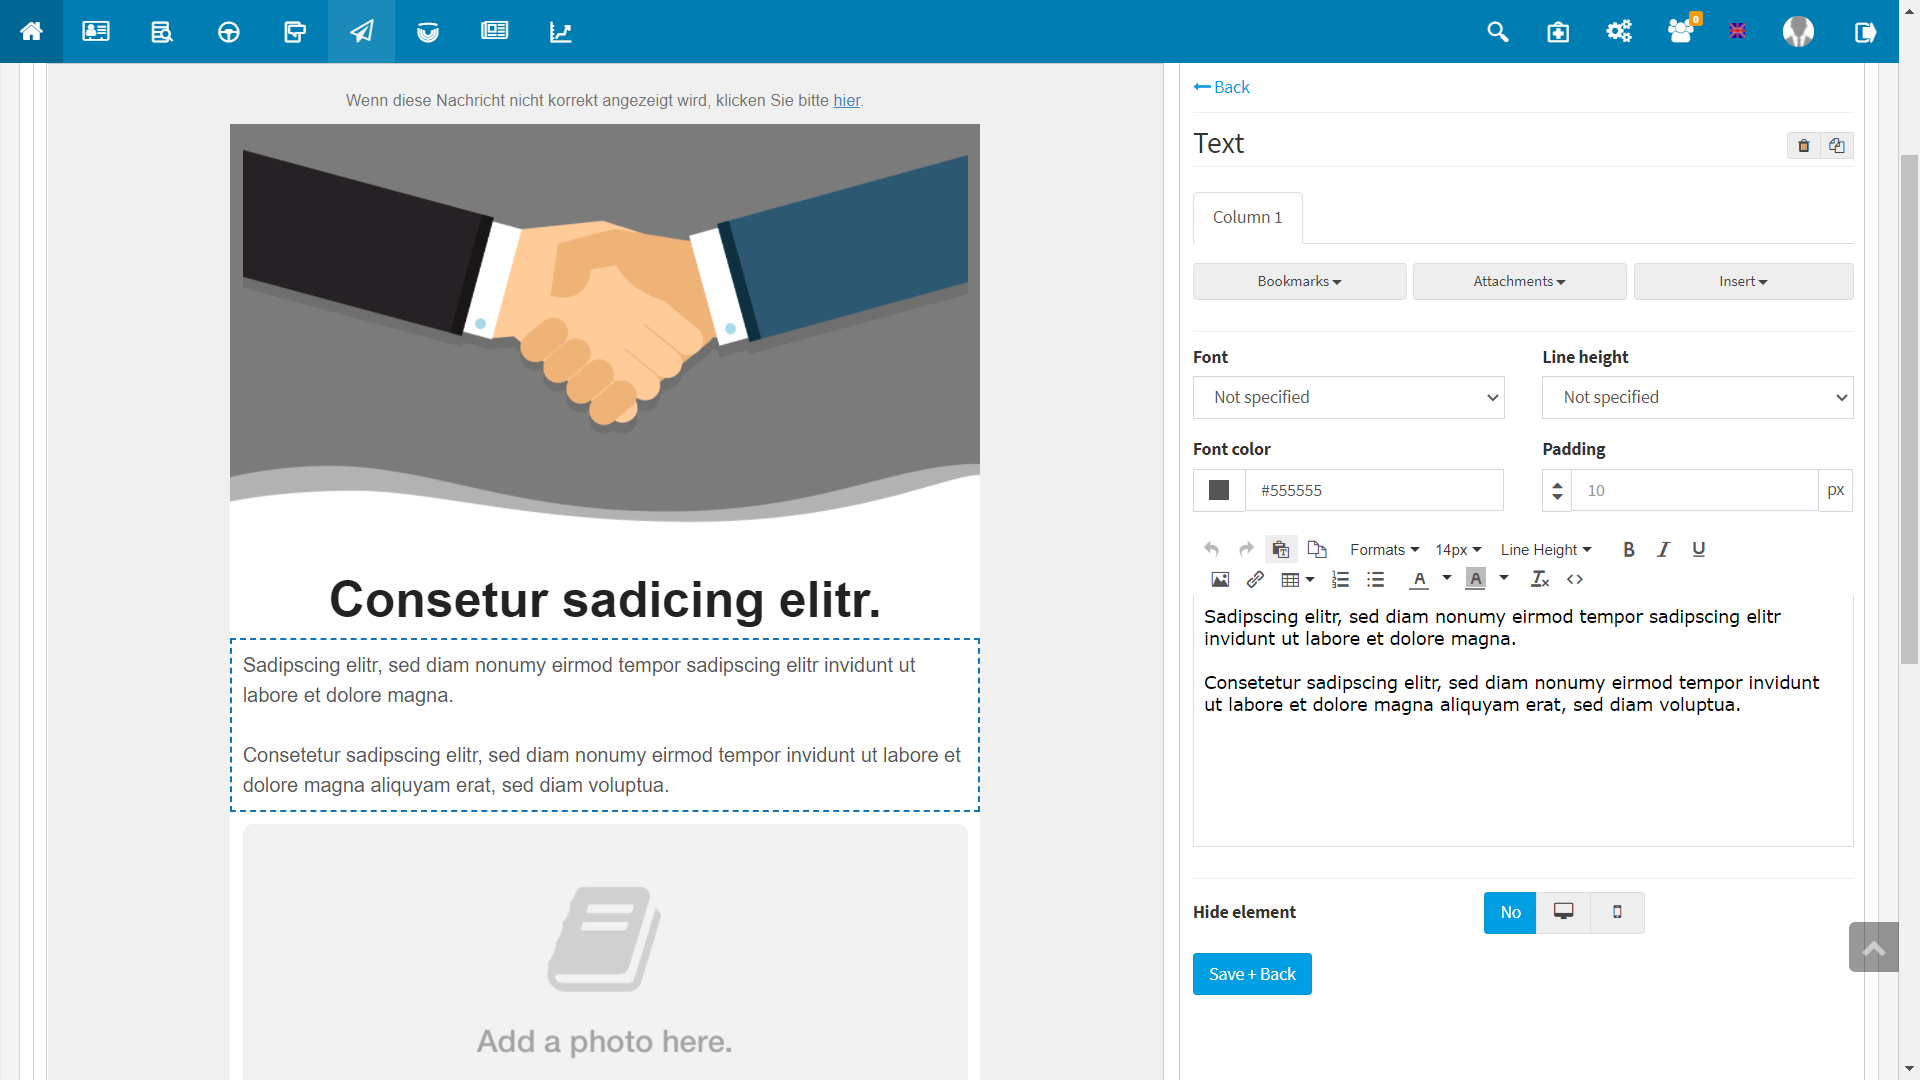
If, for example, you have stored the block “Text” using drag & drop, the corresponding context menu opens on the right-hand side, with which you can now edit this block. Write your text here or paste it from the clipboard and add links, photos etc.
With “Hide element” you have control over the visibility of this area on mobile devices. So you can make this area visible on the desktop, for example, but hide it on a smartphone. Finalise the block by clicking the button “Save + Back”.
A further click in the corresponding field allows you to edit this block again.
This scheme can be applied to all offered block types.
Once you have finished your e-mail, click on “Next” to call up the next steps and to complete and send the block.
Example 1
Create dispatch
To create a new dispatch, click the letter icon at the top of the quick navigation bar and select “New dispatch job”.
By default, “My drafts” is called up, where you can access our sample layouts. If you have saved your own designs, you can also find them here.
Switch to “System emplates” and select the correct template for the corresponding dispatch type (message, invitation, etc.) from the “Fixed Width”, “Full Width”, “Featured” or “Themes” categories as described under “Workflow”.
Example 2
Edit template
Here, the template “No sidebar” from “Fixed width” has now been selected.
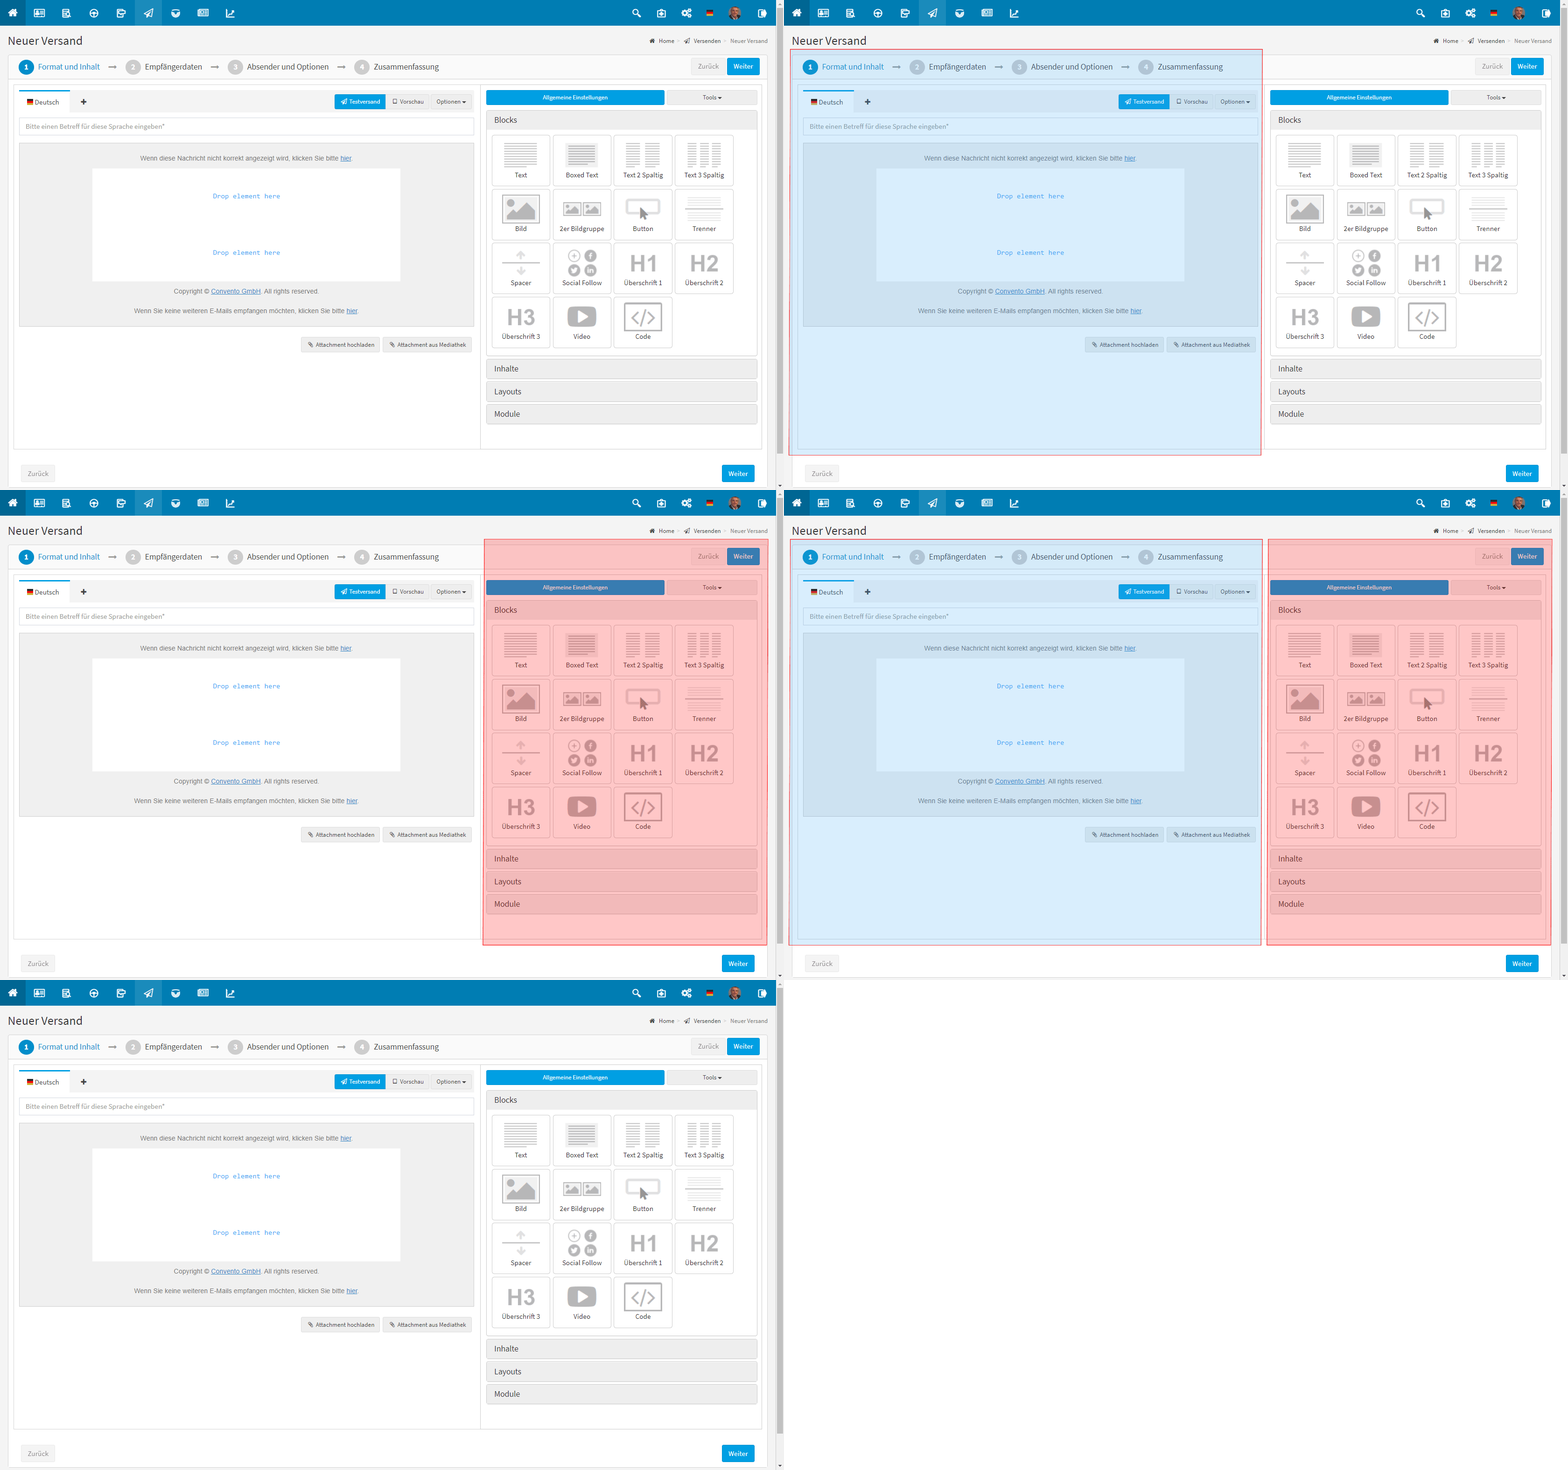
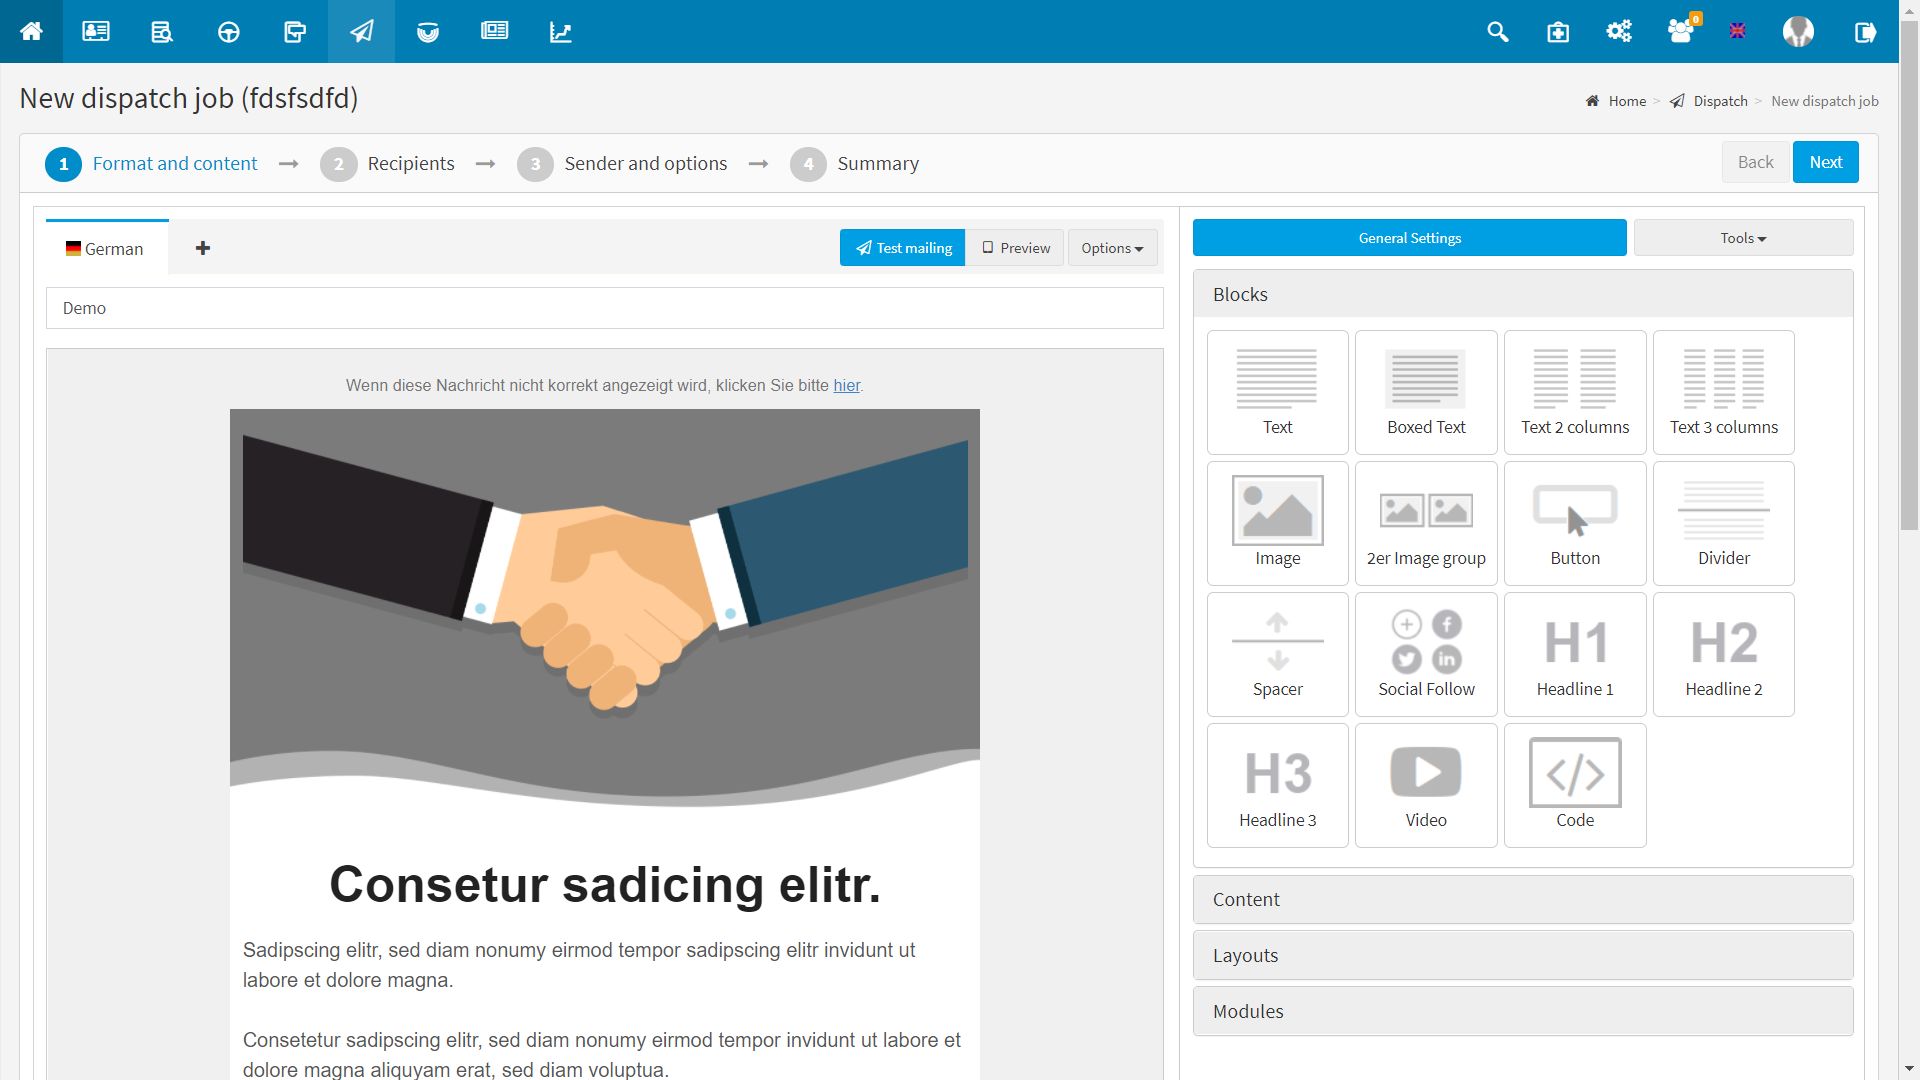
The editor’s user interface is divided into two areas:
1. the left area (blue) contains (besides options for language, saving and for sending) – your main workspace. This is where you “design” your mailing.
2. the right area (red) provides you with a selection of elements on the one hand, on the other hand you will find here – context sensitive – the tools for editing the elements activated in the left area.
Before you start working on your layouts, you should also make your basic settings for colors, fonts and step sizes here under “General Settings”.
Under “Tools” expert web programmers will also find a way to adjust the stylesheet to the brand design.
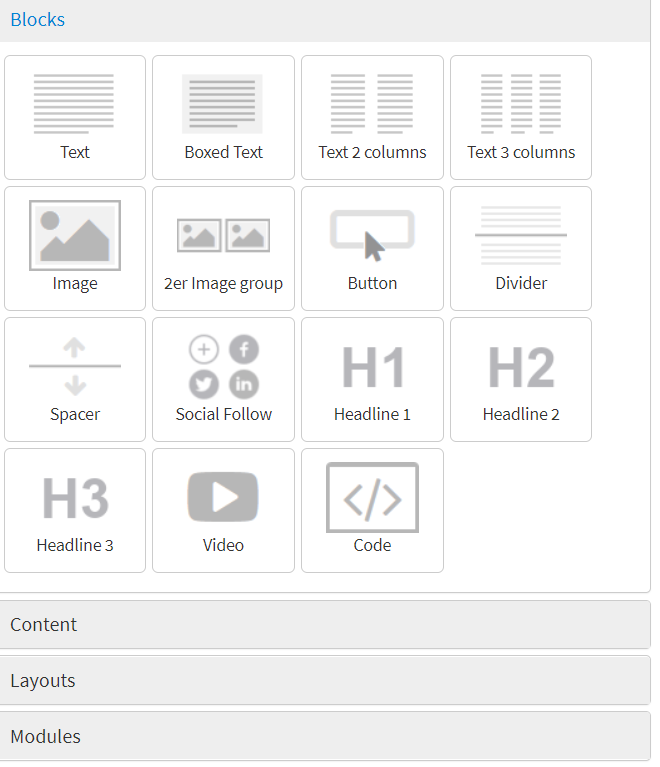
Blocks: Here you are provided with various content elements. These include text blocks in different number of columns, but also image elements, separators, spacers, buttons, headlines and code elements.
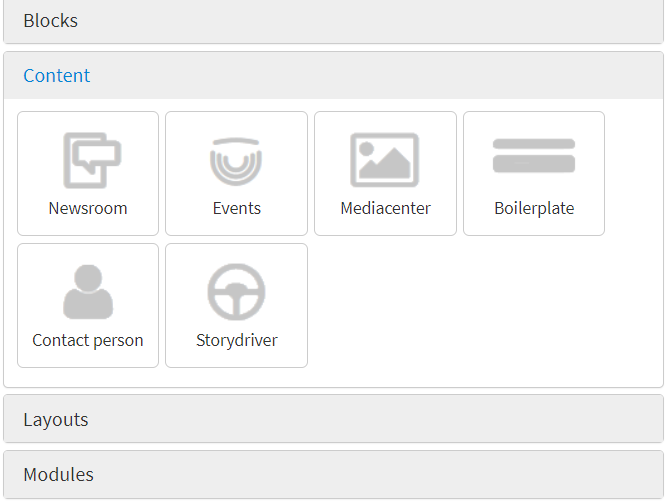
Contents: Provides you with elements that have already been created in myconvento. This includes newsroom articles, created events, stored contact persons and media data.
The following examples show a simple design. It is important to note that you can drag the blocks to the center, but they must then be edited in the context menu on the right. in Figure 3 you can see the context menu of the activated text block located in the center.
Worth knowing
- Drafts/layouts can be saved for repeated use via “Options” – “Save as draft/layout”. A saved layout can thus practically be used as a template.
- If you create several language versions within a dispatch, you can adopt the content of a language via “Options”. Then make the language-specific changes to the texts. Once you have edited all language versions, you can save the draft. In this way, a draft with all language variants will be available to you in the future.
Attention: loading a specific design for only one language is not possible, because when loading another design, a new dispatch is created – all previously created language versions within the dispatch order will be lost. - All layouts are responsive. The editor is also designed in such a way that the responsive behavior cannot be lost.
So you move exclusively within the allowed formats and rules of responsive design. - Use the tools on the right to quickly check or edit specific content:
– “Check your links” shows you all the links contained in the text. Both the masking word and the link as such are listed here.
– “Edit additional text version” allows you to create a plain text variant of the HTML message. The content of the HTML version can also be included here.
– “Hidden pre-Header” allows to create a pre-header, which is not directly visible in the HTML mail, but can be seen by the recipient in the preview view. This allows you to prevent the beginning of your text from already being read in the overview of the mails, but also to highlight the relevance of your message.
– “Edit CSS” allows you to edit the CSS (Cascading Style Sheets). However, a sound knowledge of HTML is required for this!
– “Show HTML code” allows you to edit the HTML code.
