Campaigns are valuable actions, because you get valuable information back – automated, authentic and in real time. In myconvento, there are three predefined uses for campaigns: Invitations, surveys and address qualification.
Invitations to events such as press conferences, presentations and trade fairs are an essential part of corporate communication. You invite people via distribution lists or research. For both target groups you generate an e-mail with invitation text in which you can integrate the link to your dialogue form, which in this case will be a “registration form“.
Marketing and PR professionals are sometimes faced with questions that can best be clarified through direct dialogue with customers or interested parties. myconvento offers the campaign form “Survey” for such cases. With this, a survey form can be created with any pre-formulated questions for integration into websites and e-mails. The answers are automatically fed back into your database and can be statistically evaluated while the survey is still active.
The third function of campaigns supports the comprehensive updating of your database. This function has gained in topicality and importance especially in times of the DSGVO. The “address qualification“, with which you ask your contacts to confirm or, if necessary, update the data stored about them. At the same time, you can have it confirmed that your contact would like to continue to receive information – and on which topics. This also helps you to create targeted distribution lists.
Since the workflow is identical for all campaign types and the selection of the campaign type only affects the predefined contents of the dialog form, the individual campaign types are not treated separately, but the general working method is explained by means of an invitation.
Workflow
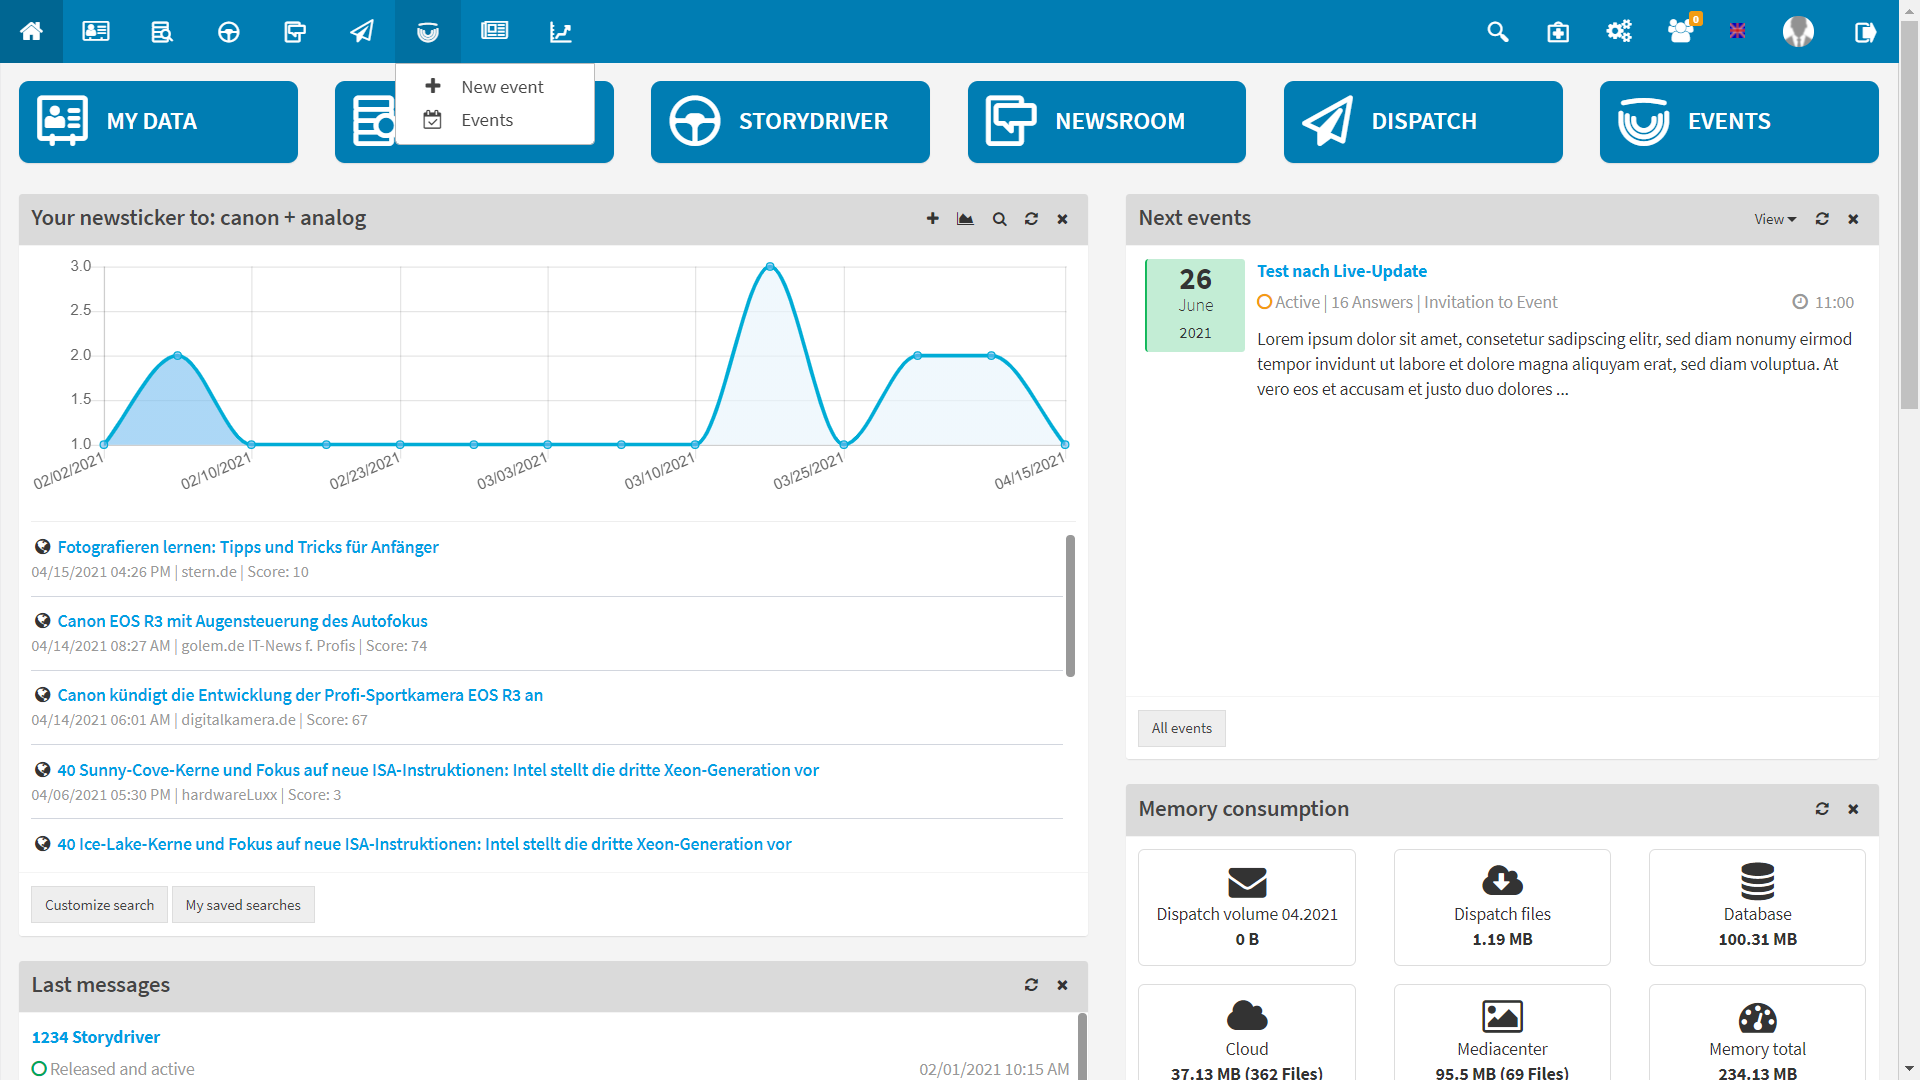
Campaigns are created in the “Campaigns + Events“-“New Campaign or Event” module, which you can select via the quick navigation bar.
Creating the campaign is then done in four steps: three for the campaign settings and one last one is dedicated to editing the dialog form that the recipient fills in.
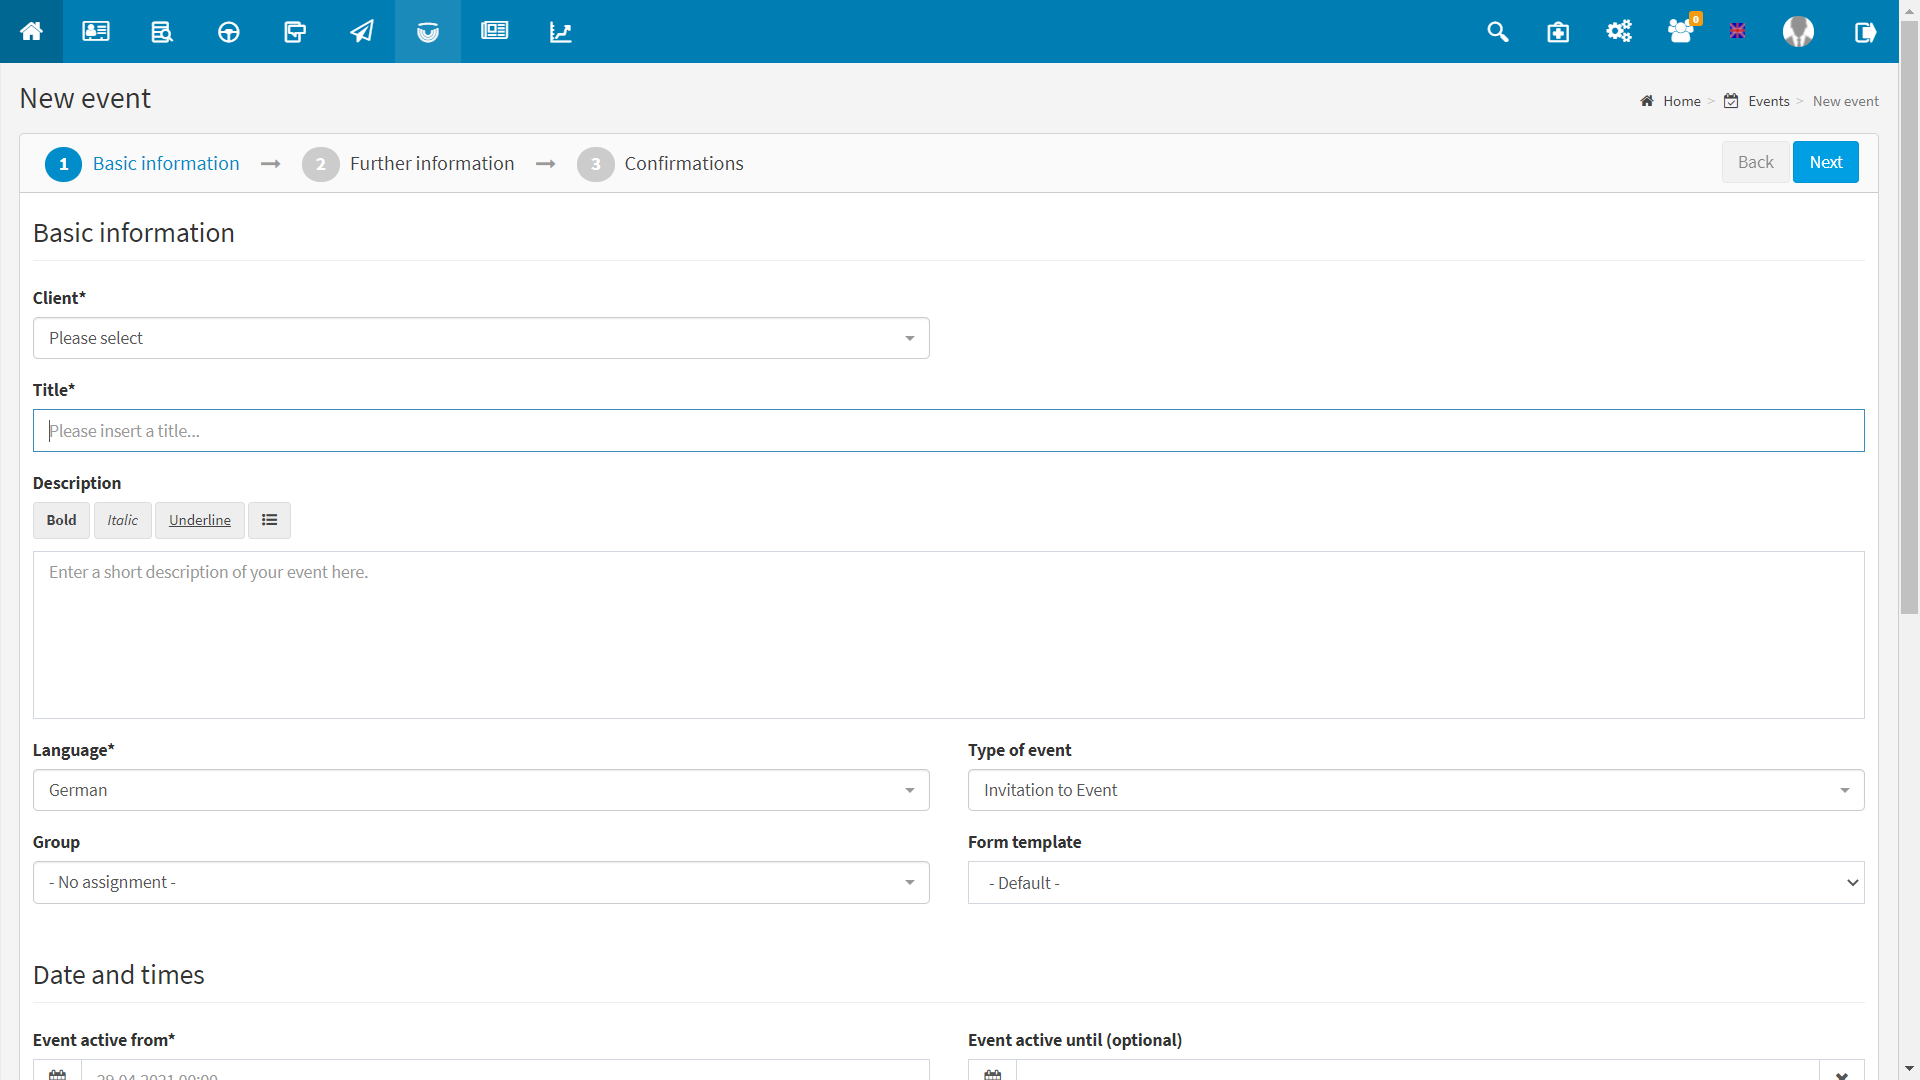
1. Basic information:
Define basic settings like “Type of campaign” (invitation, survey, address qualification) and the language, select form template, group, further information and enter a description.
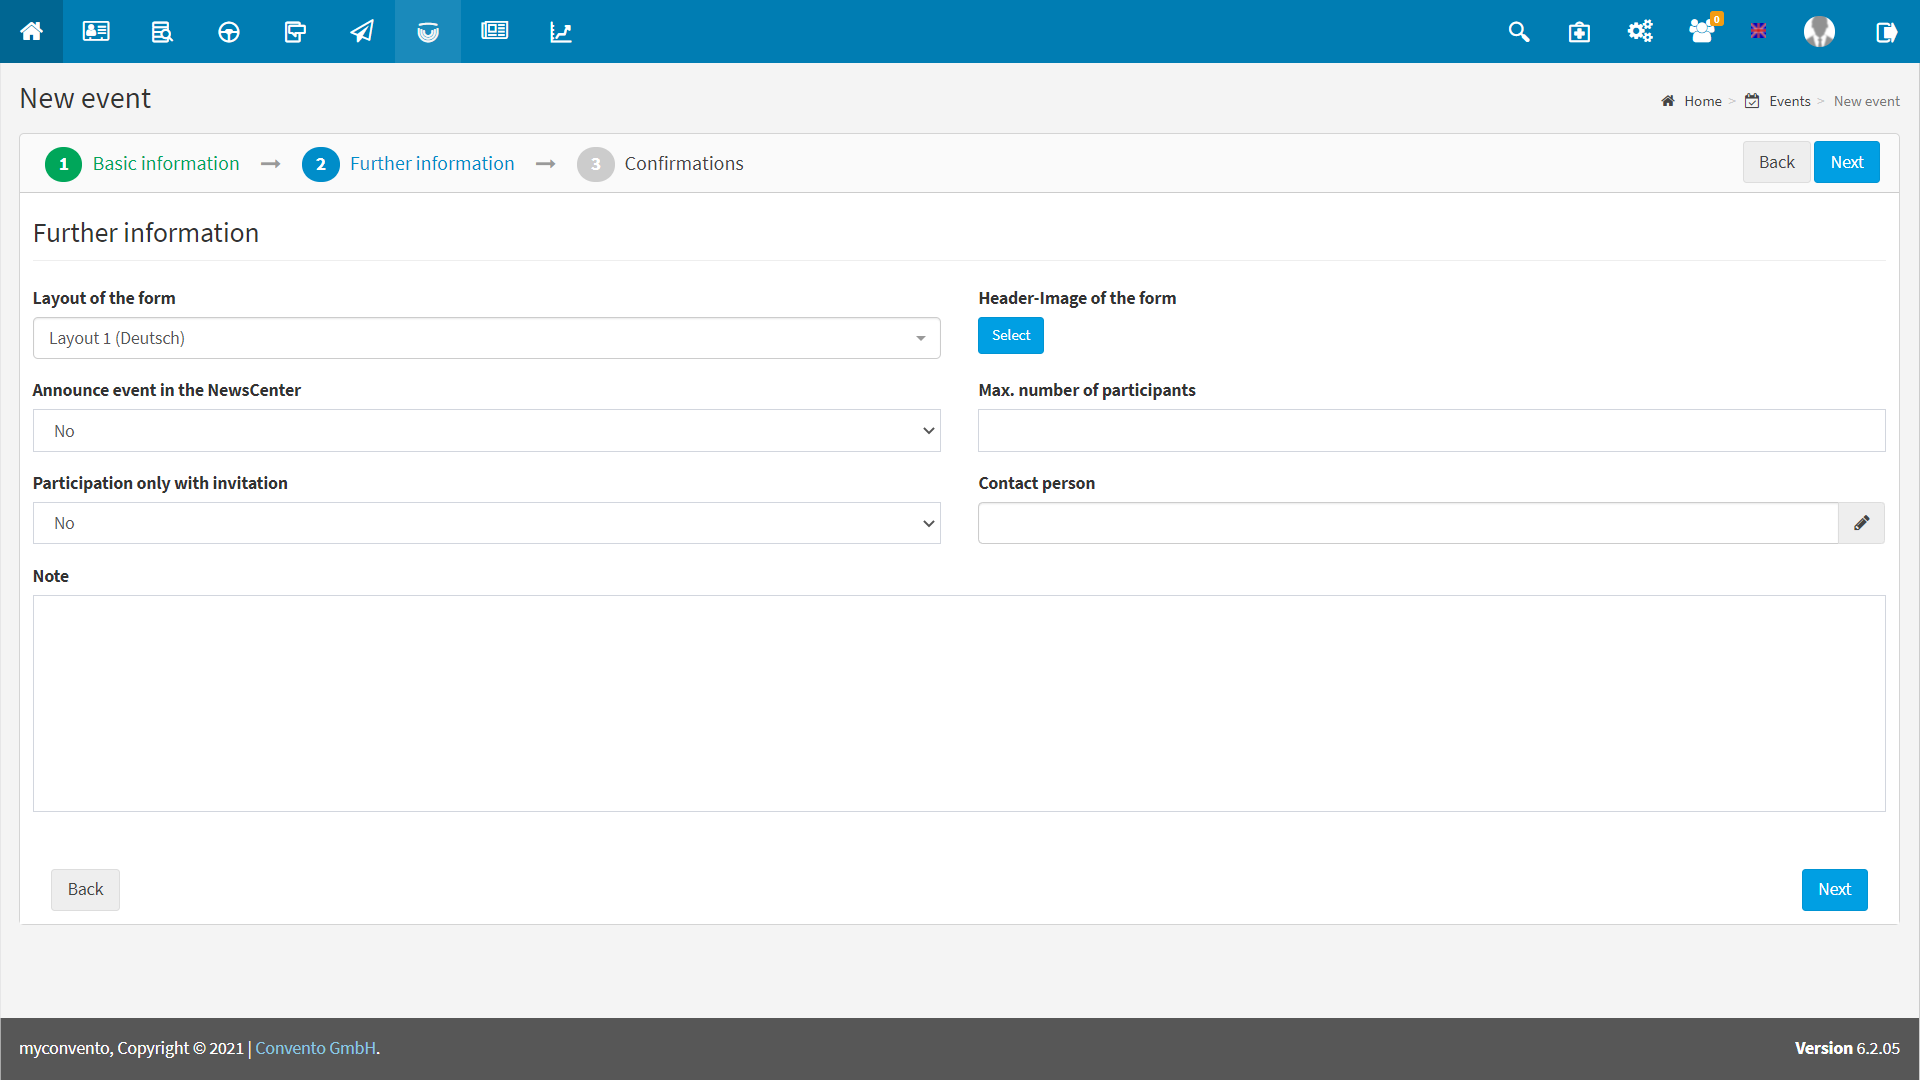
2. Further information
Define the desired layout of the form, the header graphic, the maximum number of participants and the contact person and determine if the campaign should be displayed in the news center and if participation is only possible with invitation. The note field is for internal information at this point.
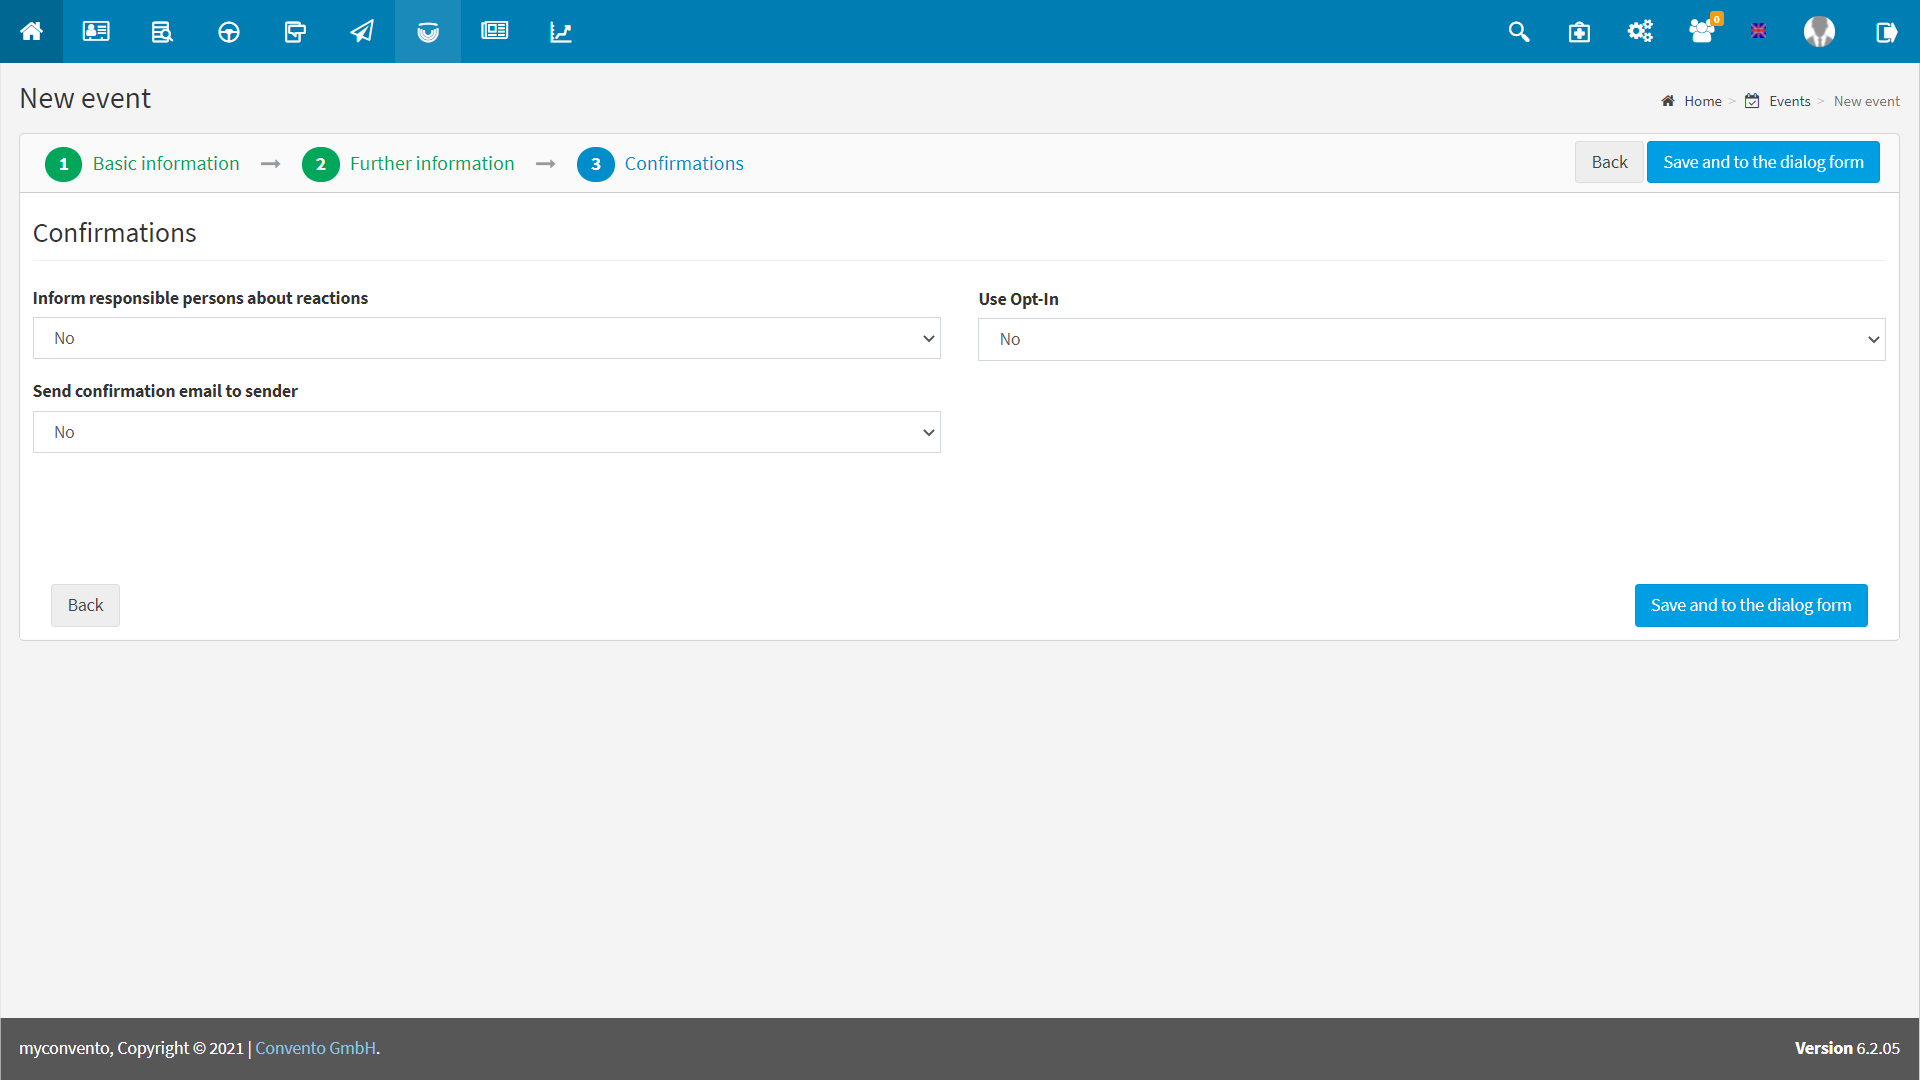
3. Confirmations:
Here you specify whether the selected user will be informed about new registrations, whether the participant will receive a confirmation and whether opt-in should be used. More information about Opt-In and the confirmation e-mails can be found under “Worth knowing“.
4. Dialogue form:
The dialogue form represents the form to be filled out.
Depending on the selected campaign type, you will find different standard fields here. You can now add new fields from the area on the right side, move existing fields in your order using the cross symbol and edit them using the wrench symbol.
Further useful information on the dialog form can be found under “Worth knowing“.
.
Example
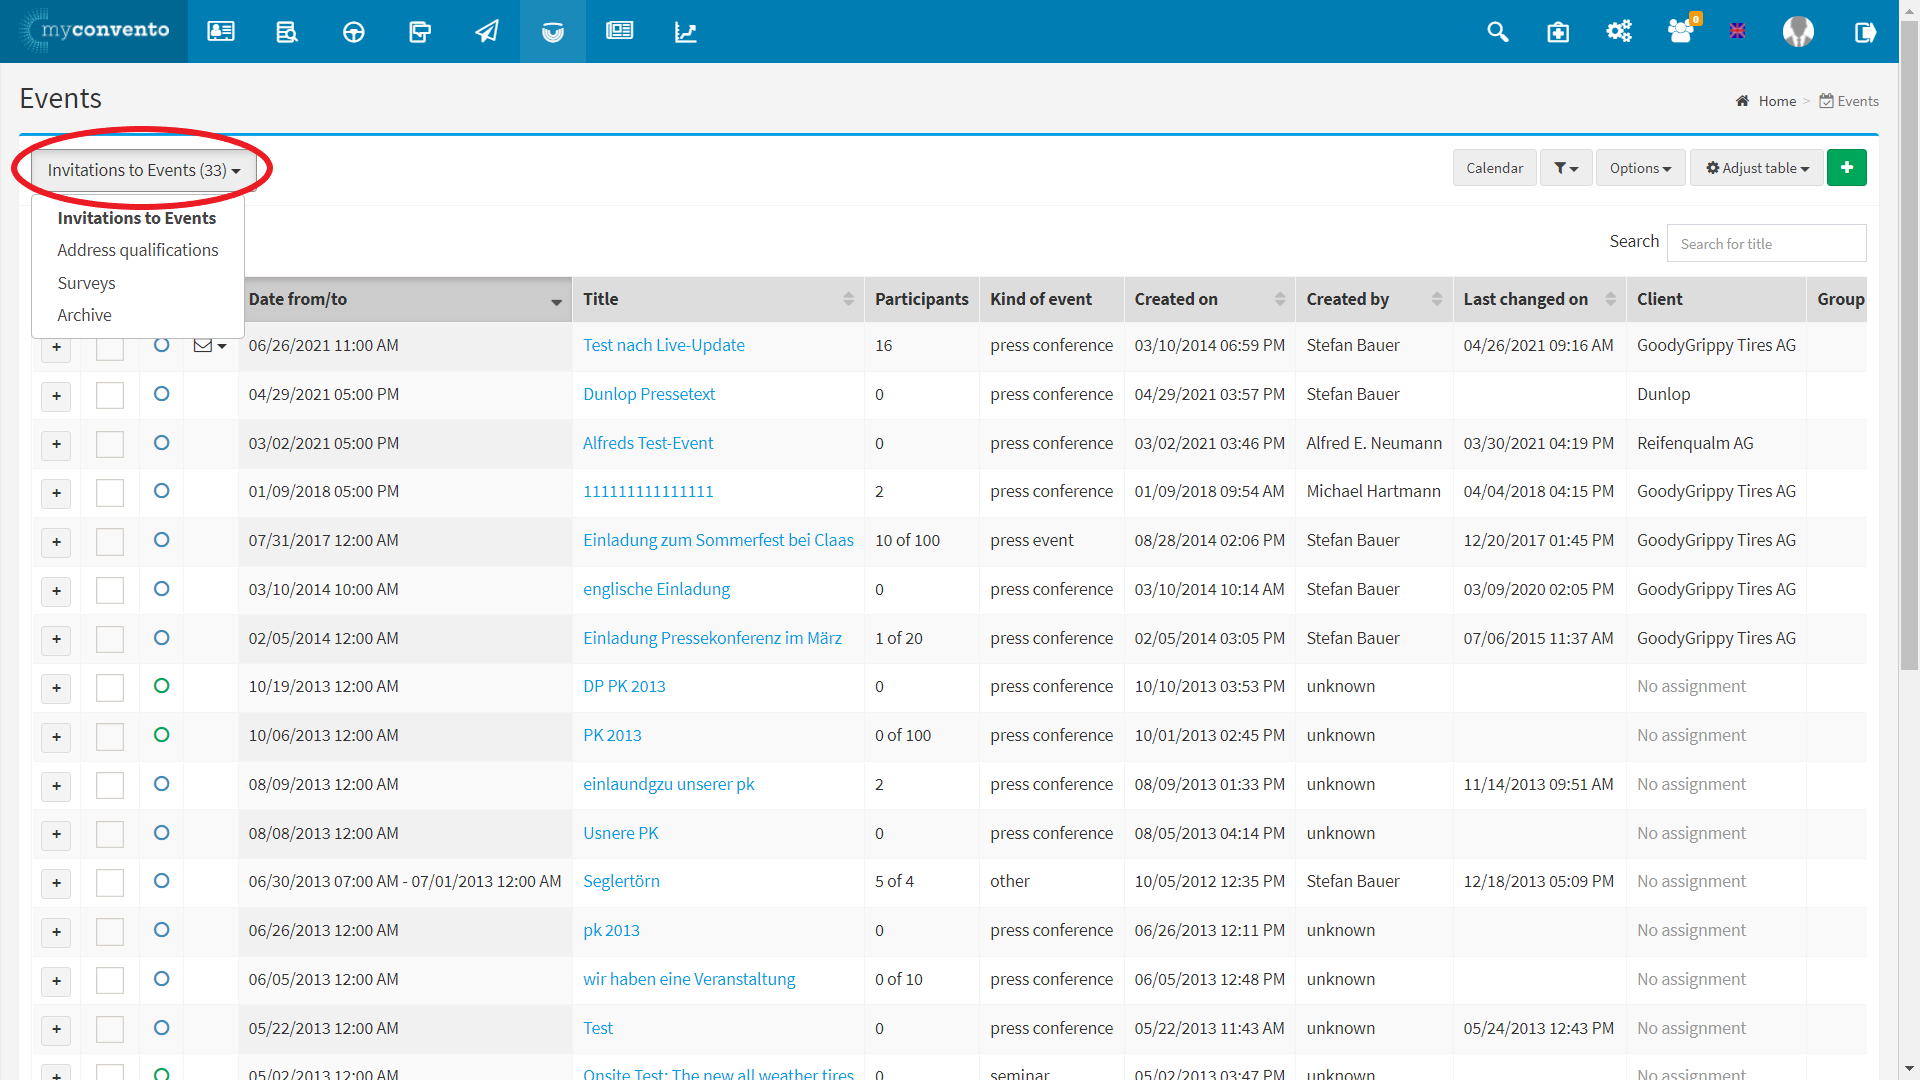
You can find your saved and created events in the “Events” area under “Events” . Using the button in the upper left corner, you can filter your created events according to the types “Invitations to Events”, “Address qualifications” or “Surveys”. All events are displayed under “Archive”.
Worth knowing
- Opt-in means that the sender of the completed dialogue form receives an e-mail with a confirmation link, via which he must confirm his reply or registration. Only then is the process complete. This is particularly useful if you offer distribution lists via your dialogue form in which the contact can register, as you have confirmation of the entry with a timestamp and are protected under the DSGVO.
- In the case of confirmation e-mails, you will find a standard variant which is sent regardless of what the recipient selects as a response option. In order to be able to individualise here, select the “Text confirmation mail” text marker via the corresponding button. Now you can enter the individual text in the dialog form for the replies, according to the reply is sent.
- You can draw attention to your campaign in various ways. Send an e-mail with a link to the dialogue form or generate a code and integrate it into your website. The links include the standard link, which leads to an empty dialogue form, or the personalised link, which takes up the data from the respective record and fills in the corresponding fields in advance.
- With the option “Participation by invitation only” you can specify that registration is only possible via the campaign link of a mailing.
- If you want to limit the number of participants, use the “Max. number of participants” option.
