4. Manage content in the editorial plan
zuletzt aktualisiert am 30.05.2022
After you have generated content from your “Content Ideas”, you will find them listed in the “Editorial Plan” under “Content”. To learn how to manage your content in the editorial plan, see ,,Worth knowing”.
Workflow
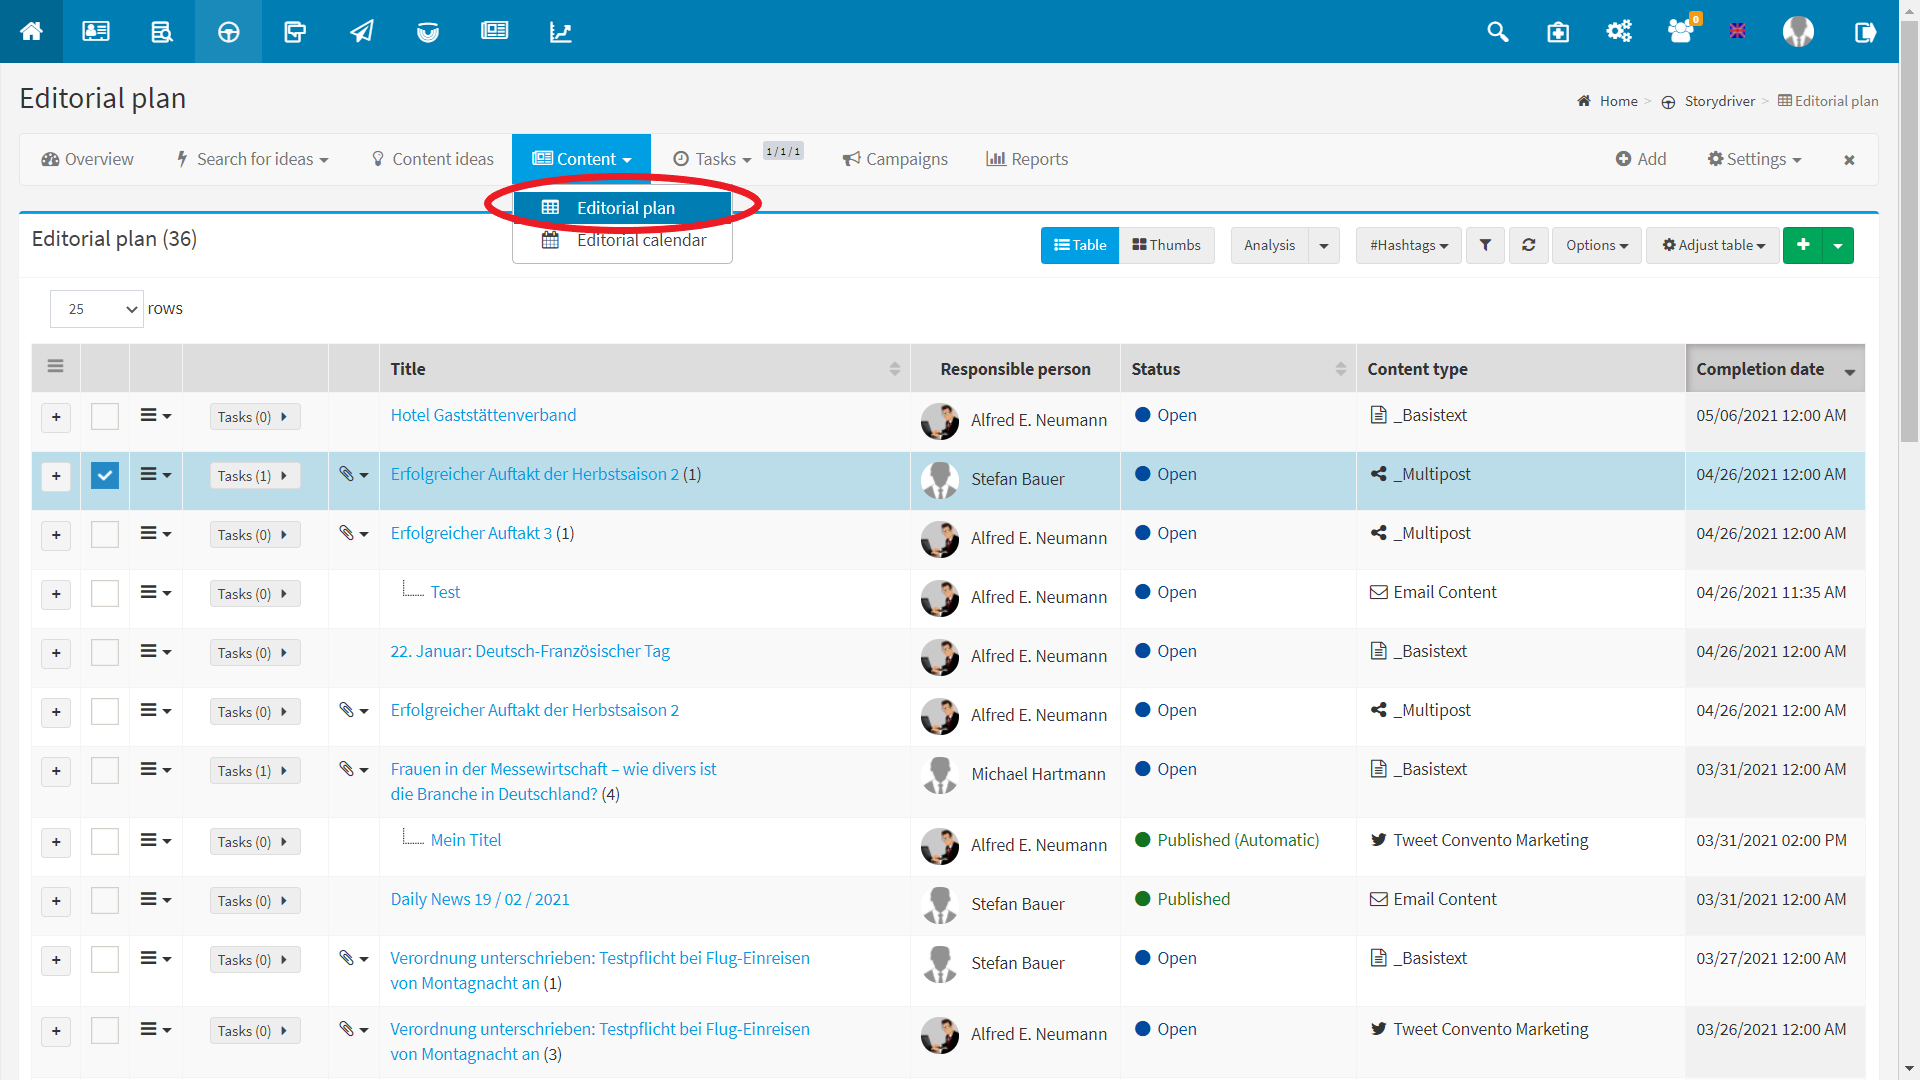
- You can access your content in Storydriver under “Content” – “Editorial plan”.
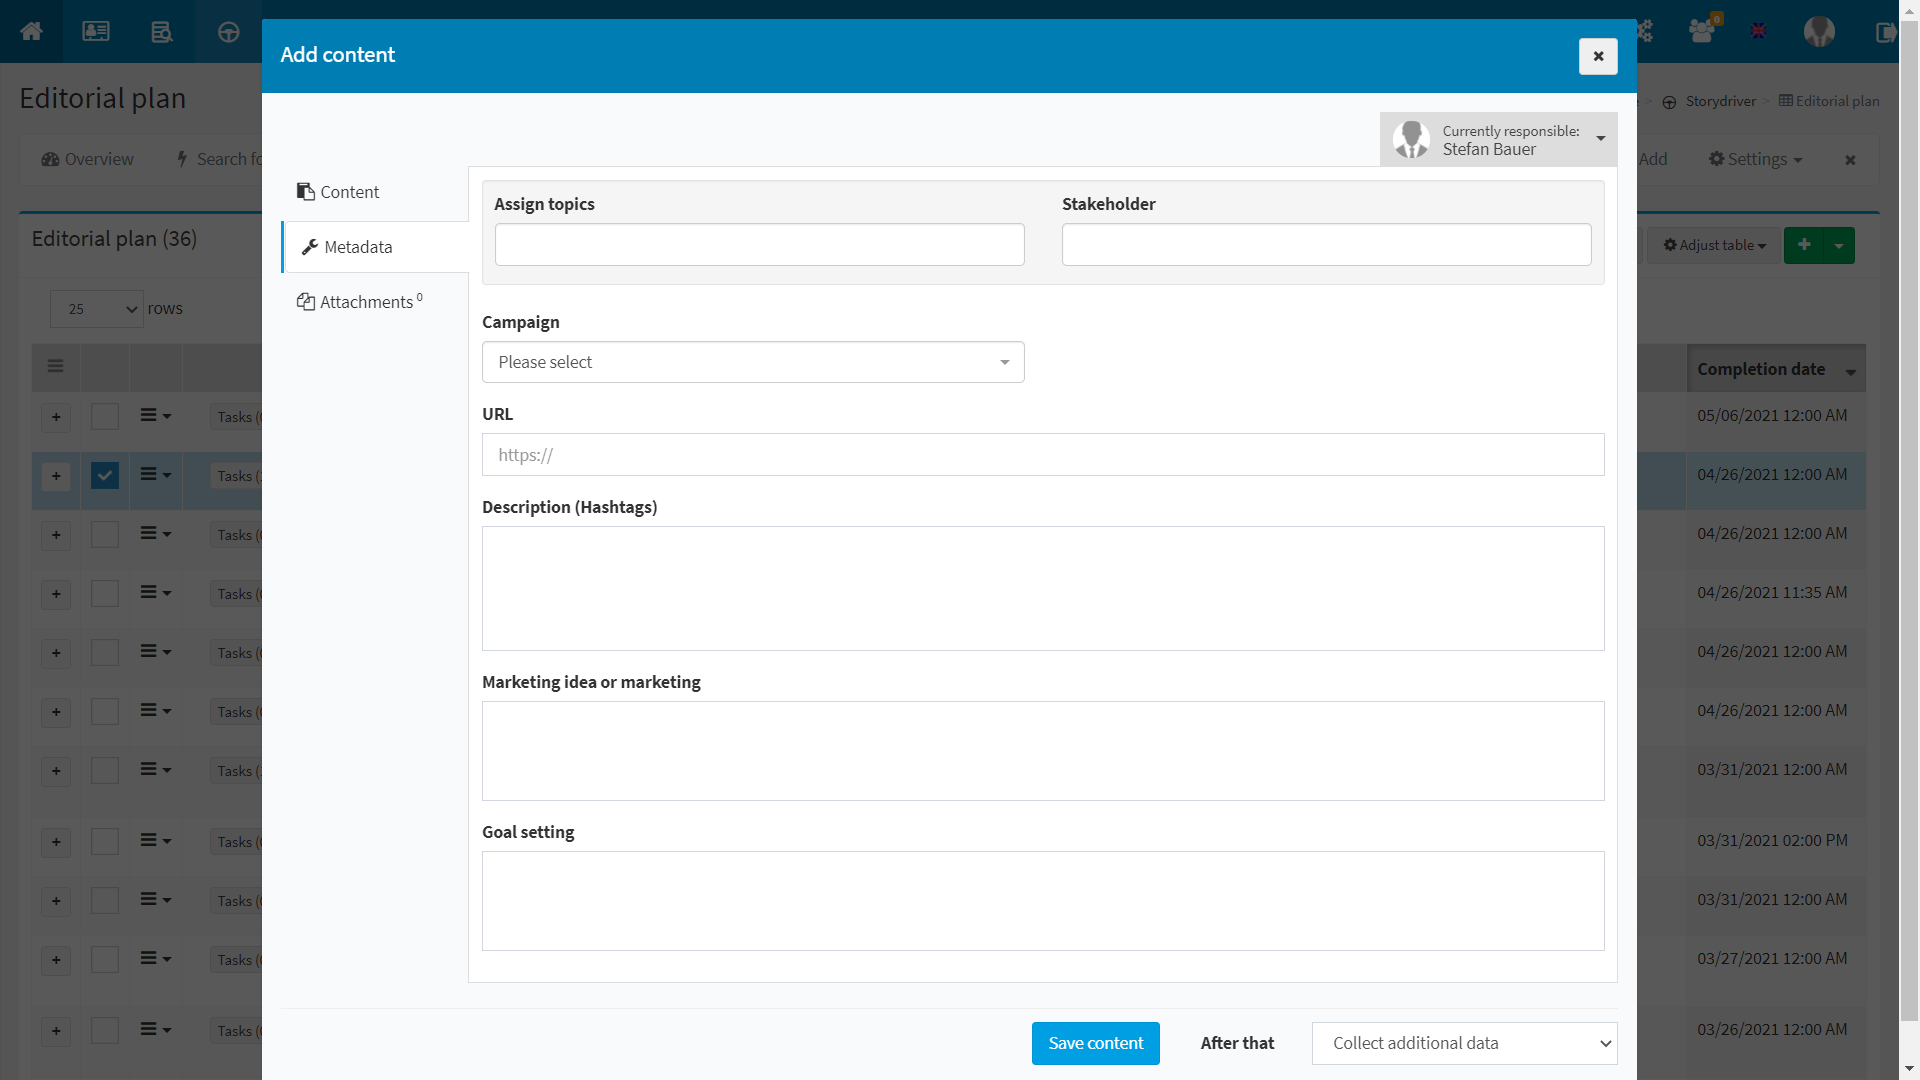
- You can create a new content either via the green plus symbol or from a content idea. You can find out how to generate a content from a content idea here.
- When you create a content, a dialog box opens where you can specify the content type and channel and add other details such as metadata and attachments.
- Save the content and recall it, and you can add tasks and comments to it, view the different versions of the content, and request approval for automatic publishing.
Example
You can add content by clicking on the green plus symbol at the top right. The dialog box shown here opens. Here you can assign a topic and stakeholders to the content under Metadata, add a description, marketing idea and the objective. Under Attachments you can upload files or select attachments from the media library.
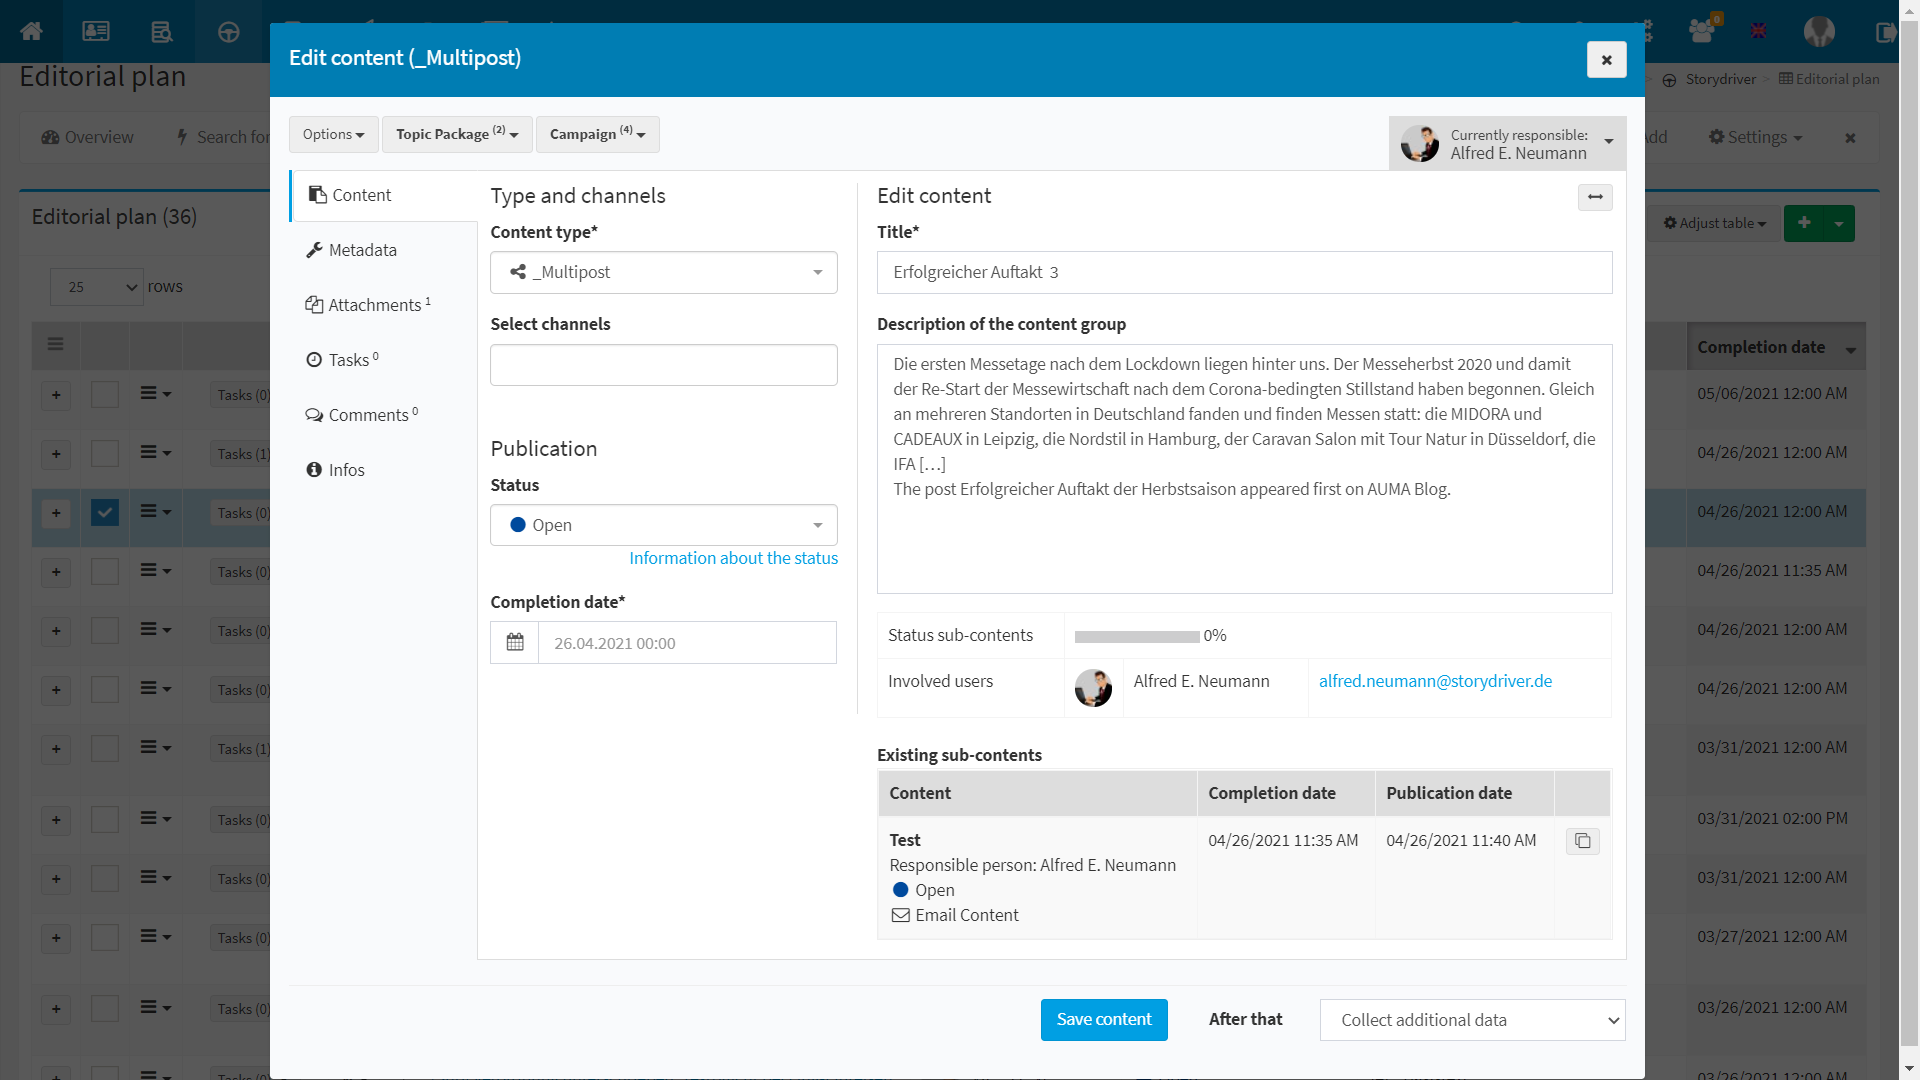
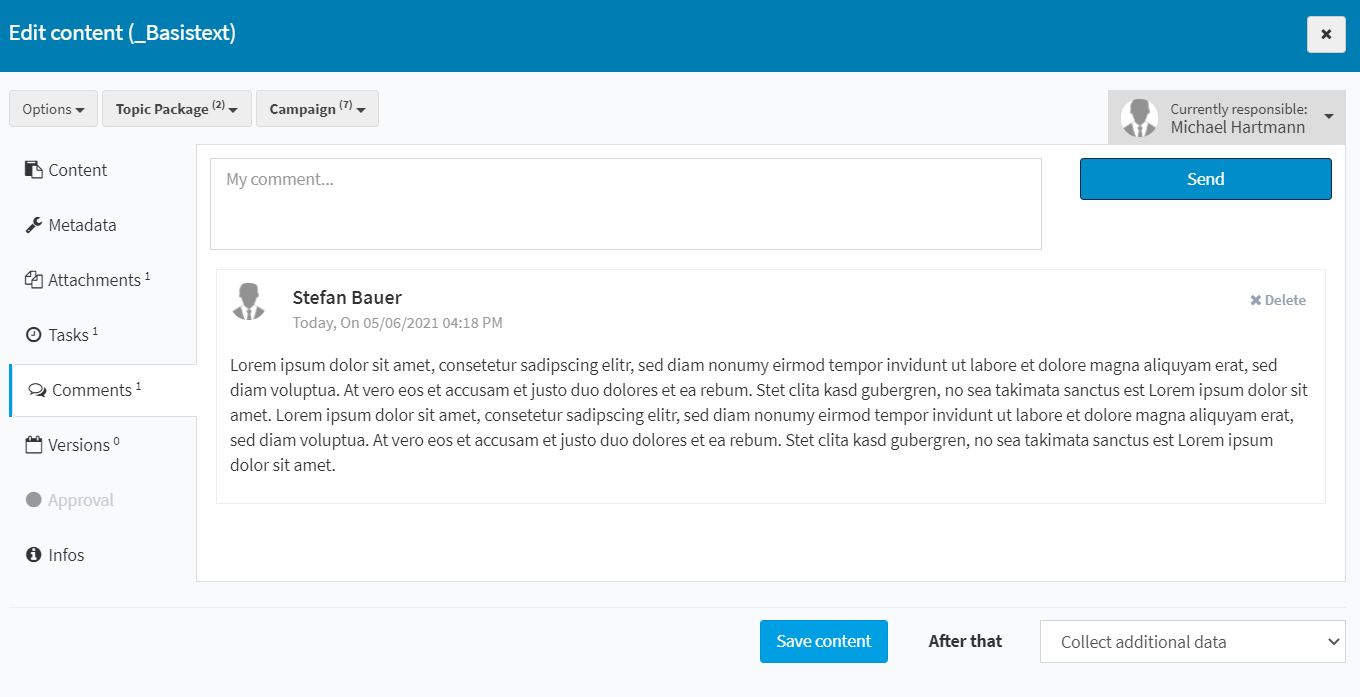
If you save the content and call it up again, you will see the additional menu items Attachments Tasks, Comments and Infos.
You can add ,,Comments” and share content with your team members.
In the Storydriver ,,Settings” – ,,My Settings” you can specify that you want to be notified when comments are added to your content.
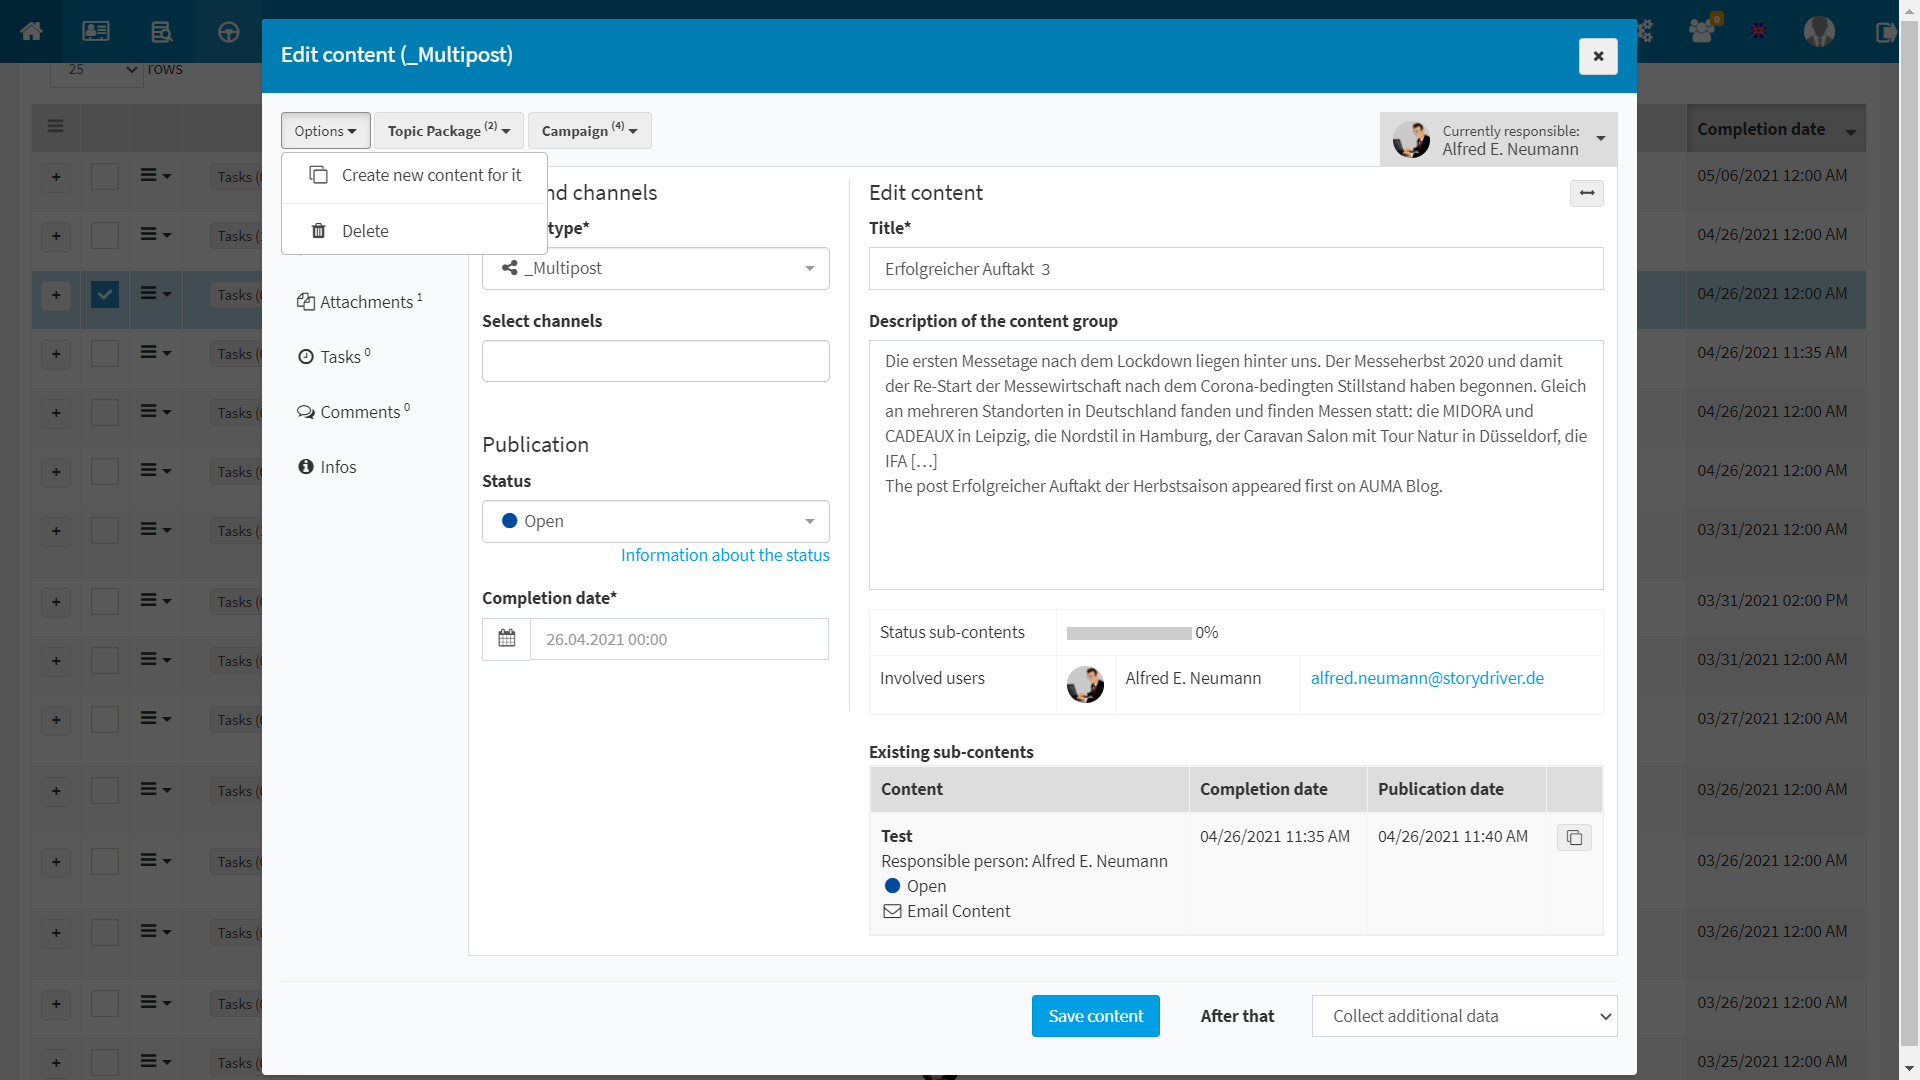
Under “Options” you can save the content as a new version. Different ,,versions” can be found displayed under the item of the same name.
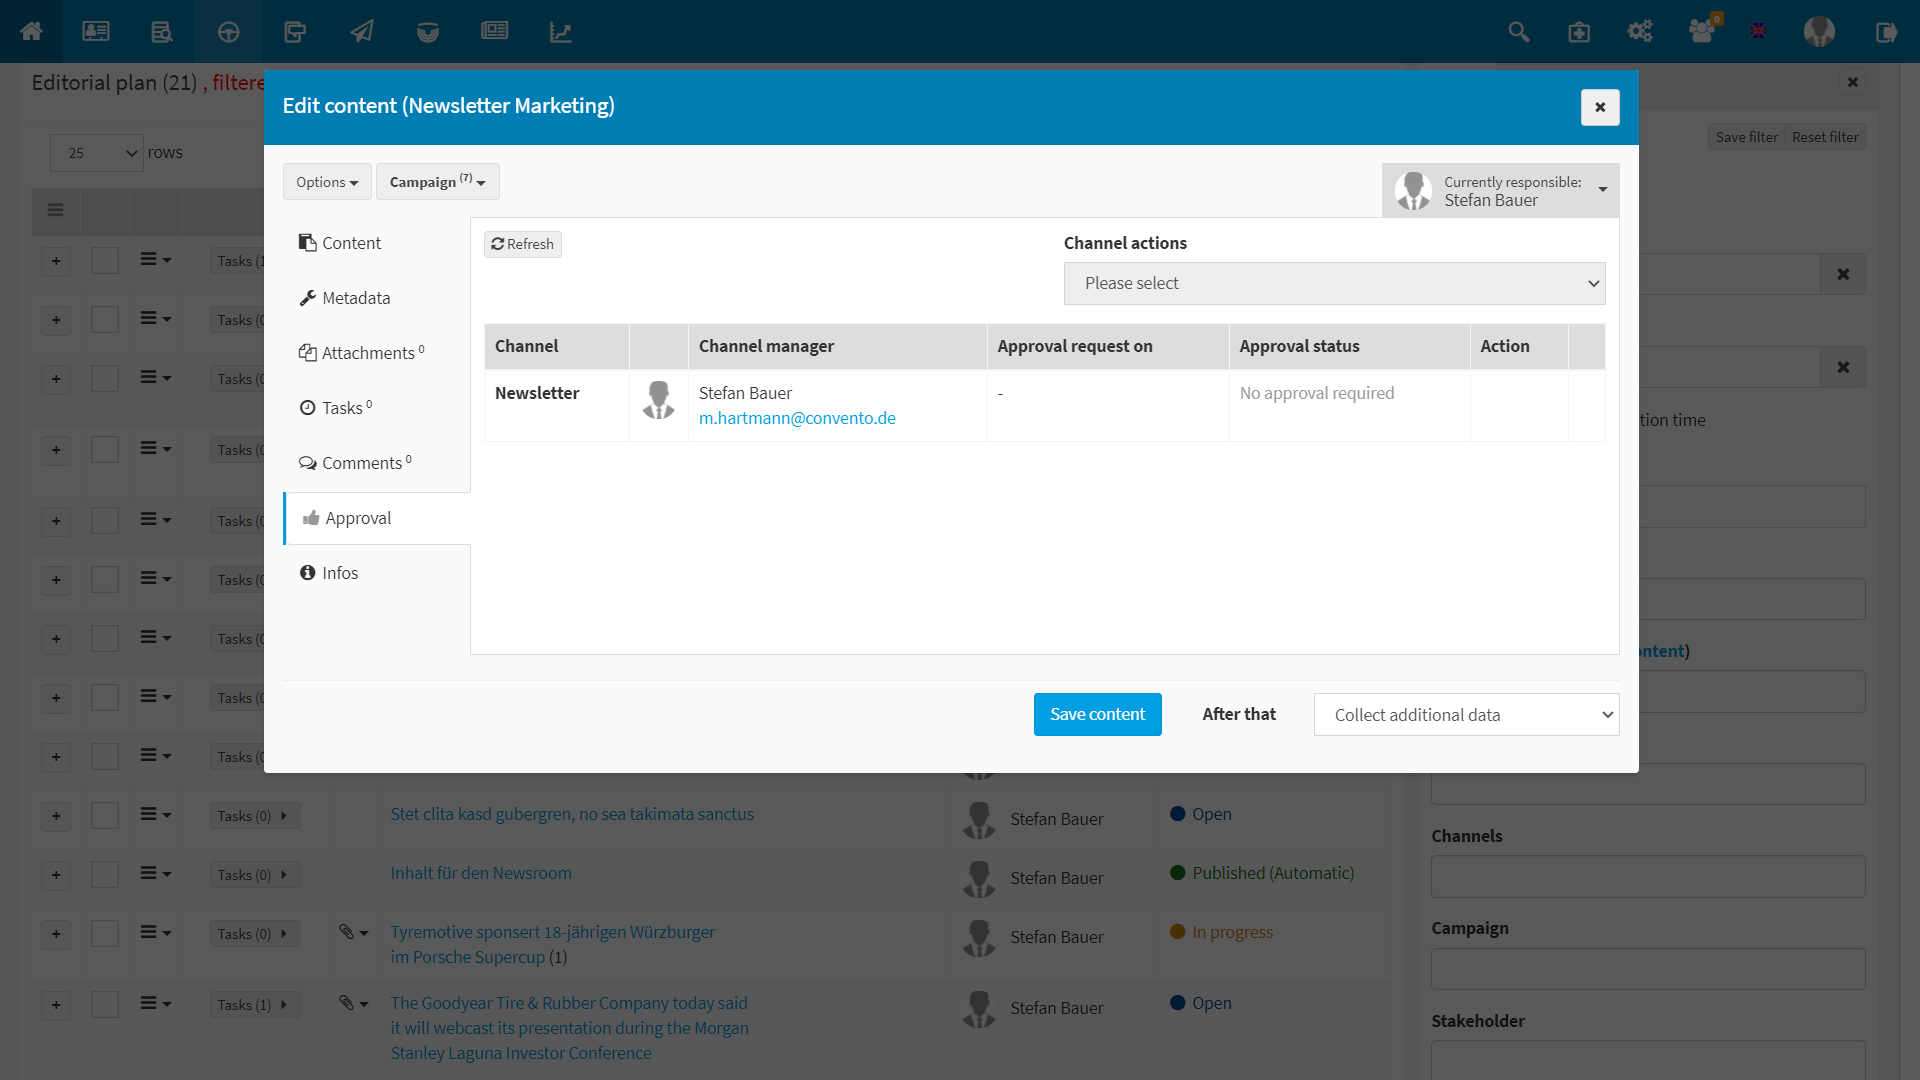
Under “Approval”, you can “Request approval from all channel managers”, if several are stored, or you can request an “External release”. To do this, enter the e-mail address and, if required, also specify an expiration date so that the release is carried out by this date. Set a password so that only the releasing person can call the link and release the content. A comment, which then appears in the release request in the mail, can also be stored.
For a successful or unsuccessful release, you can specify which status the content should have in the follow-up (on hold, in preparation, etc…).
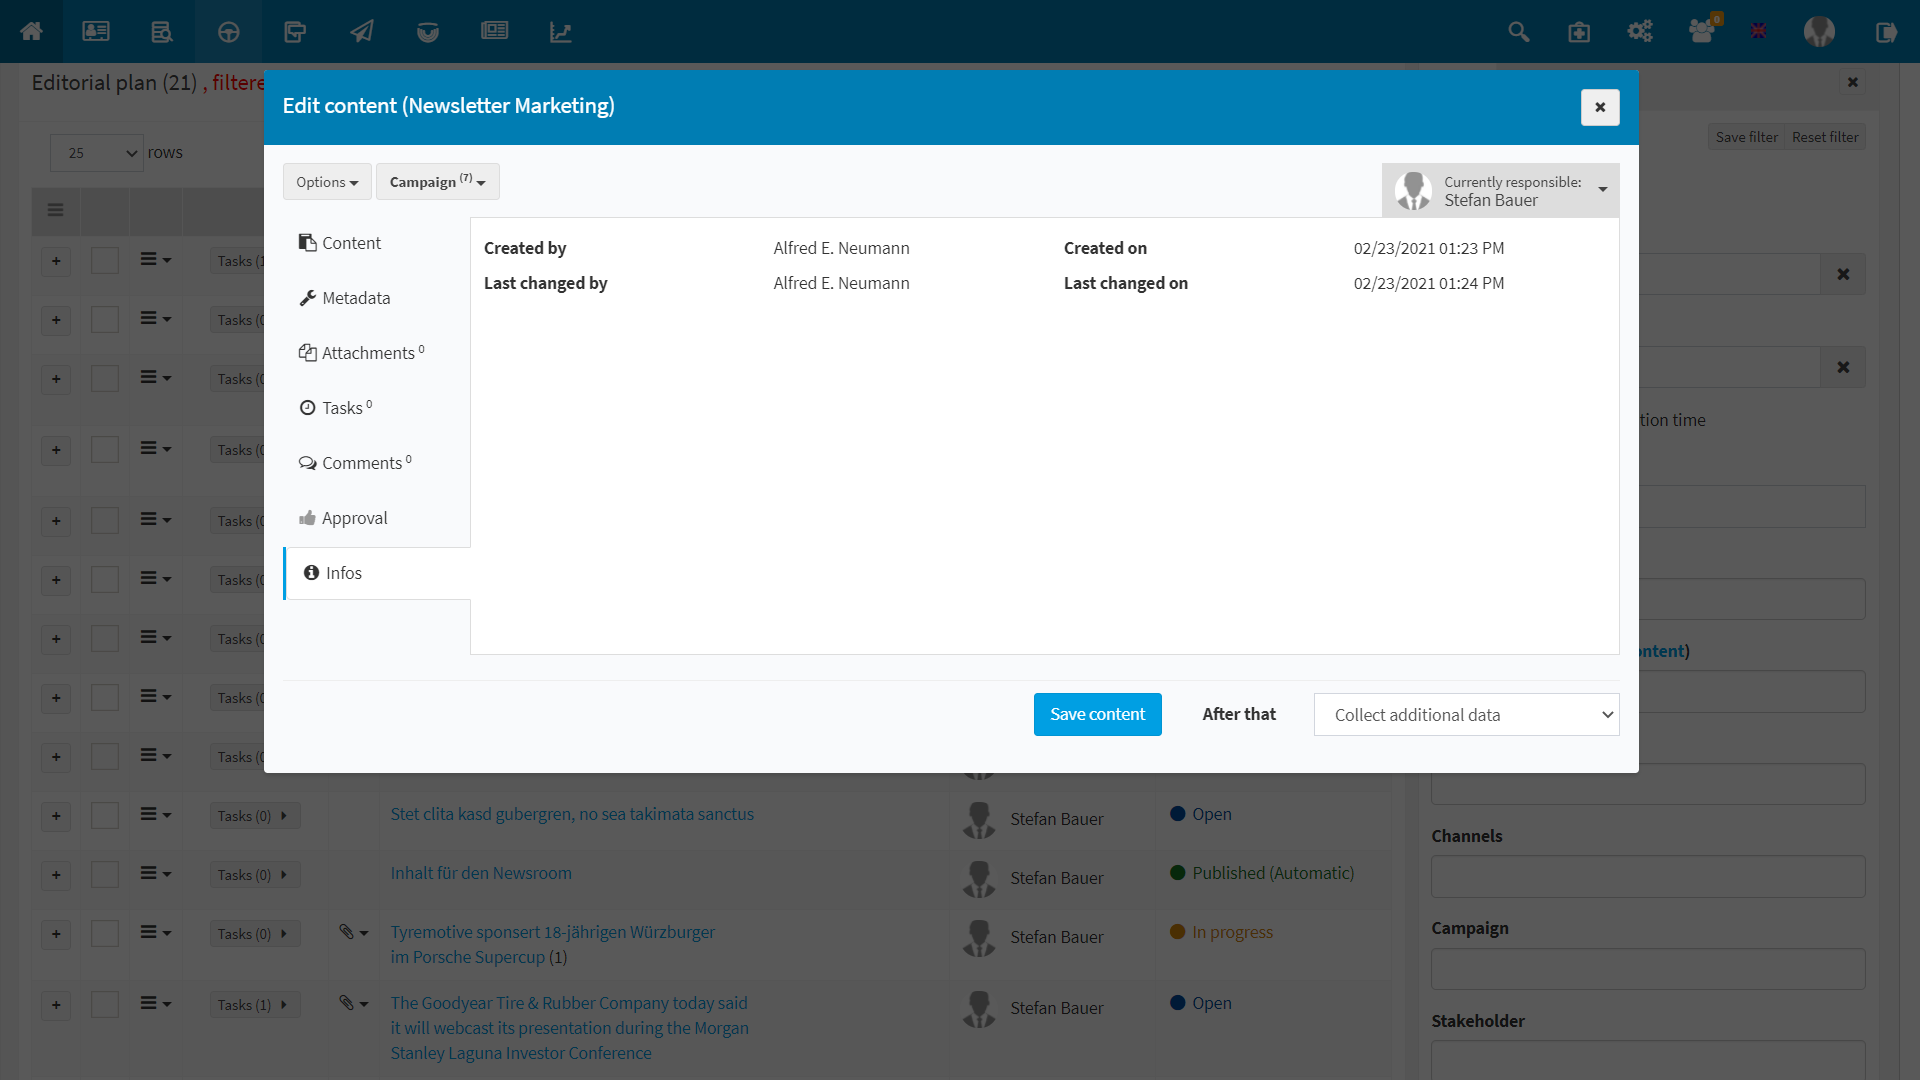
When and by whom a content was created and last changed you can see under “Info”.
Worth knowing
- You can display your content in the editorial plan either as a table or as thumbs by clicking on the corresponding button.
- Under Analysis, select which evaluation you would like to have displayed. Here, an evaluation by content type, channels, status, campaigns, topics and stakeholders is possible.
- If your content contains hashtags, you can filter content by them. Via Hashtags you select the desired hashtag to have the corresponding content displayed.
- You have further filter options via the funnel icon. Here you can filter your content by completion and publication period, search term, status, person responsible, content type, channel, campaign and stakeholder. Once you have set a filter, you can ,,Save Filter” and then select it under ,,My Filters”.
- Under Options, you can perform an Excel download with the selected content or delete the content.
- Customize your table by ticking which columns you want to be displayed in the editorial plan and move the different criteria directly in the drop-down menu. You always have the option to reset these settings afterwards.
