The Clipmanager offers you the possibility to categorize your clippings in a targeted manner and to analyze them with the help of precise and individually selected KPIs. In order to use the full potential of your Clipmanager, you should configure it beforehand. We will show you how to do this:
KPIs
KPIs (Key Performance Indicators) are metrics that you can use to rank and evaluate your clippings.
Edit and create KPIs
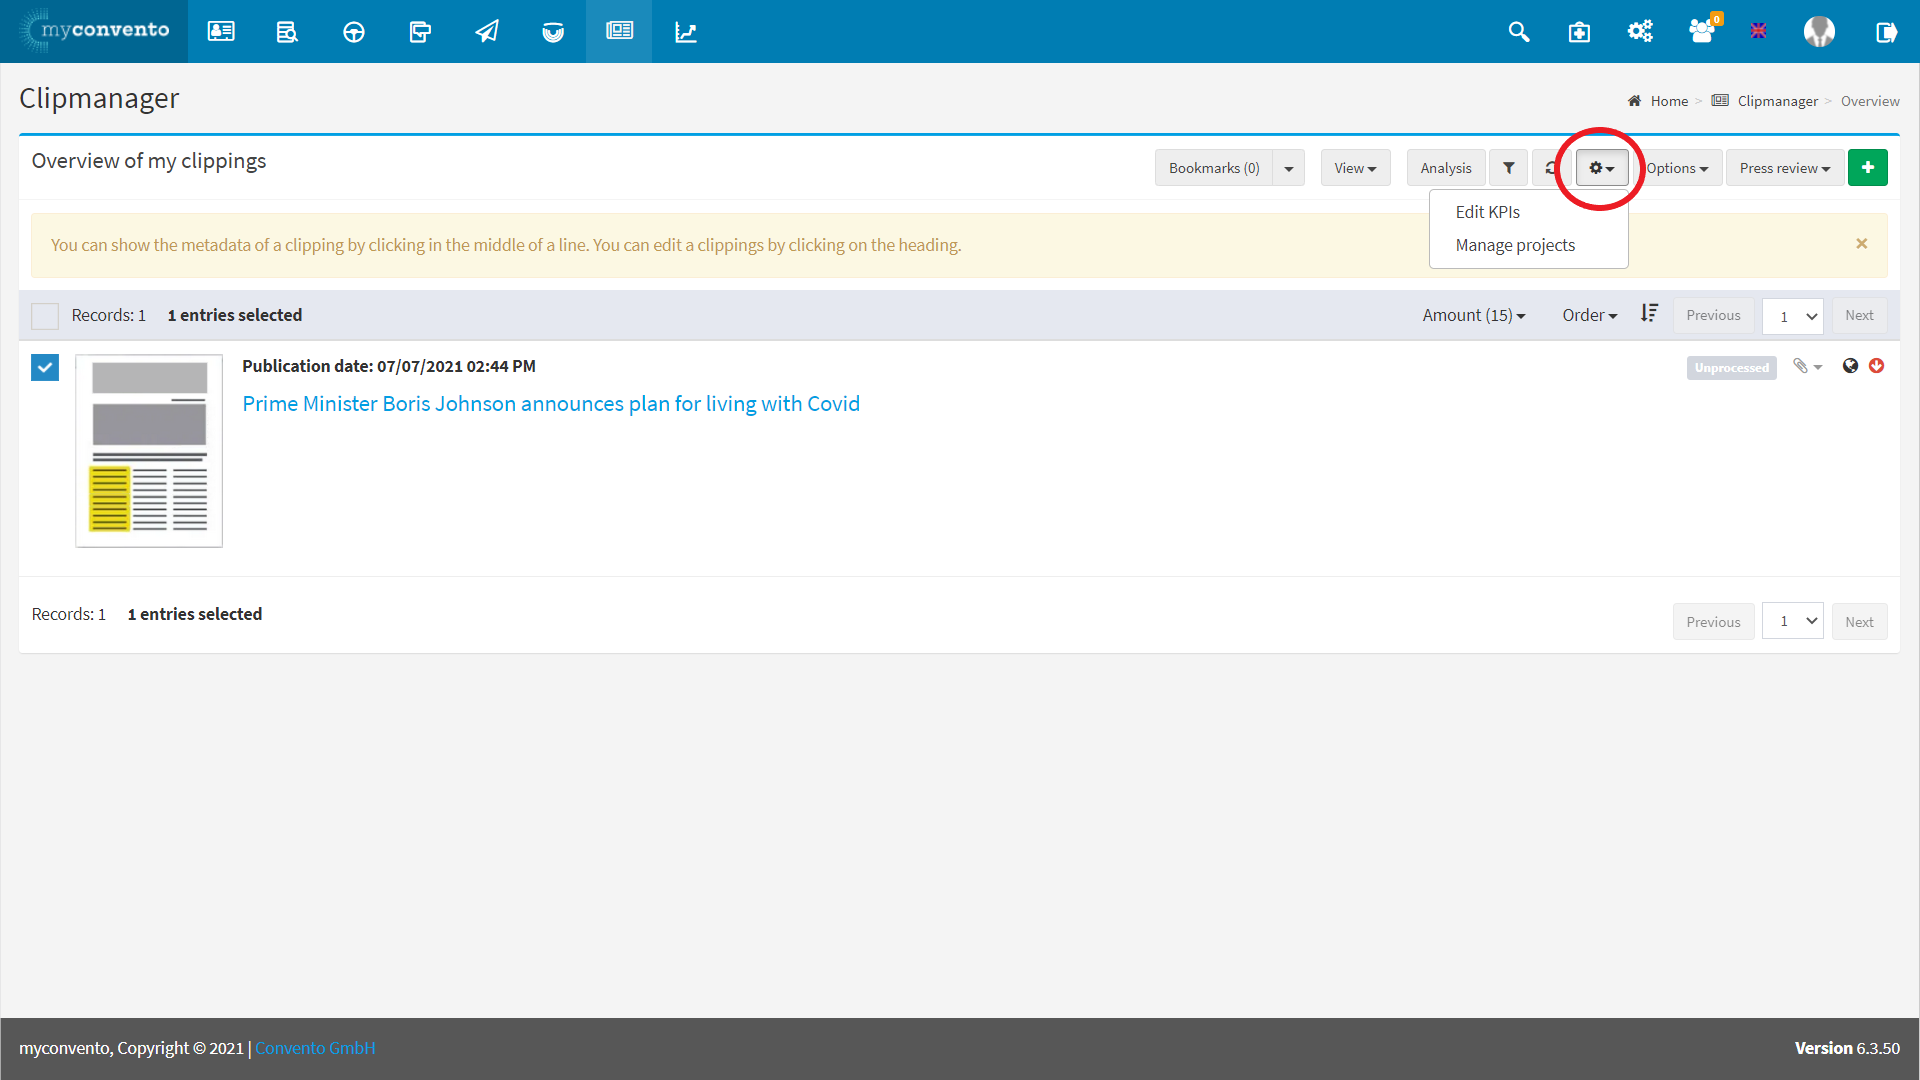
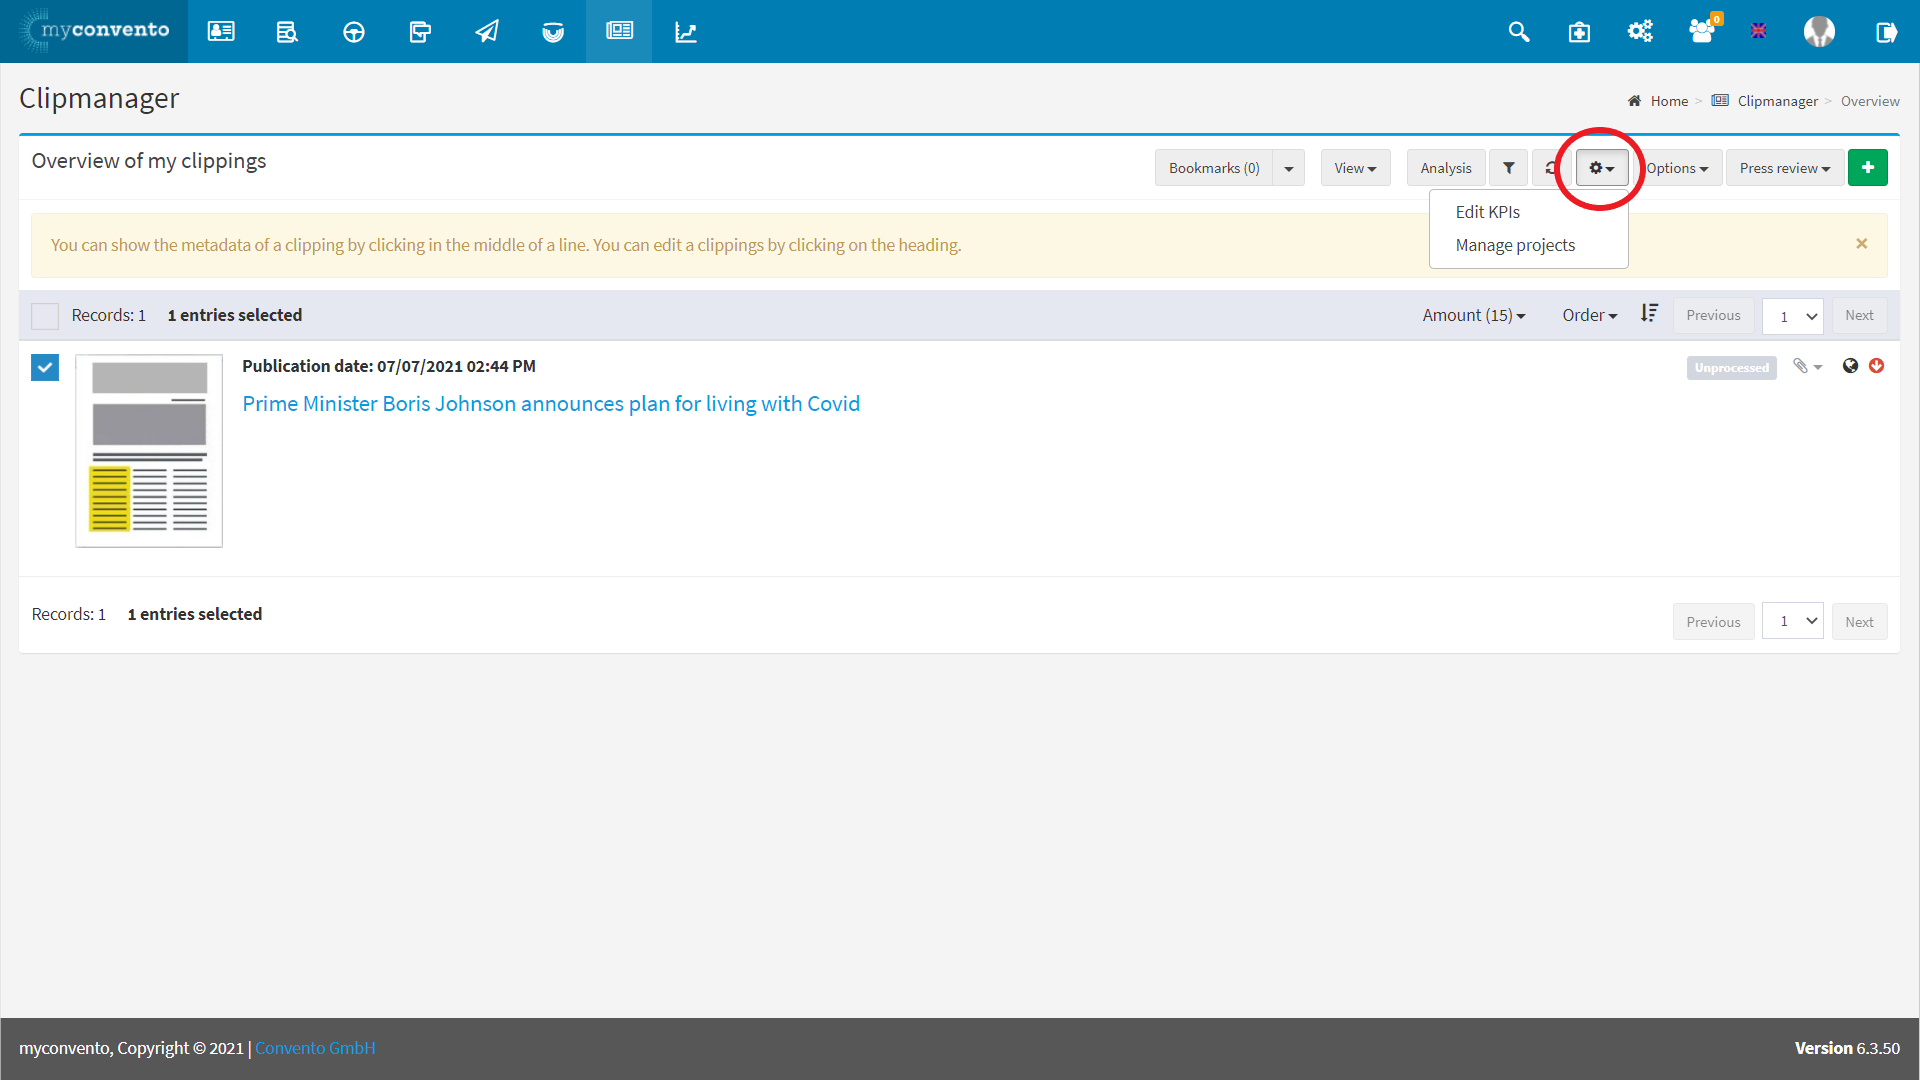
If you click via the navigation bar on the Clipmanager you will get to the following overview:
To be able to create and edit your KPIs, click on the gear icon in the upper right corner and then on “Edit KPIs“
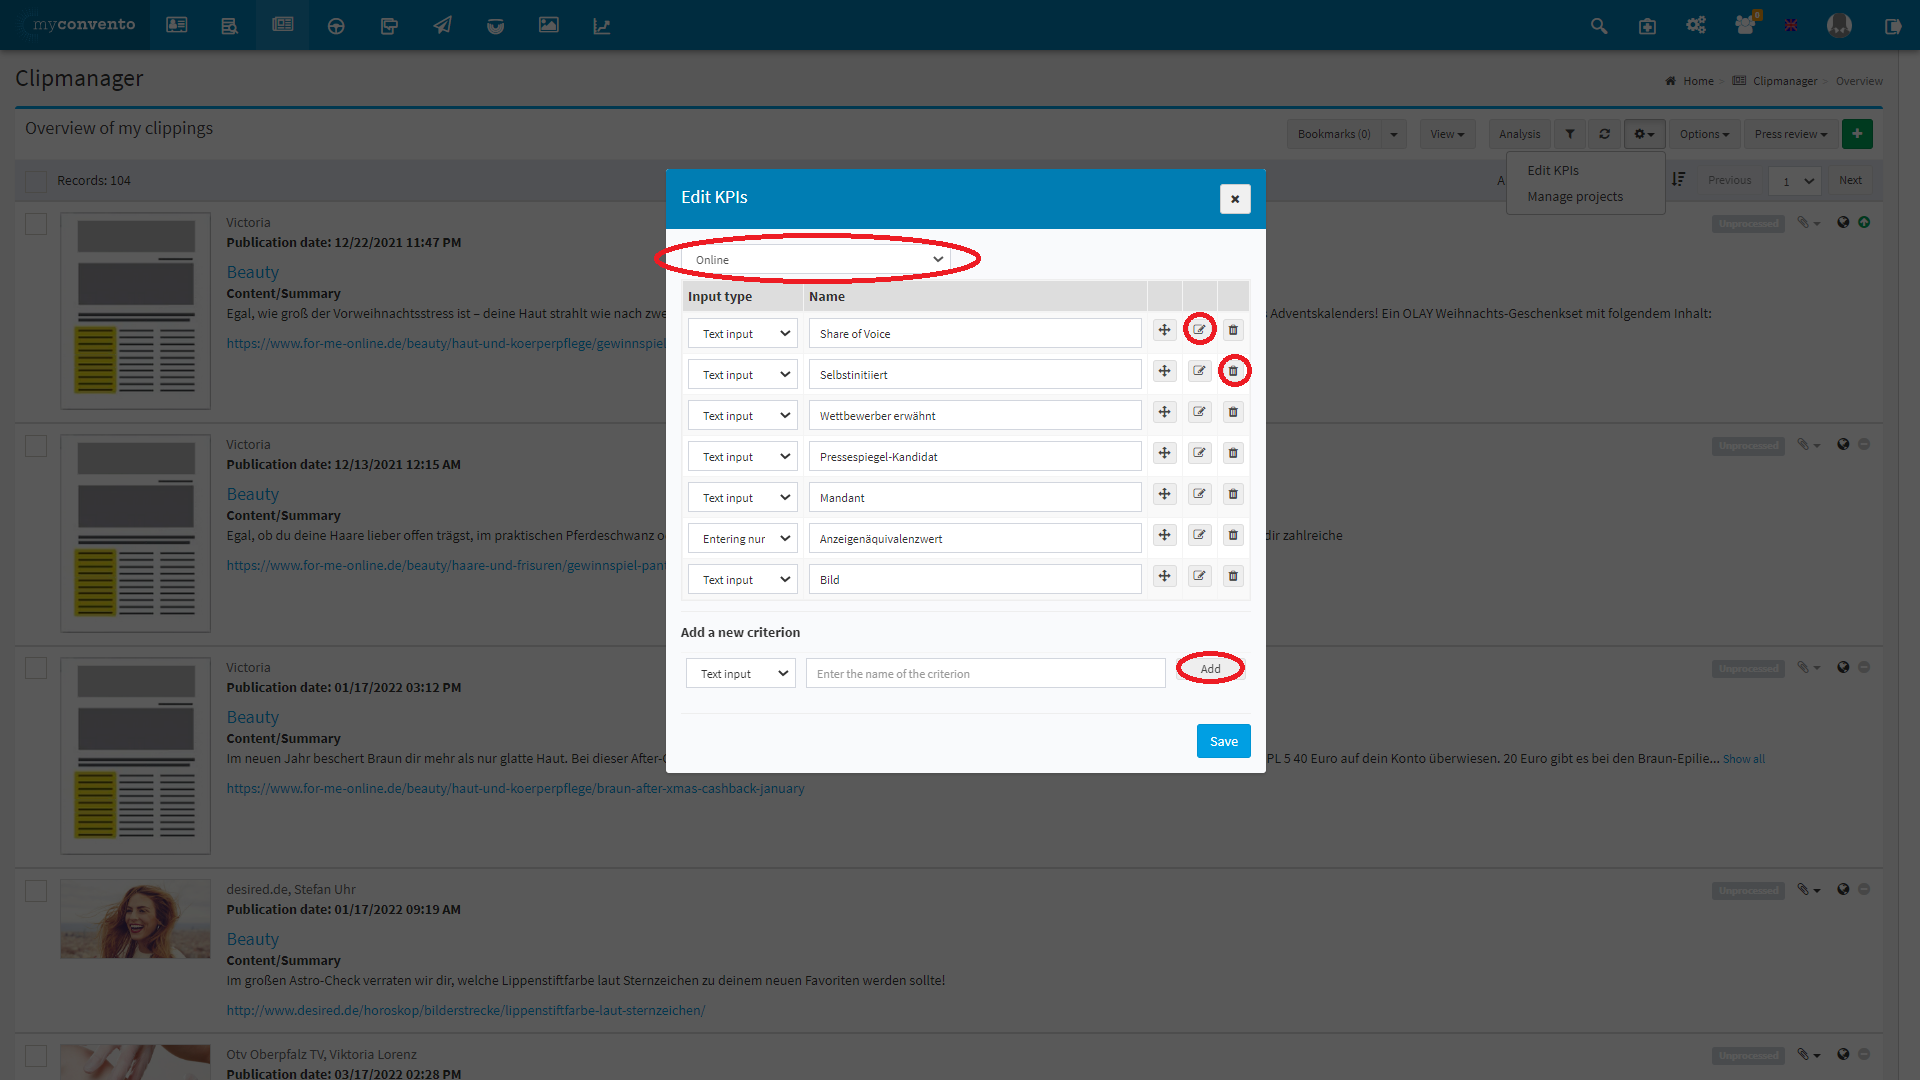
In the menu that appears now you have the following options:
-
Print or Online: At the top, visible by the red rectangular box, you can select whether the KPI refers to a print or online medium. You can create and select different KPIs for each medium.
-
Editing criteria: By clicking on the “pencil icon” you can edit the proficiencies (e.g. in % values or terms) behind the criterion. In addition, you can determine the input type on the left with the drop-down menu. The choices are: Text input, Number input and Yes/No.
-
Deleting criteria: You can delete an input type using the trash can icon.
-
Adding a new criterion: at the very bottom, visible by the green circle, you can add a new criterion with a suitable input type.
Assign and evaluate KPIs to clippings
Now that you have fully created and edited your KPIs, you can assign them to your clipping as shown:
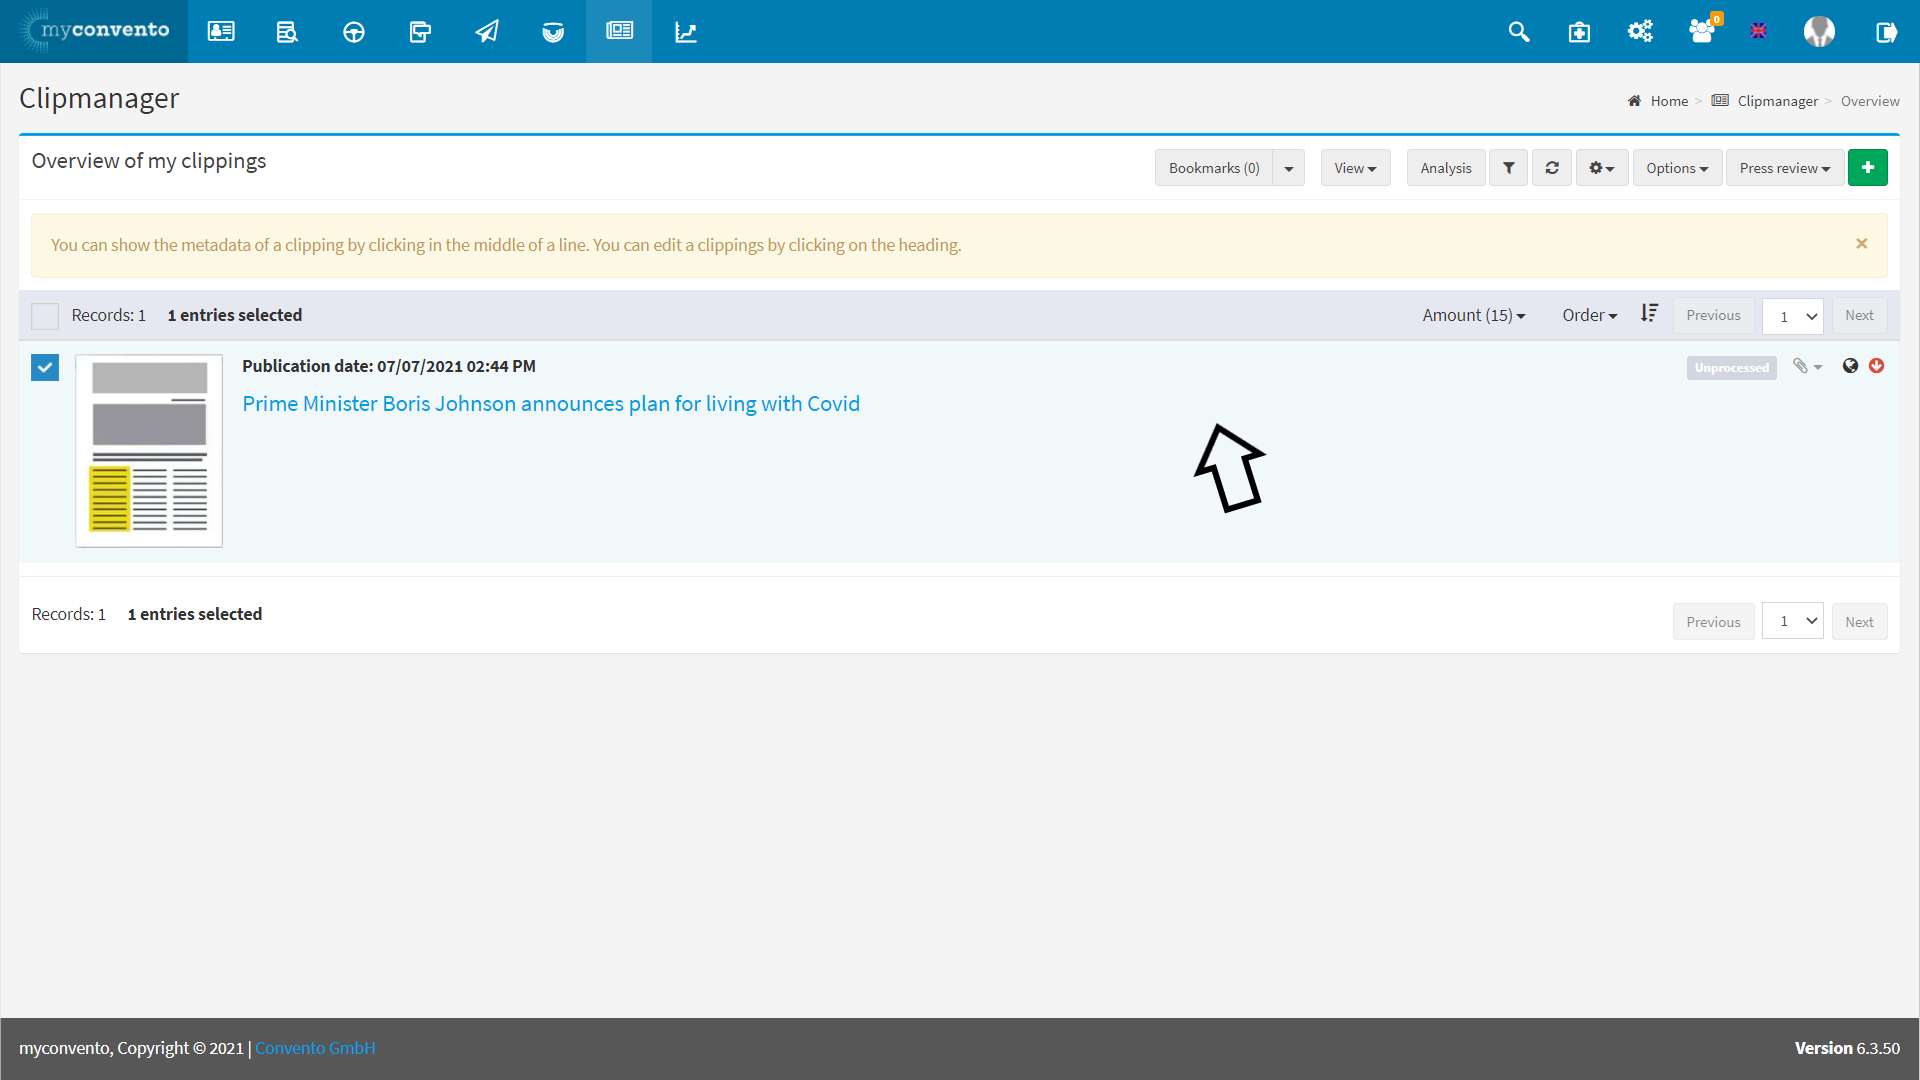
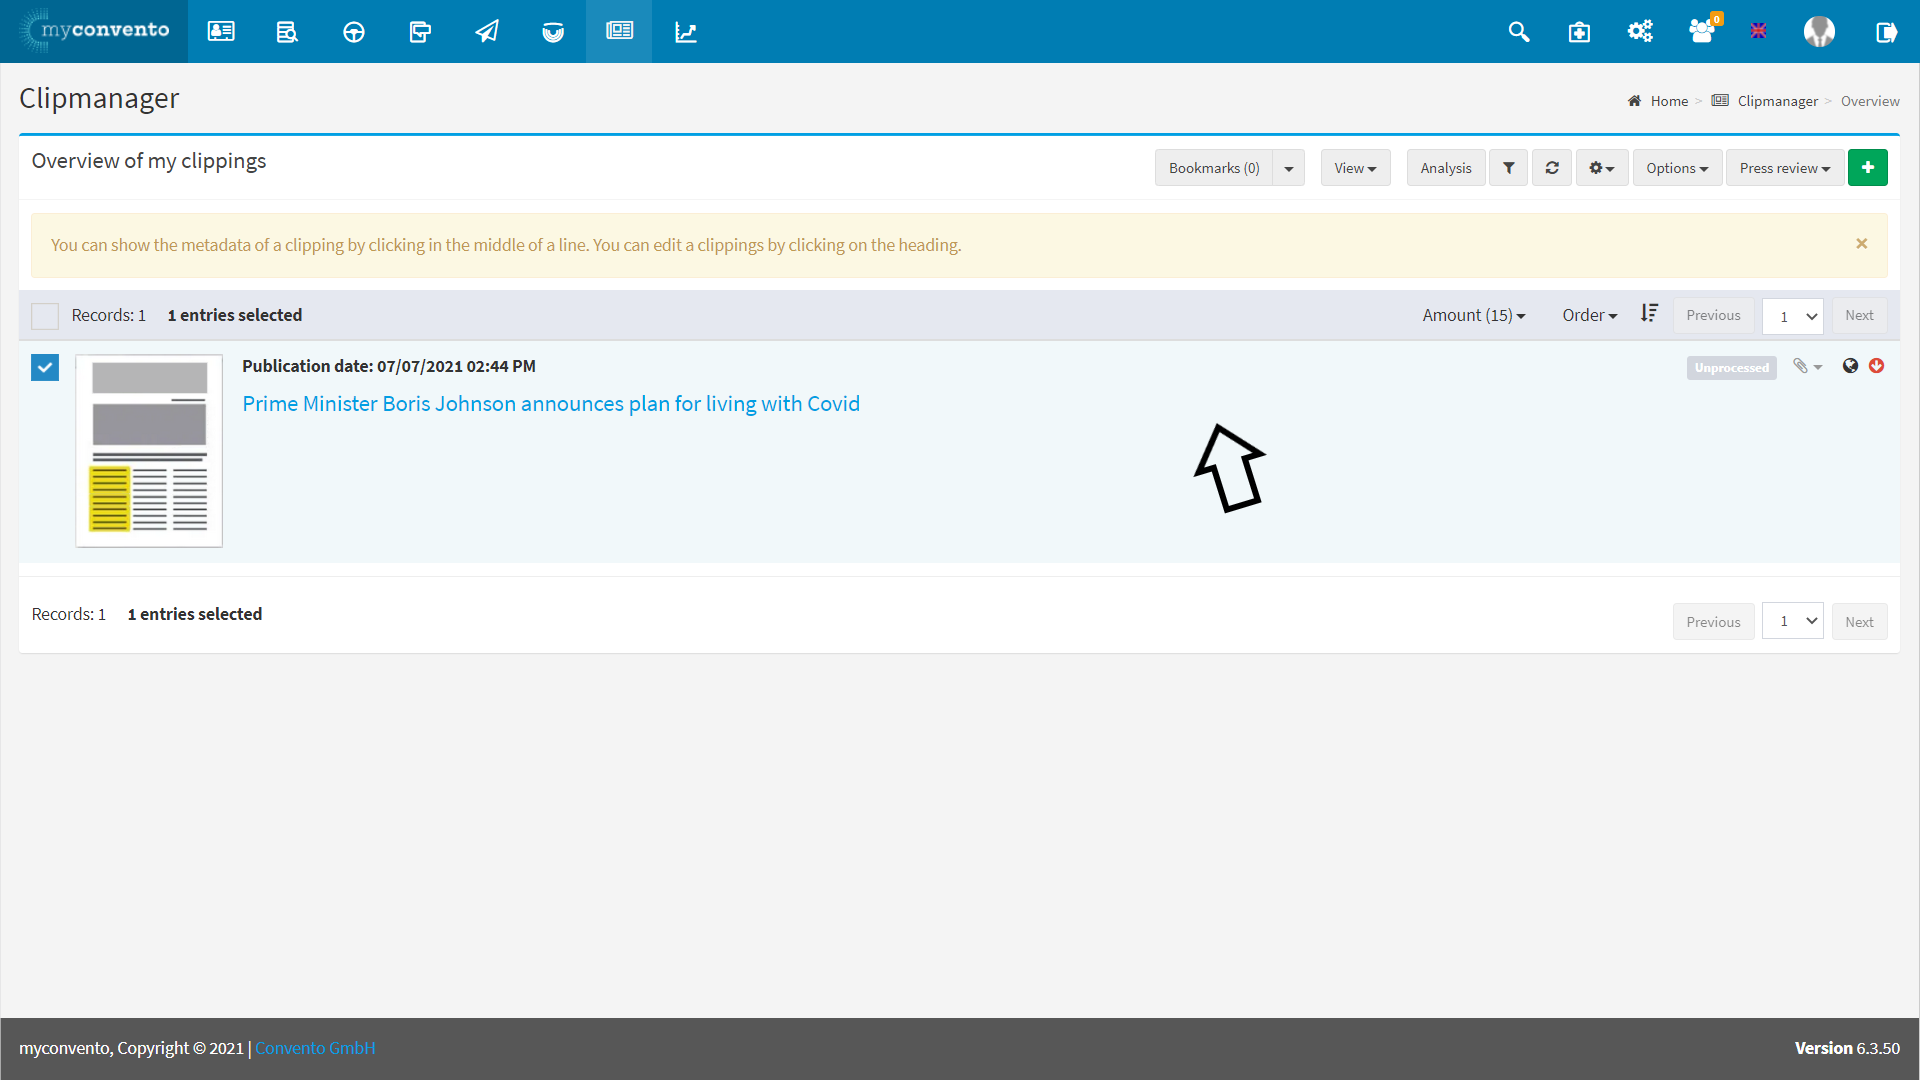
First, move your mouse pointer over the desired clipping. Then left-click on the area with a light blue background.
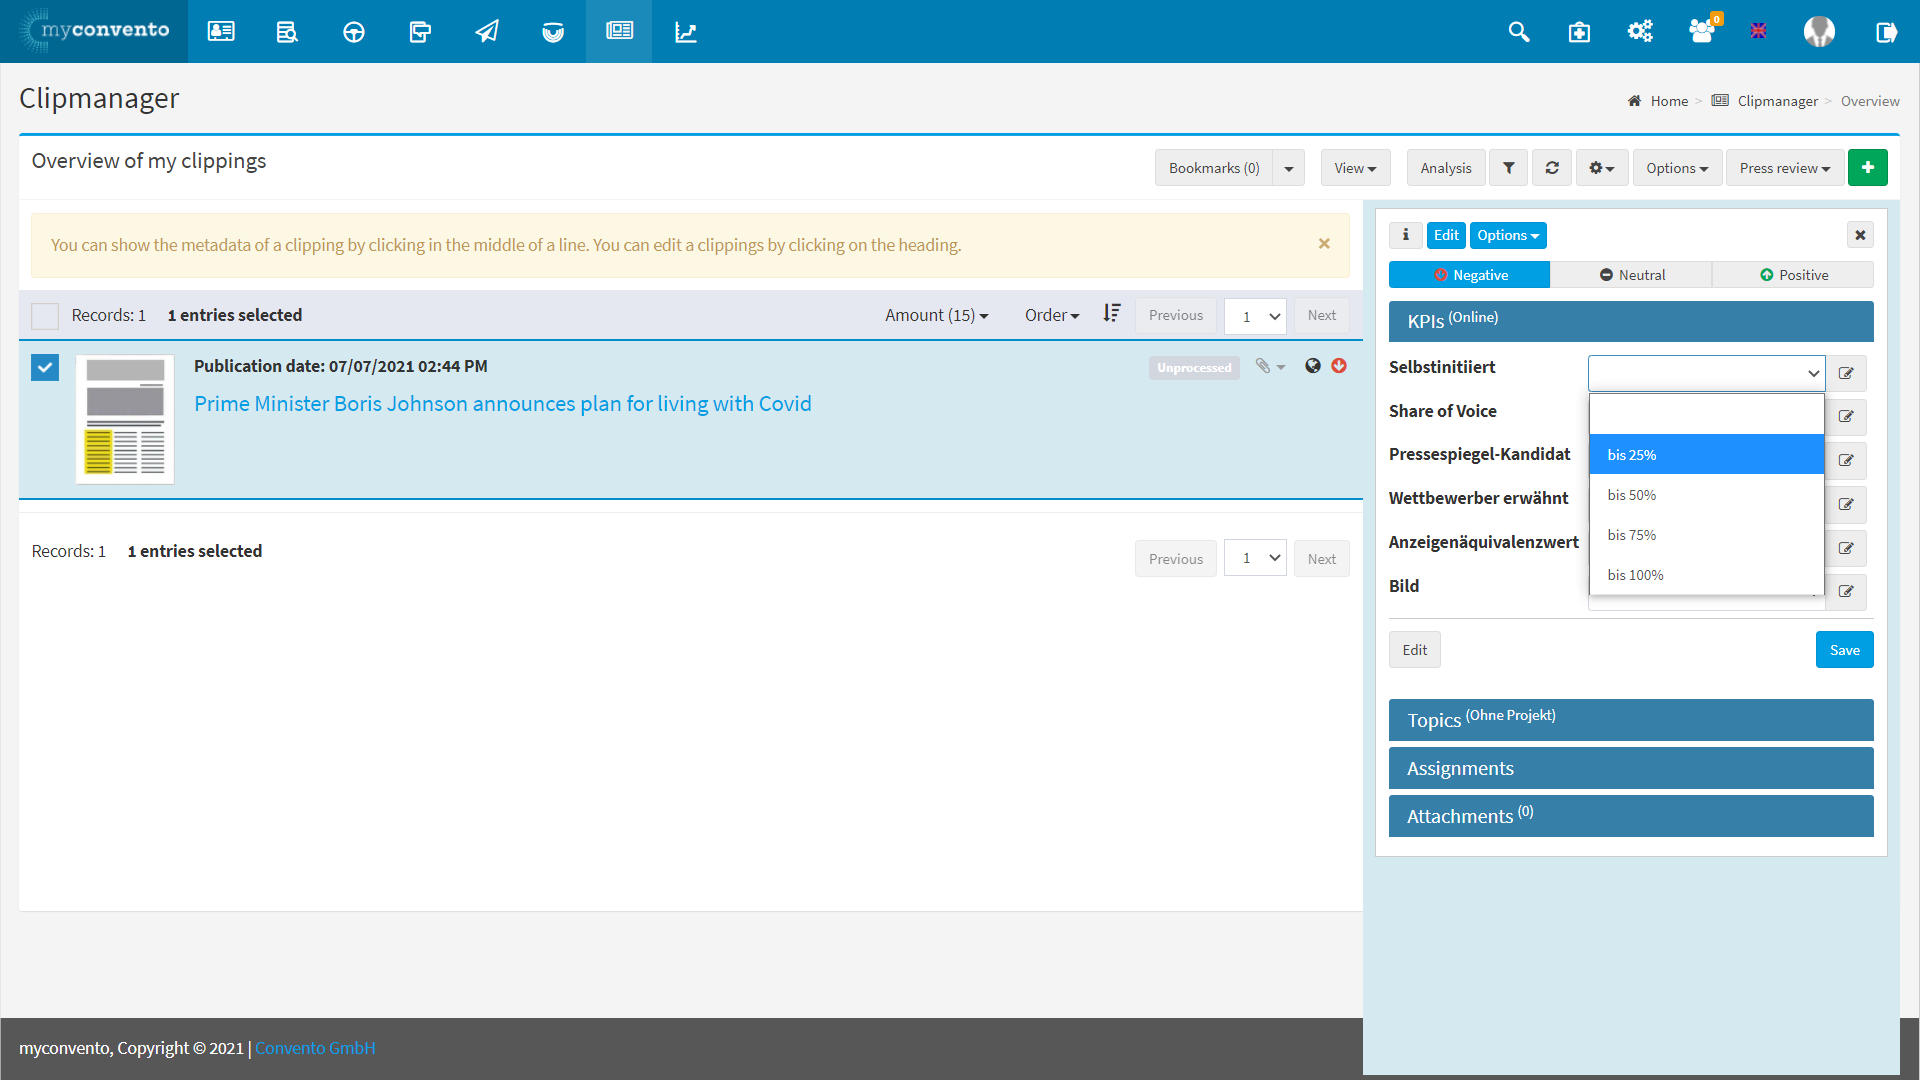
Now a menu appears on the right side from which you can select your KPIs and choose the respective proficiencies via the dropdown menu.
Projects and topics
With projects and topics you can categorize and specify your clippings. Several topics are subordinated to each project.
Edit and create projects
If you click on the Clipmanager via the navigation bar, you will get to the following overview:
To create and edit projects, click on the gear icon in the upper right corner and then click on “Edit projects“.
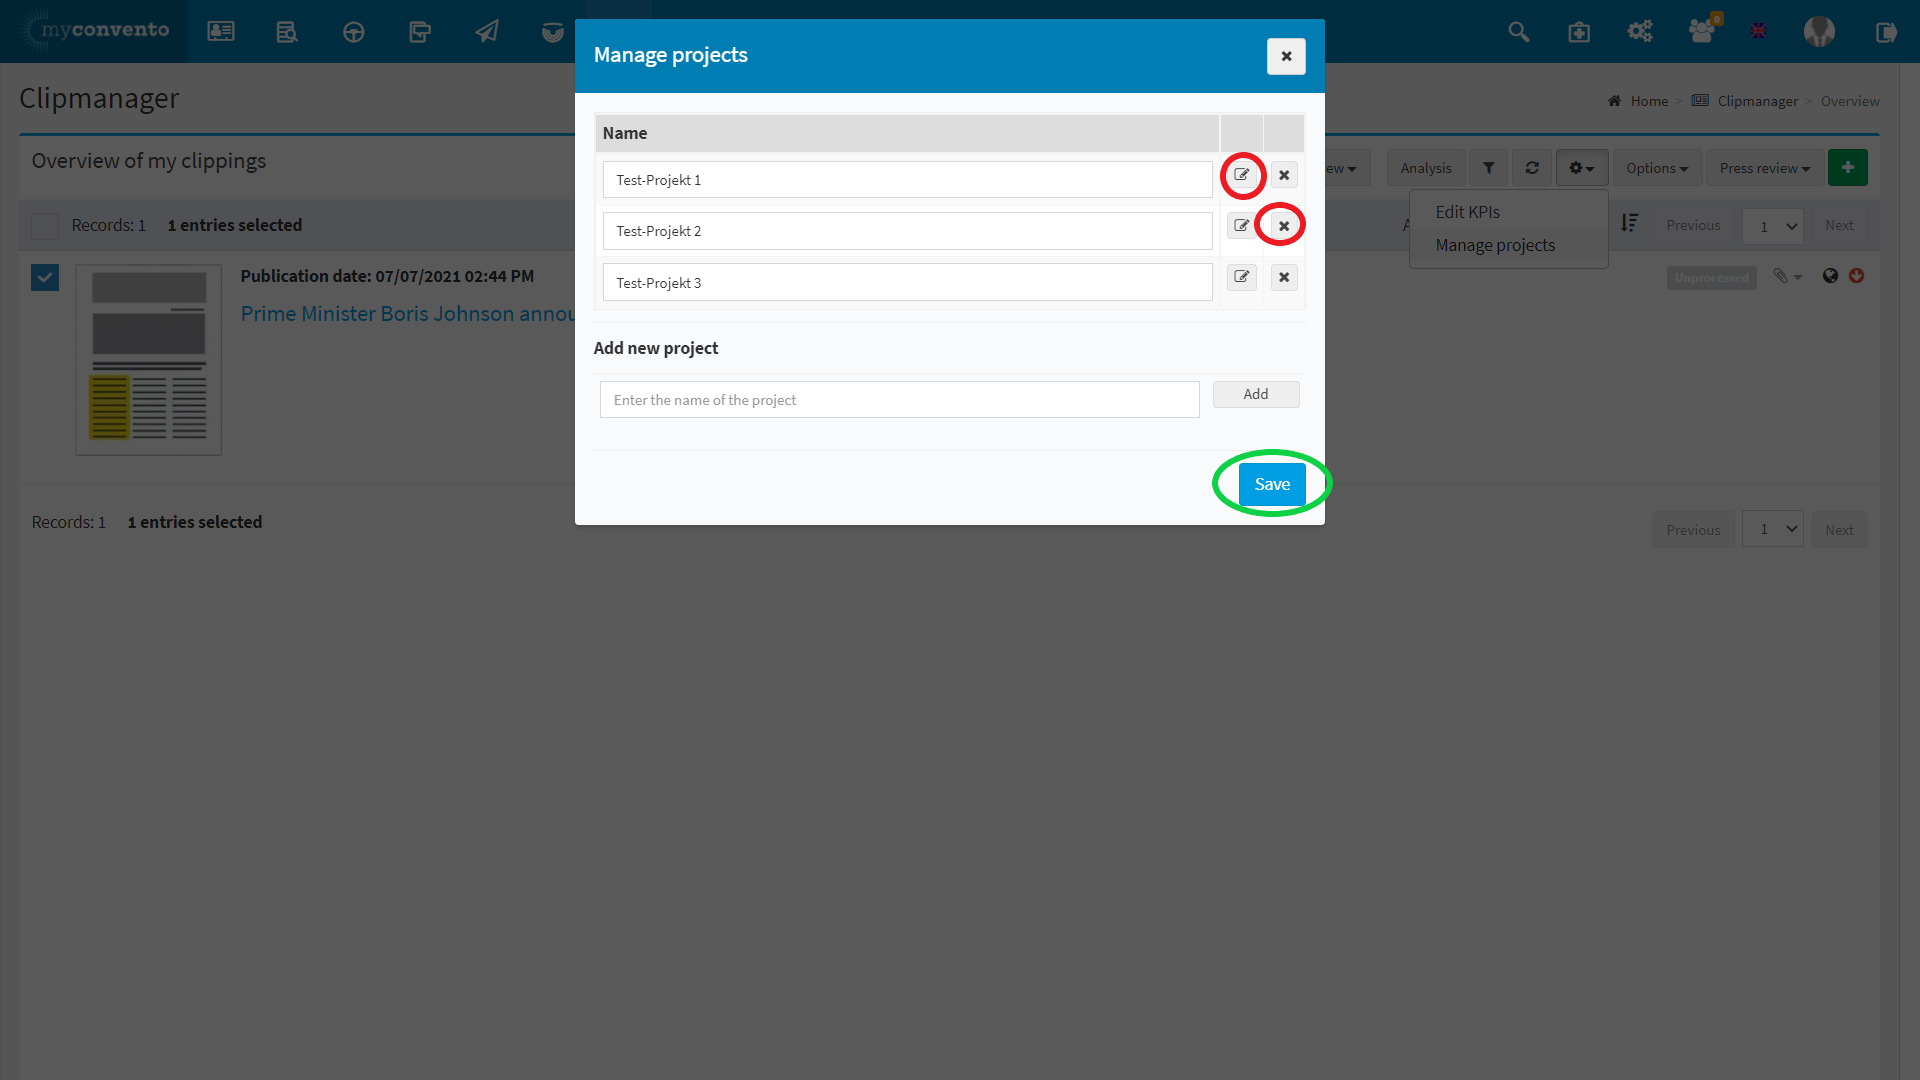
In the menu that appears now you have the following options:
- Edit projects and topics + Add new topics: By clicking on the “pencil icon” you can edit the topics behind the project. For example, for the project “Car tires”, the topic “Tire types” with the subtopics “Winter”, “Summer” and “All year” could be useful. Further down, you can use the drop-down menu to choose whether you want to add a new main topic or a subtopic.
- Deleting projects: You can delete a project using the trash can icon.
- Adding a new project: At the bottom, visible by the green circle, you can add a new project.
Assign clippings to projects and topics
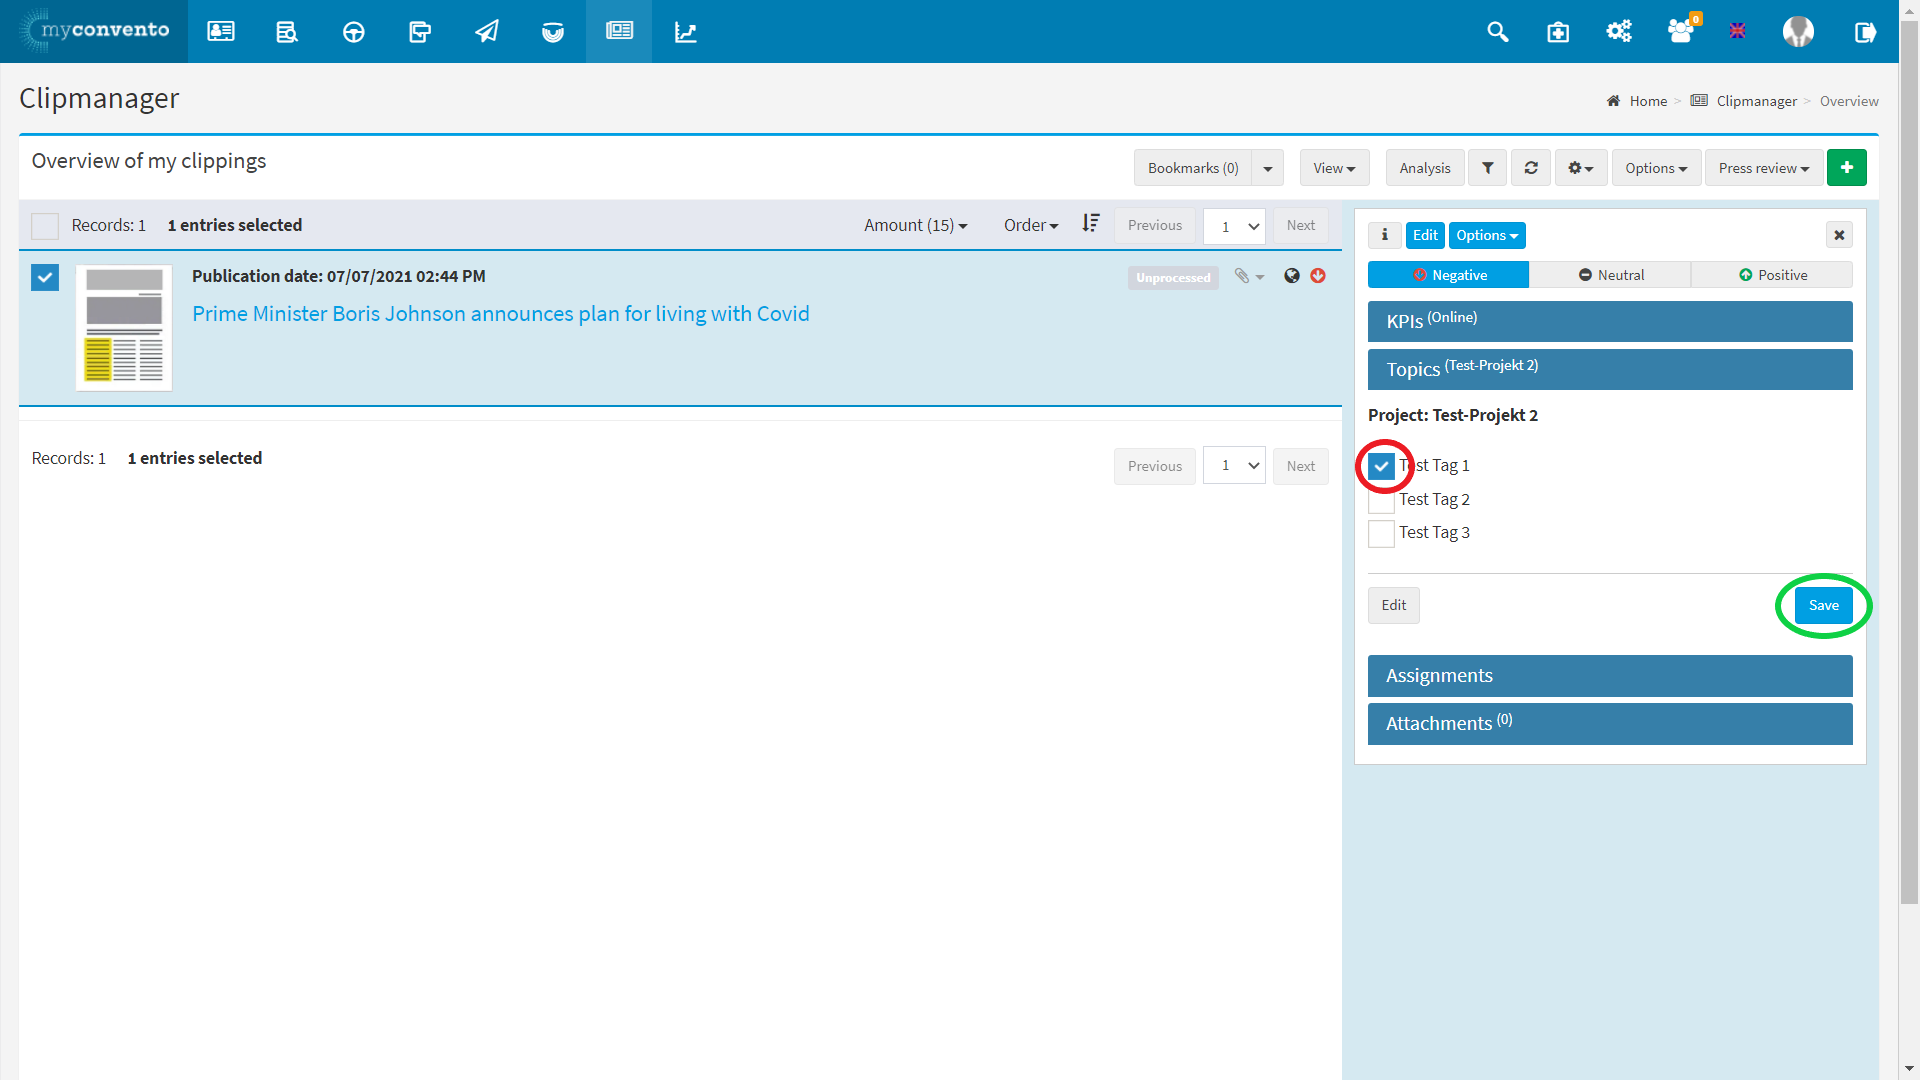
Now that you have fully created and edited your projects, you can assign projects and topics to your clippings as follows:
First, move your mouse pointer over the desired clipping. Then left-click on the area with a light blue background.
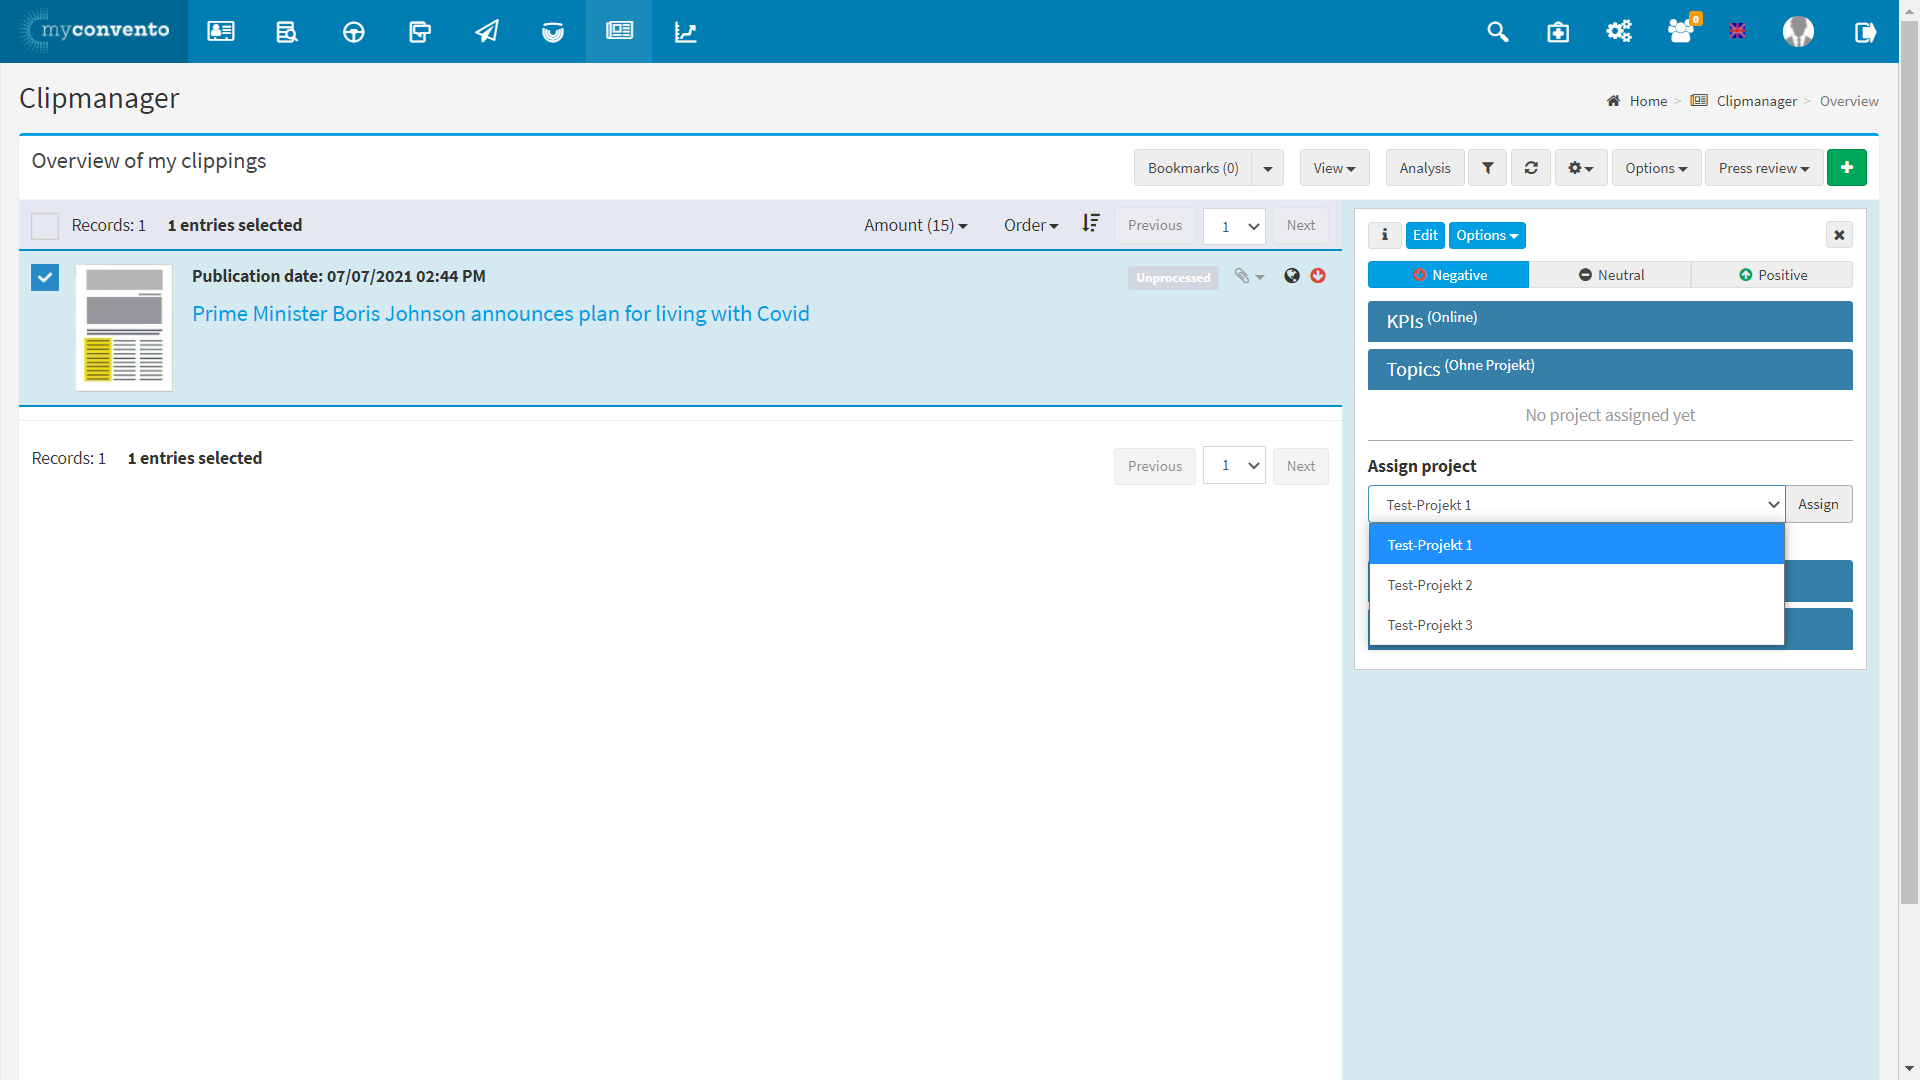
Now a menu appears on the right side. There you can select your desired project for your clipping under the point Projects by means of a Dropdwon menu.
