In classical public relations, “the distribution list” has long been a decisive success factor. The one who had a distribution list with the names and contact details of the most important journalists as press spokesman or agency employee was king.
Ever since press releases have been sent out by e-mail, it has been less a matter of having as many addresses as possible, as up-to-date as possible, but rather of making the optimal selection from the pool of stored contact data for each topic, each mailing and each invitation.
That is why setting up and maintaining distribution lists in myconvento is an essential task of media relations. Distribution lists are an important basis for the dispatch of news.
Workflow
To create a distribution list, open the Distribution List area by selecting “Distribution List” under “My Data” in the toolbar at the top.
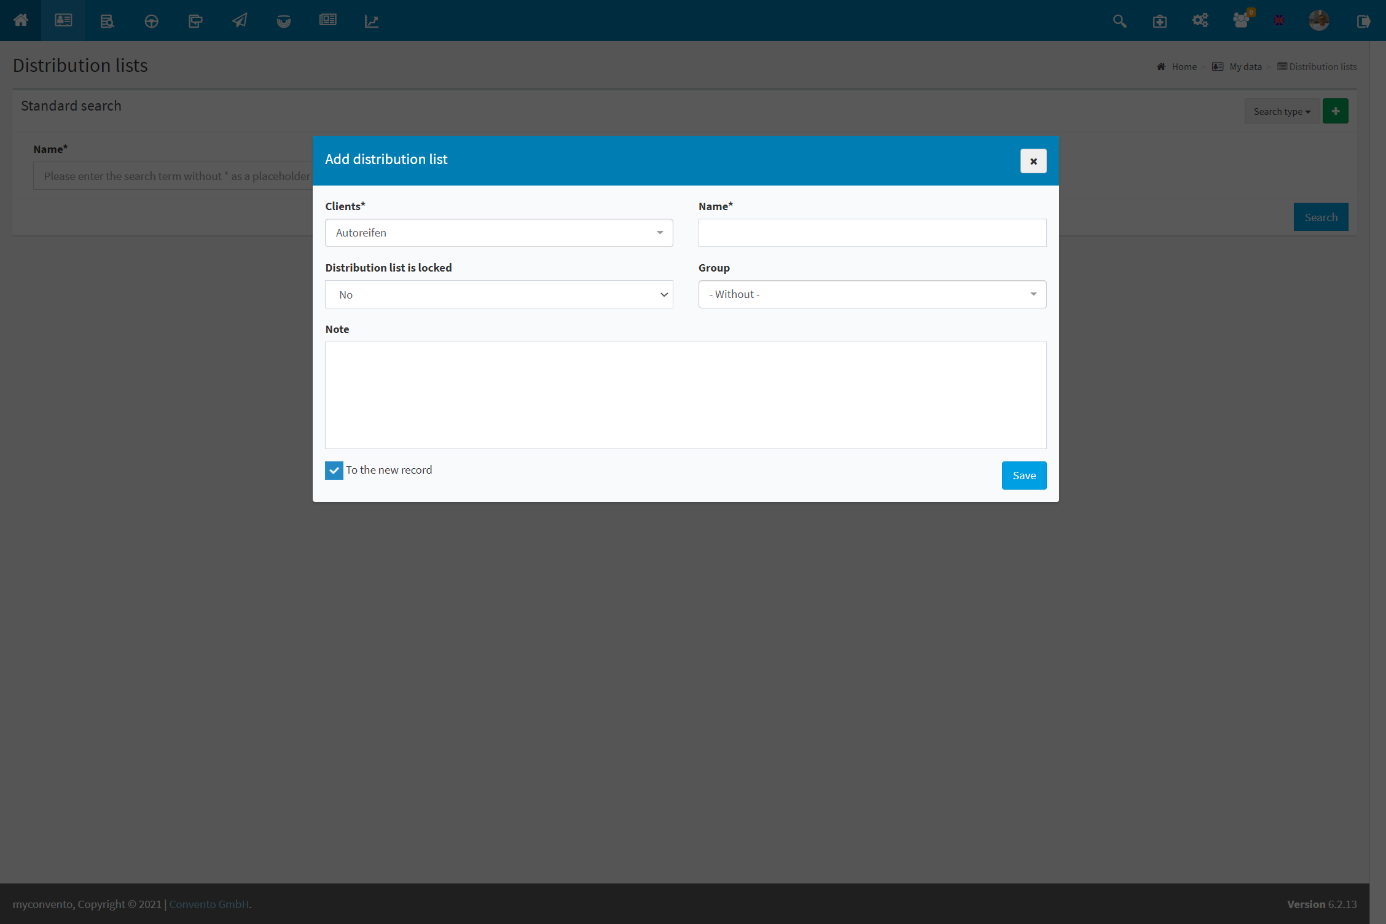
- there the green plus allows you to open the “Create new distribution list” dialog box.
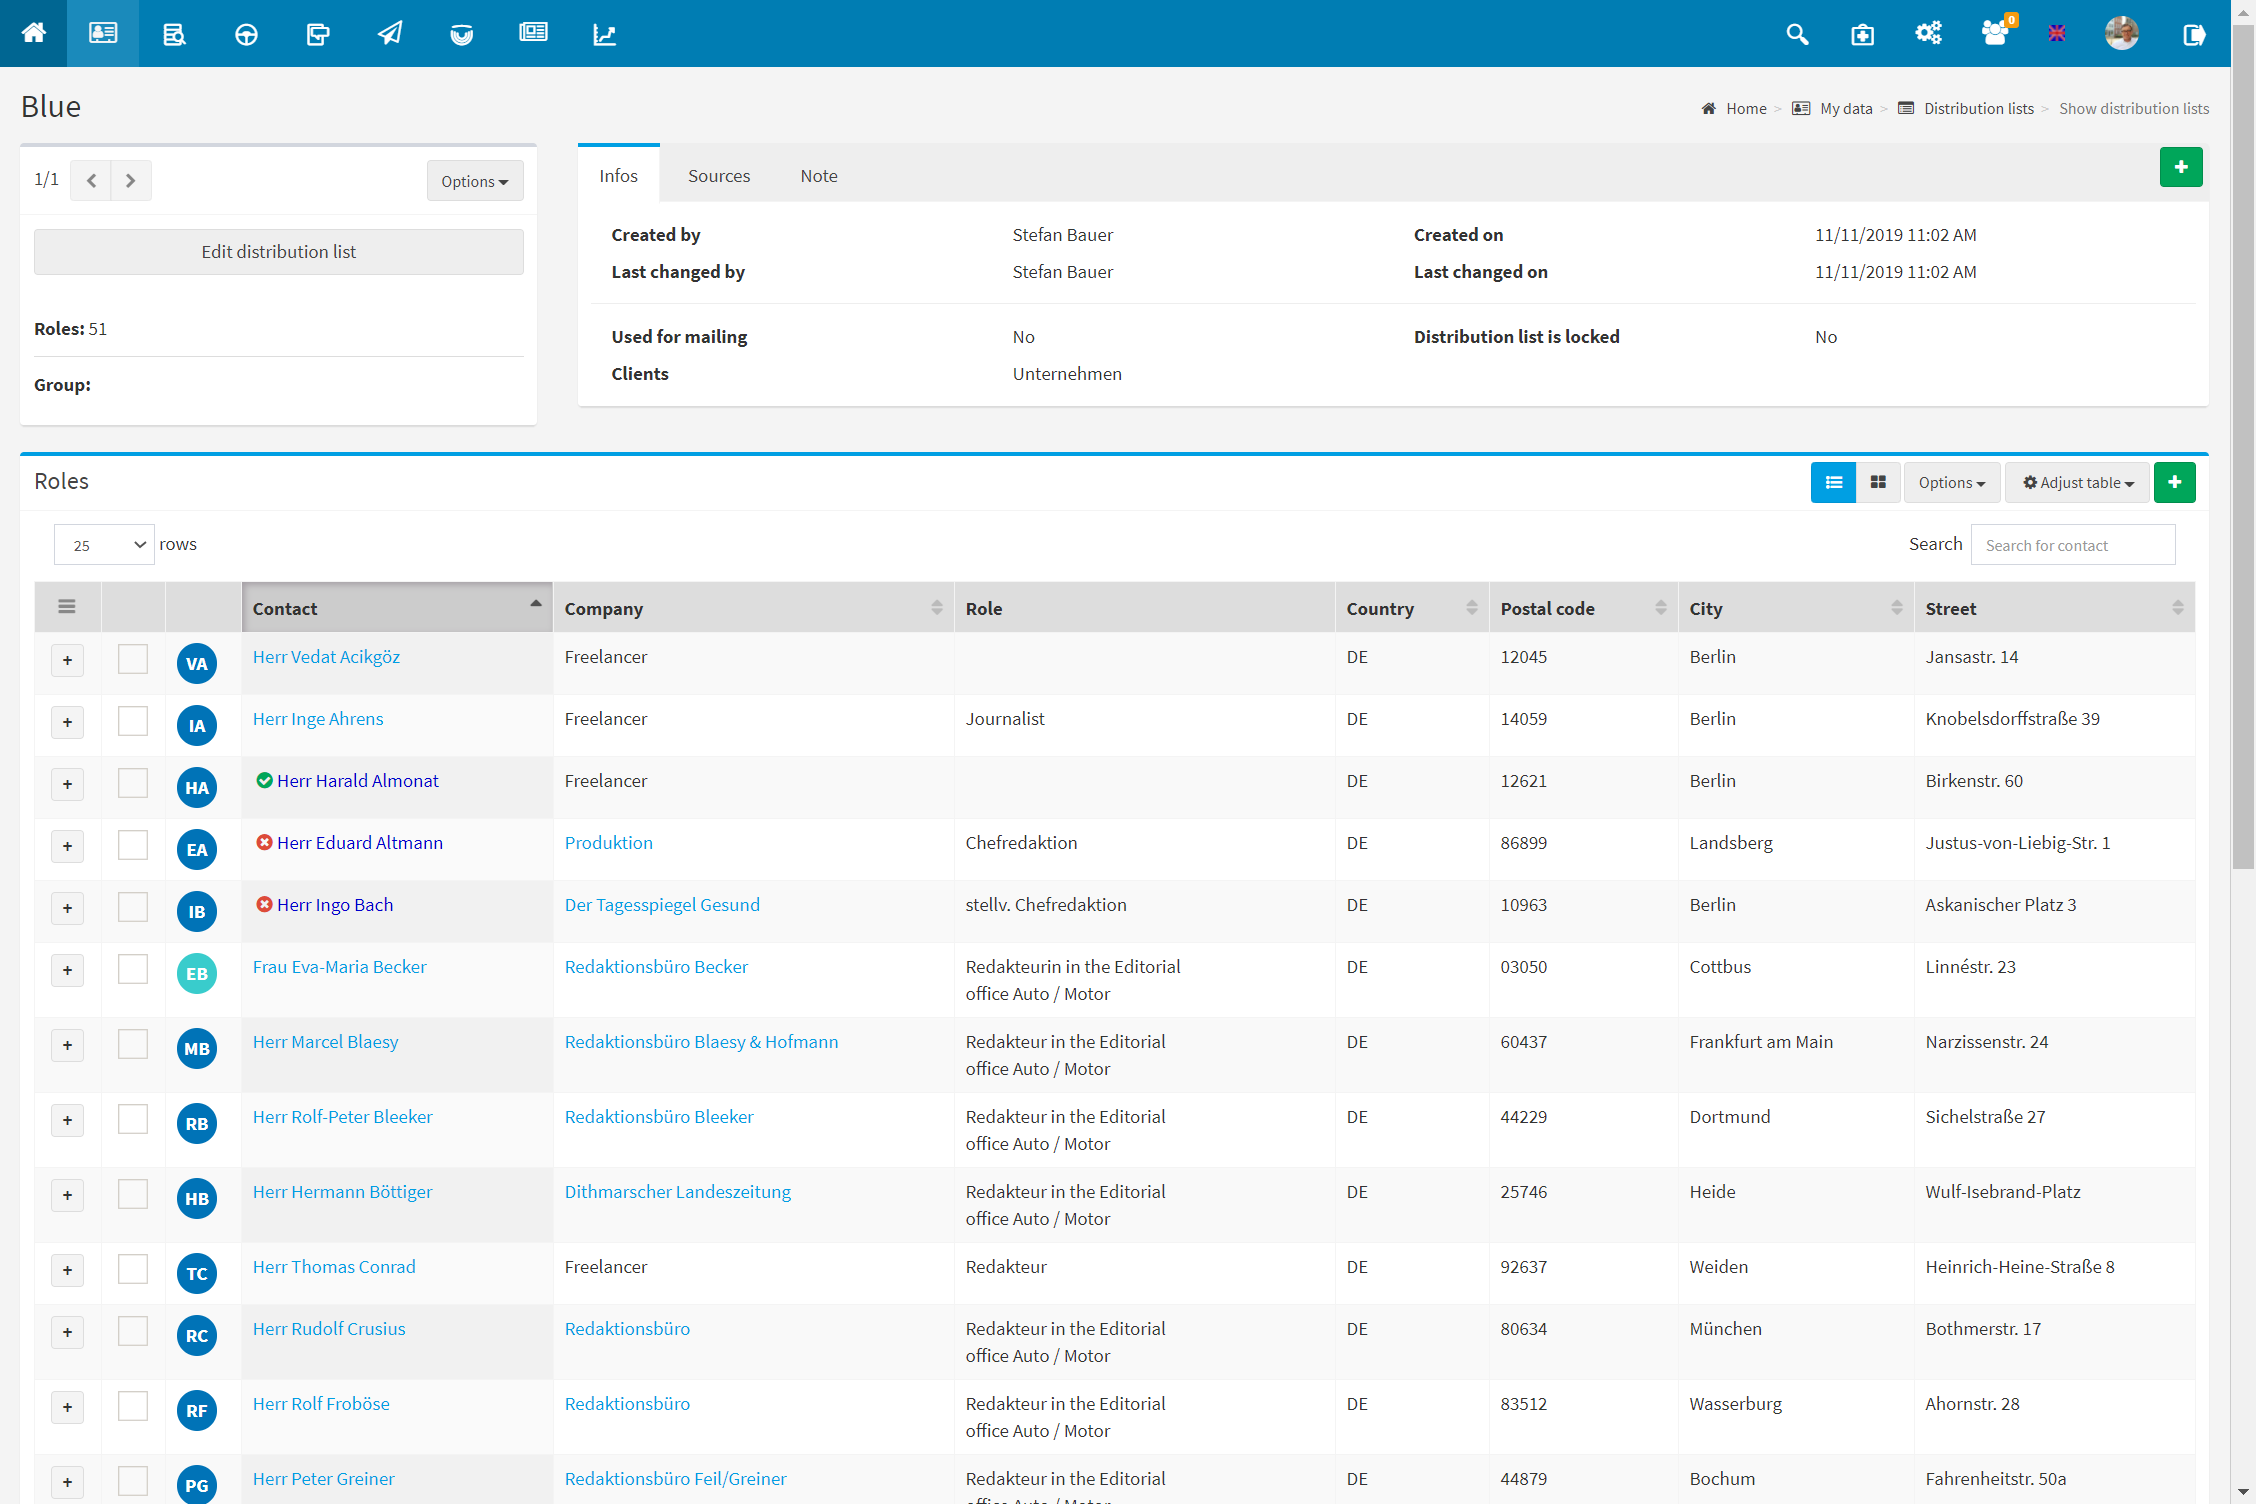
- enter the name of the distribution list, decide whether it should be locked or not, assign (optionally) a distribution list group for categorization (you can define this individually in the master data. For further information, open the help text “Excursus: Master data“) and, if necessary, enter an internal note, for example about the contacts contained. Locking the distribution list means that it can be edited and supplemented with roles, but cannot be used for shipping. Finally, click on “Save” to create the distribution list and to get to its detailed view.
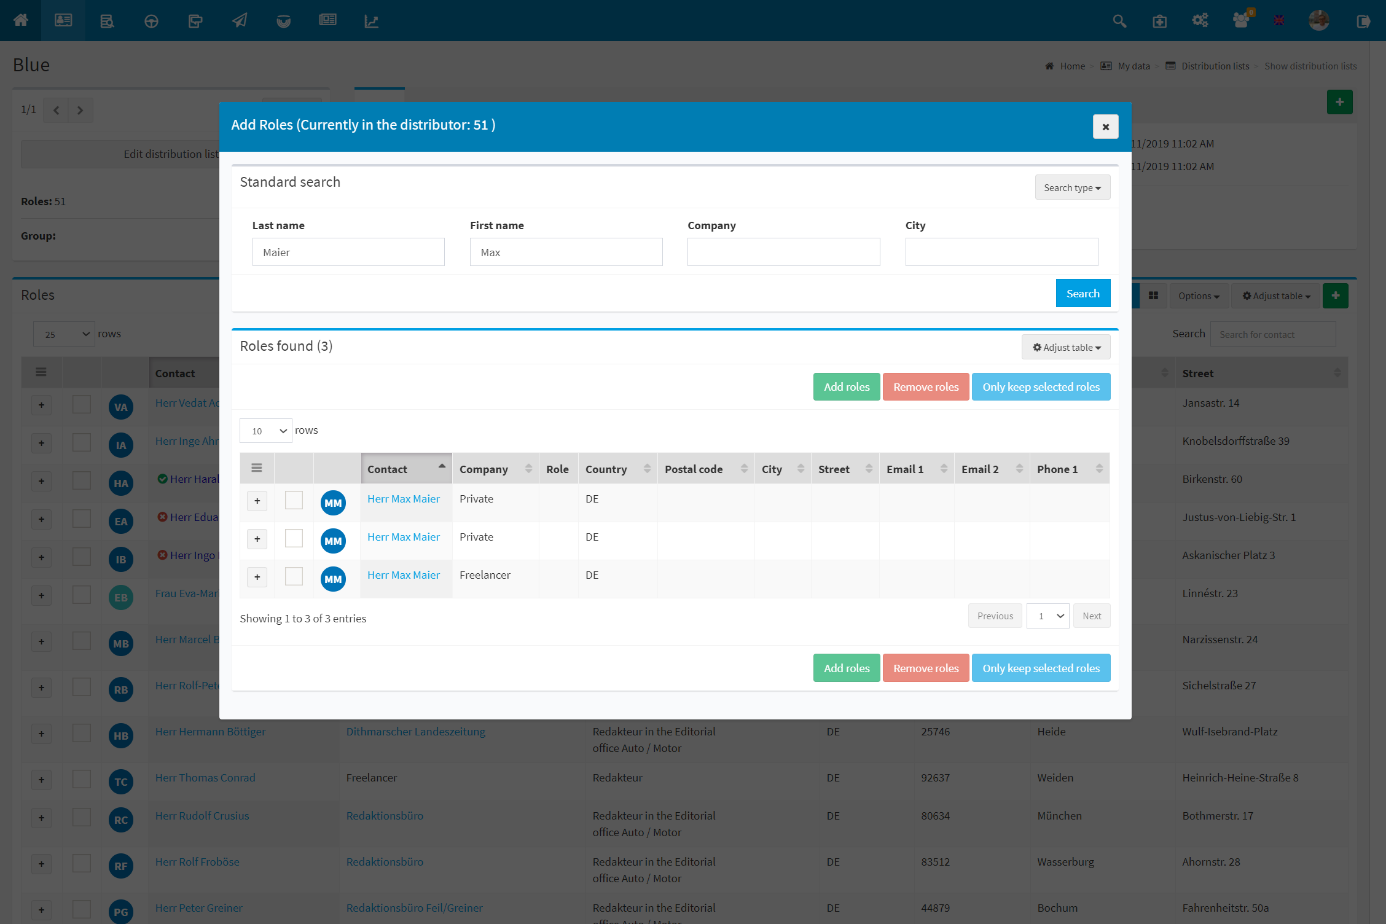
- In the lower part of the screen you can see which roles are already in the distribution list. If you click on the green plus here, the “Add Roles” dialog box opens. Now select the search methods known from “How to find your contacts” to search for the desired contacts.
As a specific “Type of search” – “pressbase Imports” is listed here, which allows you to search for contacts that you have transferred from pressbase DACH to “My Data“. - mark the roles you want to assign to the distribution list and click on “Add roles“.
→ Learn more about the other buttons under “Worth Knowing” - the distributor can now be used for a dispatch in the “dispatch” module.
Example
Select “My data” (business card symbol) in the toolbar and click on “Distribution lists”.
Click on the green plus in the “Distribution lists” area to open the “Create new distribution list” dialog box. Click on “Save” to create the distribution list.
In the detailed view of the distribution list, click on the green plus sign and search for the roles that you want to assign to the distribution list using the familiar search methods. Tick them and click on the button “Add roles”.
Worth knowing
-
Next to the green “Add entries“-button there is also the red “Remove entries“ and the blue “Keep only selected entries” button.
The red button removes the marked contacts from the distribution list if they are included; the blue button removes all linked roles from the distribution list and inserts only the marked ones – good if you accidentally inserted wrong roles and want to keep only certain roles in the distribution list.
→ You can use the red – “Remove entries” button in combination with the distribution list search to perform a negative match. -
Select your distribution list, click on the green plus, select the “Distribution list search” and search for the distribution list you want to subtract from your background distribution list. Click on the red button to subtract the roles of one distributor from the roles of the other distributor.
-
If you mark two or more distributors in the overview, you can combine them via “Options“. A target distributor must then be selected here. Please note the warning that all distribution lists except the target distribution list will be deleted!


